
Starting your journey into clay sculpting does not require a massive financial investment or a professional-grade studio setup. Many beginners fall into the trap of purchasing extensive, multi-piece toolkits, only to find that they use the same two or three items for almost every project. To begin shaping, carving, and refining clay, you only need a small selection of fundamental tools that help you manipulate the material more precisely than your bare hands can.
By focusing on a minimal, high-utility starter kit, you can master the basic physical properties of clay without being overwhelmed by specialized equipment. Whether you are working on a small kitchen table or a dedicated crafting desk, a few well-chosen implements will allow you to explore hand-building, detail carving, and surface finishing. This approach keeps your initial setup simple, affordable, and highly functional.
Assess Your Project Goals Before Buying Tools
Before purchasing any sculpting equipment, identify the specific type of clay work you plan to pursue. Clay sculpting generally falls into three main categories: hand-building, detail carving, and wheel-throwing. Hand-building involves pinch pots, coils, and slabs, requiring tools that join and smooth large surfaces. Detail carving focuses on miniature figures or relief work, demanding fine, sharp instruments. Wheel-throwing relies on tools designed for shaping and trimming spinning clay, which differ significantly from static sculpting tools.
Products mentioned in this guide
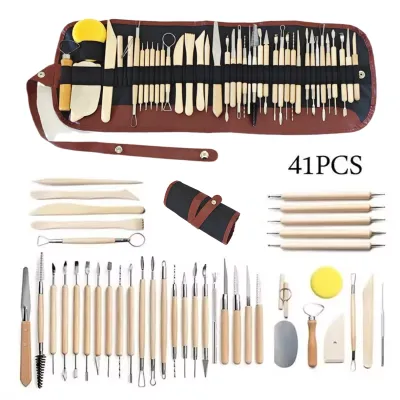
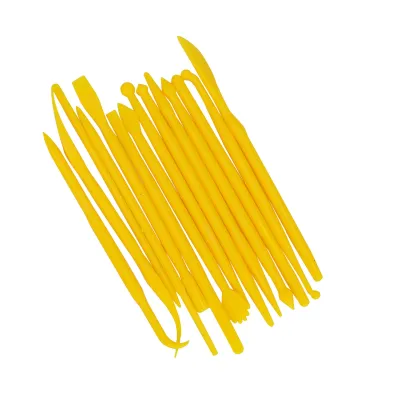
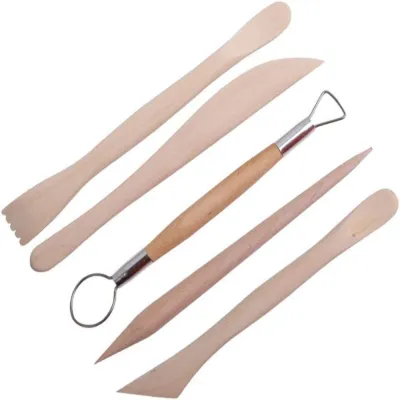
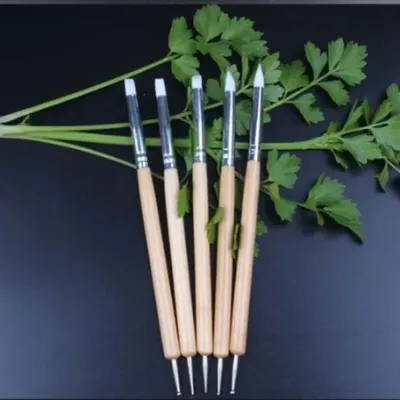
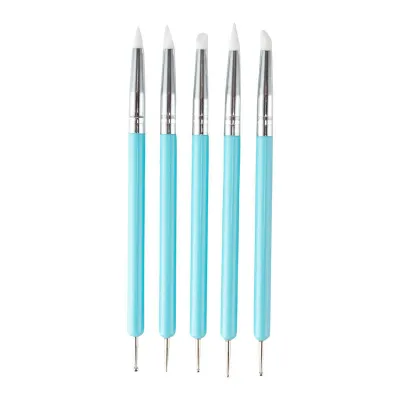
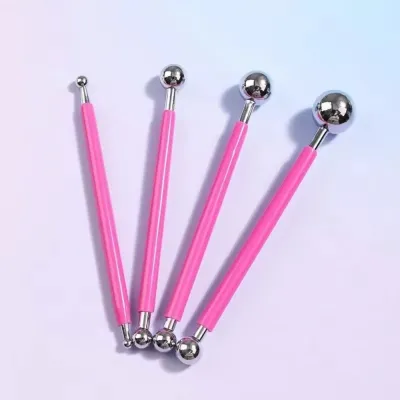
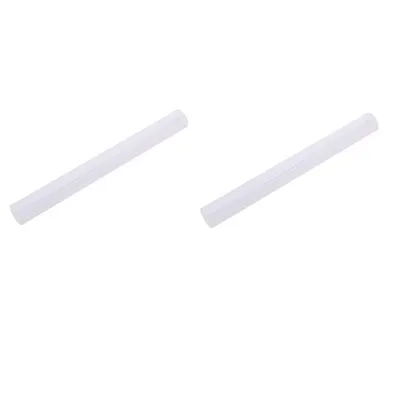
Prices are valid at publication and may change. Please refer to the product page for the latest price.
The type of clay you choose also dictates your tool requirements. Polymer clay is dense, oily, and typically worked on a small scale, meaning you will benefit most from firm metal detailing needles and silicone color shapers. Air-dry clay and traditional ceramic clays are water-based, meaning they dry out as you work and require tools that can manage moisture, such as soft sponges and wooden ribs. Using water-based tools on polymer clay, or vice versa, can lead to frustration and poor results.
Setting a realistic starting budget is the final step in your pre-purchase assessment. For a complete beginner, an initial budget of S$15 to S$30 is more than enough to acquire a high-quality, durable starter kit. Spending more than this before you have confirmed your long-term interest often results in a drawer full of unused, highly specialized tools. Starting small allows you to learn what you actually need through hands-on experience.
The Core Starter Kit: Must-Have Clay Sculpting Tools
The absolute minimum kit for any beginner consists of tools that cut, shape, and manage the moisture of your clay. The first essential tool is a wire clay cutter, which consists of a thin wire suspended between two wooden handles. This tool is indispensable for slicing clean sections from large, dense blocks of clay and for cleanly releasing finished pieces from your work surface or modeling board. Alongside the wire cutter, a basic modeling knife or a plastic craft scalpel allows for precise straight cuts and template tracing.

For shaping and refining forms, you will need a combination of wooden modeling tools and a flexible rib. Wooden modeling tools typically feature a spatula shape on one end and a pointed tip on the other, making them excellent for blending seams, smoothing joints, and drawing guidelines on your sculpture. A flexible rib, which can be made of rubber, soft plastic, or metal, acts as an extension of your thumb to smooth out large curved surfaces and remove unwanted finger marks. Loop tools, which feature a wooden handle with a loop of flattened metal wire at the end, are also essential for carving away excess clay to hollow out forms or create uniform wall thicknesses.
Moisture control is the final pillar of a successful starter kit, particularly when working with water-based air-dry or ceramic clays. A small, dense synthetic sponge is crucial for applying controlled amounts of water to prevent the clay from cracking as you work. Keeping a small bowl of water on your workspace allows you to damp the sponge or wet your fingers to smooth out rough textures. Managing this moisture balance is key to maintaining the structural integrity of your piece as it dries.
Optional Upgrades: Tools You Can Wait to Buy
As you browse craft stores or online marketplaces, you will encounter a vast array of specialized sculpting accessories. Texture mats, decorative stamps, and clay extruders are highly tempting because they promise instant patterns and uniform shapes. However, these tools are not necessary for learning the foundational principles of form, volume, and proportion. Relying on pre-made textures too early can actually hinder your ability to develop hand-eye coordination and manual sculpting skills.
Electric turntables, often called banding wheels, and heavy-duty hollowing tools are other common upgrades that beginners should avoid initially. While a banding wheel makes it easier to view your sculpture from all angles, you can easily achieve a similar effect by placing your work on a piece of cardboard or a cheap manual lazy Susan. Specialized hollowing tools are designed for large-scale ceramic production and are unnecessary for the small, solid sculptures typically created by beginners.
Professional-grade ribbon tools and precision carving sets with interchangeable steel tips are also best left for later. These high-end tools are designed for extremely delicate work on semi-dry clay and require a level of pressure control that takes time to develop. Using them without proper technique can easily gouge your work or damage the delicate wire loops. Stick to basic, sturdy student-grade tools until you find yourself limited by their capabilities.
How to Build Your First Kit on a Budget
When assembling your first kit, you must decide between buying a pre-packaged multi-tool starter set or purchasing individual pieces. For most beginners, a basic 8-piece or 11-piece student pottery set offers the best value. These sets are widely available at local craft shops and online marketplaces, and they typically include a wire cutter, a sponge, a metal rib, a loop tool, a ribbon tool, a wooden modeling tool, and a needle tool. Buying these items individually is almost always more expensive than purchasing them as a curated set.
You can also supplement your starter kit with safe, common household items that cost nothing. A wooden toothpick or a clean sewing needle makes an excellent substitute for a professional needle tool when drawing fine lines or popping air bubbles. An old plastic credit card or membership card can be cut into custom shapes to serve as a highly effective flexible rib for smoothing flat or curved surfaces. For flattening clay into uniform slabs, a clean wooden rolling pin or even a smooth glass bottle works perfectly, provided you dedicate it solely to craft use.
When sourcing your tools, look for student-grade options rather than professional-grade equipment. Student-grade tools are designed to withstand the heavy-handed use typical of beginners while remaining highly affordable. Avoid the cheapest, unbranded plastic sets found on discount platforms, as these often feature sharp molding seams that can leave unwanted marks on your clay, and they tend to snap under pressure. A reputable student brand from a local art supply store will offer the right balance of cost, safety, and durability.
Maintaining and Storing Your Clay Tools
Proper maintenance is the key to ensuring your sculpting tools last for years and remain safe to use. Water-based clays contain minerals that can quickly rust metal components, while the moisture can cause wooden handles to swell, crack, or rot. To prevent this, always clean your tools immediately after each sculpting session. Use a damp cloth or a soft brush to remove all clay residue, then dry them thoroughly with a clean towel before putting them away. Never leave wooden tools soaking in water, as this will ruin the finish and cause the wood to warp.
Safe storage is equally important for protecting both your tools and your hands. Sharp instruments, such as needle tools and modeling knives, should be stored with their protective caps on or placed in a dedicated tool roll or pencil case. Wire cutters should be wound loosely to prevent the wire from kinking, which makes them prone to snapping during future use. Keeping your tools organized in a sturdy plastic box or canvas pouch prevents them from banging against each other, which can dull sharp edges and bend delicate wire loops.
Finally, make it a habit to inspect your tools regularly before you begin working. Check wooden handles for any signs of splintering or cracking, which can cause painful splinters during use. Inspect metal loops and wires for rust or bending, and ensure that the metal ferrules holding the tools together remain tight. If a tool becomes loose, bent, or rusted beyond repair, replace it promptly to avoid ruining your sculptures or causing accidental injury.
Frequently Asked Questions (FAQ)
Can I use regular kitchen knives instead of clay sculpting tools?
While it is tempting to grab a knife from the kitchen, it is generally not recommended for clay sculpting. Kitchen knives are designed for slicing food and often have blades that are too sharp, long, or flexible for controlled clay work, increasing the risk of accidental slips and cuts. Additionally, clay can contain abrasive minerals that dull kitchen cutlery, and using the same knives for food preparation and crafting introduces a risk of chemical cross-contamination. It is much safer and more effective to use a dedicated craft scalpel or a blunt wooden modeling knife designed specifically for clay.
Do I need a pottery wheel to start sculpting clay?
No, you do not need a pottery wheel to start working with clay. A pottery wheel is a specialized piece of equipment used primarily for throwing symmetrical vessels like bowls, plates, and vases. Beginners can easily create a wide variety of beautiful, functional, and decorative items using foundational hand-building techniques such as pinching, coiling, and slab construction. These hand-building methods require minimal space, are highly accessible, and allow you to develop a deep understanding of how clay behaves before you decide whether to invest in a pottery wheel.
Community discussion
Share your experience or ask a question. Comments are reviewed before publication.