
Starting calligraphy does not require a massive investment or a desk cluttered with specialized tools. To begin practicing effectively, you only need a few essential calligraphy accessories: a writing instrument tailored to your chosen style, smooth paper that prevents ink bleeding, and a compatible ink source. Many beginners fall into the trap of purchasing expensive, multi-piece kits, only to find that the tools are frustratingly difficult to control or incompatible with one another. By selecting a few high-quality, targeted accessories, you can build muscle memory faster and avoid unnecessary expenses.
In Singapore’s humid climate, choosing the right combination of paper and ink is particularly important. High humidity can cause standard paper to absorb ambient moisture, making it more prone to ink feathering and slowing down drying times. Understanding how these environmental factors interact with your stationery will help you set up a frustration-free practice space at home.
Choose Your Calligraphy Style Before Buying Accessories
Before purchasing any calligraphy accessories, you must decide which style of lettering you want to learn. The term “calligraphy” covers several distinct disciplines, each requiring a completely different set of tools. Buying accessories without a clear path usually leads to a mismatched collection of items that cannot be used together.
Products mentioned in this guide
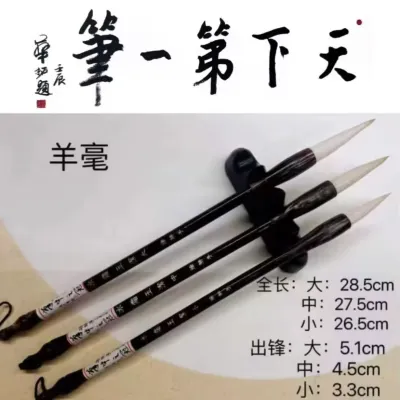
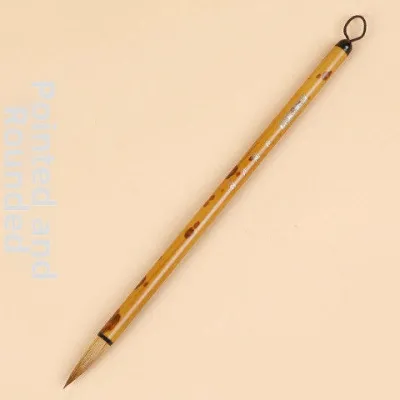
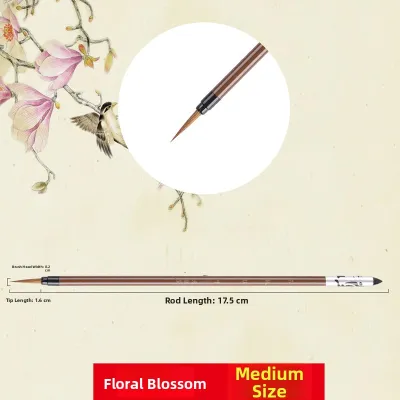
Prices are valid at publication and may change. Please refer to the product page for the latest price.
The two most popular paths for beginners are modern brush calligraphy and traditional pointed pen calligraphy. Modern brush calligraphy utilizes flexible, brush-tipped pens to create fluid, contemporary lettering. It is highly portable, easy to set up, and forgiving for beginners. Traditional pointed pen calligraphy, on the other hand, is a classic style that uses a metal nib inserted into a pen holder, which is dipped directly into an inkwell. This method is ideal for formal scripts like Copperplate or Spencerian, offering unmatched precision and delicate hairlines.
Avoiding pre-packaged, generic calligraphy sets is one of the best ways to save money. These mass-market kits often bundle low-grade plastic fountain pens, scratchy metal nibs, and highly acidic paper that bleeds instantly. Instead of a one-size-fits-all box, building your own kit allows you to choose reliable, beginner-friendly tools that match your specific style. If you prioritize portability and a fast setup, start with brush pens. If you prefer classic elegance, fine lines, and the tactile feel of dipping a pen, opt for pointed pen calligraphy.
Essential Accessories for Modern Brush Calligraphy
Modern brush calligraphy is highly accessible because it eliminates the need for open ink bottles and delicate metal nibs. However, the success of your practice still depends heavily on matching the flexibility of your pen tip with the texture of your paper.

Small-Tip Brush Pens for Better Control
Many beginners instinctively reach for large, colorful brush pens because they are highly visible in social media videos. However, large brush tips require excellent control over hand pressure and angle, making them incredibly difficult for a novice to handle. Large tips also demand larger letterforms, which can quickly exhaust your paper supply and make it harder to visualize consistent spacing.
For those just starting out, small-tip brush pens with firm-yet-flexible tips are highly recommended. Look for pens with elastomer or hard felt tips, such as the Tombow Fudenosuke Hard Tip or the Pentel Sign Pen Touch. These pens offer excellent “snap-back,” meaning the tip quickly returns to its original pointed shape when you release pressure. This mechanical resilience helps you execute clean, thin upstrokes and distinct, thick downstrokes without the pen tip turning mushy.
When evaluating a brush pen, check the tip material and firmness rating. A firmer tip acts as a training wheel, resisting excess hand pressure so your lines remain steady. As your muscle memory develops, you can gradually transition to softer, larger brush pens with nylon bristles.
Smooth, Bleed-Proof Practice Paper
The paper you choose is just as critical as the pen itself. Standard copy paper might seem like a cost-effective option for repetitive practice, but its surface is highly abrasive under a microscope. Writing on textured paper will quickly fray the delicate fibers of your brush pen tips, permanently ruining their ability to create fine lines.
To protect your pens and ensure crisp strokes, invest in ultra-smooth, high-density paper. Excellent options include marker paper pads, premium laserjet paper (such as HP Premium 32lb, which is roughly 120 gsm), or dedicated dot-grid practice pads from brands like Rhodia or Clairefontaine. In Singapore, high-quality pads from brands like Rhodia are widely available in local art supply stores and online marketplaces for around S$10 to S$25. These papers feature a coated, non-porous surface that allows the pen to glide effortlessly without catching or absorbing excessive ink.
To verify if a paper pad is suitable for your specific brush pen, perform a quick spot test in the corner of a page. Write a few heavy downstrokes and observe the edges of the ink. If the ink spreads outward like tiny tree branches (feathering) or shows through clearly on the reverse side (bleeding), the paper lacks the necessary density or sizing. Utilizing a dot-grid or light grid pattern is also highly beneficial, as it provides consistent visual guidelines for maintaining uniform letter heights, slants, and spacing.
Essential Calligraphy Accessories for Traditional Pointed Pen Calligraphy
If you choose the traditional dip pen route, your setup will require a few more individual components. Selecting compatible, forgiving tools will prevent the common frustrations of ink pooling, scratching, and hand fatigue.
Pen Holders and Beginner-Friendly Nibs
A dip pen consists of two separate parts: the pen holder and the metal nib. Pen holders come in two primary designs: straight and oblique. A straight holder is highly versatile and works well for upright scripts, block lettering, and left-handed calligraphers. An oblique holder features a metal or plastic flange protruding from the side, which holds the nib at an angle. This design is highly recommended for right-handed writers learning slanted scripts like Copperplate, as it allows you to maintain the correct angle of slant without twisting your wrist uncomfortably.
For your first holder, skip expensive custom turned-wood options and choose a basic, ergonomic plastic or wooden holder. The Tachikawa T-40 is an excellent straight holder featuring a soft rubber grip that reduces finger fatigue, while a basic Speedball oblique holder provides a budget-friendly entry point for slanted writing. Ensure the holder’s mount is compatible with standard nib sizes, as some specialty holders only accept smaller mapping nibs.
Your choice of nib will dictate how easy it is to write. Avoid highly flexible, sharp professional nibs, which easily catch on the paper and release ink in uncontrollable blobs. Instead, start with a medium-flex “G-nib,” such as the Nikko G, Zebra G, or Tachikawa G. These nibs were originally designed for manga drawing and are exceptionally durable. They feature a smooth, rounded tip that glides easily over paper, and their moderate stiffness requires deliberate pressure to open the tines, helping you learn to control line width systematically.
Forgiving and Easy-to-Use Inks
Not all inks are suitable for dip pens. Fountain pen ink, for example, is generally too thin and watery; it will run off a dip pen nib instantly, resulting in large blots on your paper. Conversely, acrylic inks can dry too quickly on the metal, clogging the nib and making cleanup difficult.
For a hassle-free experience, start with liquid Sumi ink or walnut ink. Sumi ink (such as Yasutomo or Kuretake) is a carbon-based ink that offers a deep black color, excellent flow, and a slight sheen when dry. It is naturally viscous enough to cling to the metal nib while flowing smoothly onto the paper. Walnut ink, made from walnut crystals or synthetic equivalents, provides a beautiful, warm brown tone with natural shading, making it highly forgiving for practicing thin hairlines.
Because dipping directly into a large, deep ink bottle can lead to over-dipping or accidental spills, you should use a small, stable container. A “dinky dip”—which consists of tiny plastic vials set into a heavy wooden or acrylic block—is an excellent accessory. It holds a small amount of ink safely, preventing your pen holder from getting messy and minimizing the damage if a spill occurs on your desk.
Universal Basics Every Beginner Needs
Regardless of whether you choose brush pens or dip pens, several universal accessories and maintenance habits will dramatically improve your practice sessions. These low-cost additions keep your tools in peak condition and make writing physically more comfortable.
First, always use a cushioning layer beneath your active practice sheet. Writing directly on a hard wooden or glass desk surface limits your control and increases friction on the pen tip. Placing a felt pad, a smooth writing mat, a mousepad, or a stack of five to ten sheets of scrap paper under your workspace provides a subtle bounce. This cushioning allows the nib or brush tip to transition smoothly between light and heavy pressure, resulting in cleaner strokes.
Second, establish a simple cleaning routine. Metal nibs are shipped with a thin layer of protective factory oil to prevent rust during transit. If you do not remove this oil before your first use, ink will bead up on the metal and slide off in a single drop. To prep a new nib, gently scrub it with a soft toothbrush and mild dish soap, or wipe it with rubbing alcohol, then dry it thoroughly with a lint-free microfiber cloth.
After every practice session, clean your nibs immediately using water and a lint-free cloth to prevent dried ink from clogging the tines. Avoid paper towels, as their fibers can catch in the delicate slit of the nib. For brush pens, proper storage is key to longevity. Always store dual-tipped or dye-based brush pens horizontally. Storing them vertically can cause the ink to pool at one end, leading to one tip drying out while the other becomes oversaturated.
Calligraphy Accessories Beginners Should Skip (For Now)
When browsing online stationery shops or social media, it is easy to get swept up in the aesthetic appeal of advanced calligraphy tools. However, many of these popular accessories will actually hinder your progress as a beginner.
Wax seal kits are a common impulse buy. While they add a beautiful finishing touch to envelopes, they have nothing to do with learning the physical mechanics of calligraphy. Setting up wax seals takes time and attention away from practicing your basic strokes and letterforms. Save this purchase for later when you are ready to mail finished pieces.
Massive multi-color brush pen sets are another expensive distraction. When you are learning calligraphy, your primary focus should be on pen pressure, angle, and muscle memory. Managing a wide palette of colors can distract you from identifying structural flaws in your lettering. Start with one or two black or dark grey pens. Once you can consistently produce clean, uniform strokes, you can reward yourself with a wider color selection.
Light pads are useful tools for tracing guidelines or transferring finalized layouts onto opaque paper. However, for daily practice, they are entirely unnecessary. You can easily print guidelines directly onto your practice paper or place a dark guide sheet underneath translucent marker paper.
Finally, avoid expensive custom-turned wooden pen holders or rare vintage nibs. A standard plastic or basic wooden holder costing between S$5 to S$15 is highly durable and perfectly balanced for learning. Vintage nibs often have unique flexibility characteristics that require advanced pressure control, and they are much more difficult to replace when they inevitably wear out or rust. Keep your setup simple, reliable, and easily replaceable during your first few months of learning.
Frequently Asked Questions (FAQ)
Can I use regular printer paper for calligraphy practice?
No, standard printer paper is highly discouraged for calligraphy practice. Its rough, uncoated surface acts like fine sandpaper, quickly fraying the delicate felt or elastomer tips of brush pens. For dip pens, the fibers of standard printer paper easily catch in the sharp tines of the nib, causing ink splatters and tearing. Furthermore, printer paper lacks the sizing required to hold wet ink, which leads to severe feathering and bleeding. For a budget-friendly alternative, look for premium, smooth laserjet paper with a weight of at least 120 gsm, or dedicated smooth practice pads.
Do I need an oblique pen holder for pointed pen calligraphy?
An oblique pen holder is not strictly mandatory, but it is highly beneficial for right-handed writers practicing slanted scripts such as Copperplate or Spencerian. The angled flange aligns the nib naturally with the slant of the letters, allowing you to apply even pressure to both tines without twisting your wrist. For left-handed writers, a standard straight holder is often preferred, as their natural hand position already approaches the paper at the correct angle. If you are unsure, starting with an inexpensive straight holder allows you to test your grip before investing in an oblique model.
Community discussion
Share your experience or ask a question. Comments are reviewed before publication.