
Selecting your first acrylic paint set can feel overwhelming when standing in front of crowded art supply shelves. The rows of vibrant tubes, massive multi-color boxes, and varying price points often lead beginners to make costly mistakes. The most effective way to start acrylic painting is not by purchasing the largest set available, but by investing in a small, high-quality palette of six to eight essential colors. This focused selection teaches you the fundamentals of color mixing, prevents muddy paintings, and saves you money.
By starting with a limited palette, you learn how colors interact and how to control temperature and value. Acrylic paint is highly versatile, but its performance depends heavily on the quality of the pigment and the binder. Choosing a smaller set of reliable, student-grade paints from an established manufacturer allows you to practice on various surfaces—such as stretched canvas, wood, or heavyweight paper—without the frustration of using low-quality, chalky materials that hinder your progress.
Why Beginners Should Avoid Massive Color Sets
It is incredibly tempting to purchase a massive box containing 50 or more pre-mixed acrylic colors. These oversized sets are widely available on online marketplaces and in budget department stores, often marketed as complete kits for beginners. However, these collections are usually a counterproductive investment for anyone serious about learning how to paint.
Products mentioned in this guide
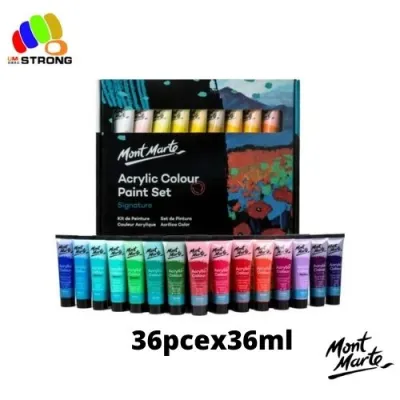
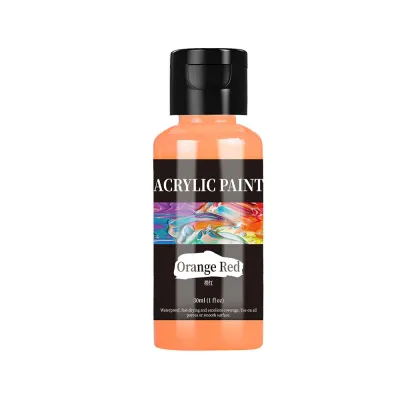
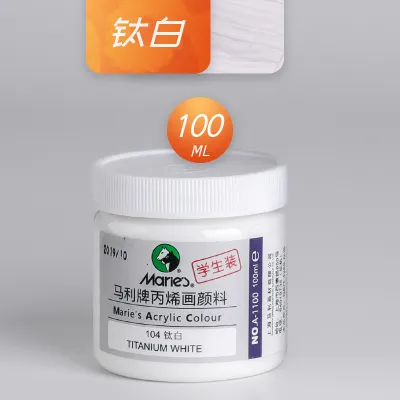
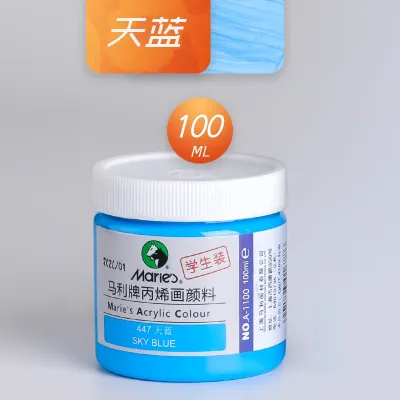
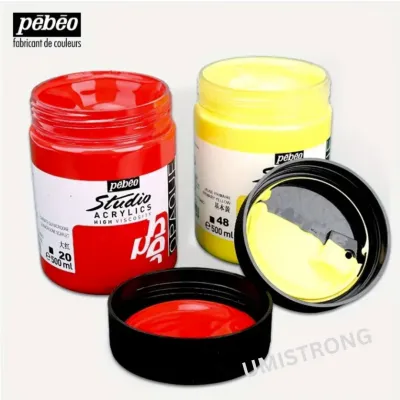
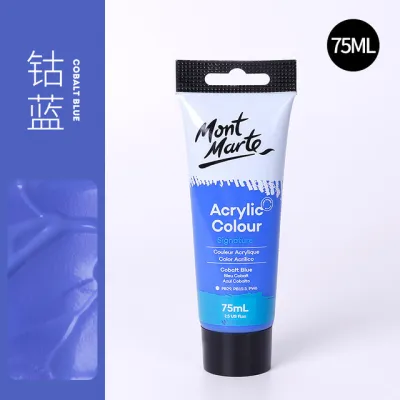
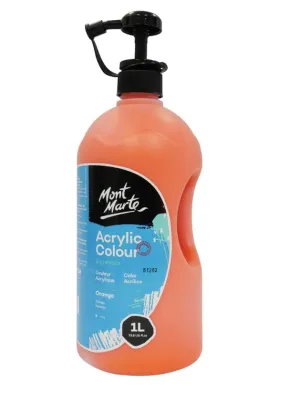
Prices are valid at publication and may change. Please refer to the product page for the latest price.
Most budget-friendly, massive paint sets contain low-pigment paints heavily diluted with chalky fillers. To keep manufacturing costs low, brands use cheap synthetic binders and minimal pigment loads. When you paint with these, you will notice they lack tinting strength, requiring multiple layers to cover a canvas. The colors often dry to a dull, uneven, or chalky finish rather than the vibrant, satiny sheen characteristic of quality acrylics.
Having dozens of pre-mixed tubes also overwhelms new painters and stalls artistic growth. When you have a specific tube for every shade, you miss out on the critical process of learning color theory. Relying on pre-mixed convenience colors like “forest green” or “sunset orange” means you never learn how to mix those shades yourself, leaving you unable to adjust values, shadows, or color temperatures when working on complex subjects.
Furthermore, many of the highly specific shades in large sets are rarely used. Niche pastels, neon tones, and metallic paints often sit untouched in your art kit. Because acrylic paint has a limited shelf life once the seal is broken, these neglected tubes frequently dry out and harden inside the packaging long before you can finish them, resulting in unnecessary waste.
Mastering a few core colors builds a much stronger foundation for your artistic journey. When you limit your palette, you quickly understand how a warm blue differs from a cool blue, and how to darken a color without making it look dirty. This technical confidence is far more valuable than a drawer full of dried-up, low-quality paint tubes.
The Core Acrylic Color Palette You Actually Need
To mix almost any color imaginable, you only need a handful of well-chosen paints. A professional-grade or high-quality student-grade starter kit should center around a “split-primary” system, which includes a warm and a cool version of each primary color, plus a few essential neutrals and earth tones.

The Essential Neutrals
- Titanium White: This is the single most important tube in your kit. You will use Titanium White in almost every painting to lighten values, create opaque highlights, and mix pastel tones. Because you will use it far more quickly than any other color, buy Titanium White in a larger tube (such as 120ml or 200ml) compared to your other paints.
- Mars Black (or Ivory Black): Mars Black is a highly opaque, warm black that is excellent for graphic lines, deep shadows, and creating cool grays when mixed with Titanium White. Use it sparingly, as its strong tinting power can easily overpower other colors in a mix.
The Split Primaries
- The Reds: You need a warm red and a cool red. Cadmium Red Medium Hue (or Pyrrole Red) is a warm, opaque red with a yellow undertone, perfect for painting fiery sunsets or warm skin tones. Quinacridone Magenta (or Alizarin Crimson Hue) is a cool, transparent red with a blue undertone, essential for mixing clean, vibrant purples and pinks.
- The Blues: You need a warm blue and a cool blue. Ultramarine Blue is a deep, warm blue with a reddish undertone, ideal for rich shadows and mixing deep purples. Phthalo Blue (or Primary Cyan) is an incredibly strong, cool blue with a green undertone, necessary for mixing bright turquoises and vibrant, clean greens.
- The Yellows: You need a warm yellow and a cool yellow. Cadmium Yellow Medium Hue (or Hansa Yellow Medium) is a warm, rich yellow with a red undertone, excellent for warm light and mixing natural oranges. Lemon Yellow (or Cadmium Yellow Light Hue) is a bright, cool yellow with a green undertone, crucial for mixing vivid greens and clean lime shades.
The Essential Earth Tone
- Burnt Umber: This rich, dark brown is incredibly versatile. When mixed with Ultramarine Blue, Burnt Umber creates a beautiful, deep chromatic black that looks much more natural and lively in landscapes and portraits than pure tube black. It is also perfect for rendering natural shadows, wood textures, and soil.
By using this 6-to-8 color range, you can paint landscapes, portraits, still lifes, and abstract art successfully. Because you have both warm and cool variations of red, yellow, and blue, you can mix clean secondary colors (orange, green, and purple) without them turning muddy.
What to Look for in a Beginner Acrylic Paint Set
When shopping for your starter set at a local art store or online, you must evaluate several key dimensions to ensure you are getting a product that supports your learning process rather than hindering it.
Pigment Grade
Art manufacturers divide their paint lines into two main categories: “Student grade” and “Professional grade” (sometimes called Artist grade). For beginners, high-quality student-grade paint is highly recommended. It is affordable, typically costing between S$5 and S$12 per tube in Singapore, allowing you to practice freely without feeling like you are wasting expensive materials.
Student-grade paints achieve their lower price point by using synthetic alternatives for expensive pigments—labeled as “Hues” on the tube—and a slightly lower pigment concentration. Despite this, reputable brands maintain excellent lightfastness (resistance to fading over time) and a smooth, workable consistency. Avoid generic, unbranded paints that do not specify their pigment grade on the packaging.
Packaging Format
Tubes are much better for beginners than jars or pots. Squeezing paint from a tube onto your palette keeps the remaining paint sealed and protected from air exposure, preventing it from drying out prematurely. Jars require you to dip your brush or palette knife directly into the container, which introduces moisture, bacteria, and dried paint flakes, eventually ruining the entire batch.
Tube Size
Look for starter sets containing tubes between 20ml and 75ml (approximately 2 ounces). This size provides enough paint to complete dozens of small-to-medium practice pieces. It also ensures you use up the paint before the binder and pigment begin to separate or cure inside the tube. As mentioned, buy a separate, larger tube of Titanium White alongside your starter set.
Label Information
Before purchasing, inspect the back of the paint tubes or the product packaging for standard symbols and ratings. Reputable brands print clear indicators for:
- Lightfastness: Usually rated using Roman numerals (I for Excellent, II for Very Good) or stars. Ensure your paints have a high rating so your work does not fade when exposed to room light.
- Opacity: Often represented by a small square. A white square indicates transparent paint, a diagonally crossed square indicates semi-transparent, and a solid black square indicates fully opaque paint.
- Pigment Codes: Look for codes like PW6 (Titanium White) or PB29 (Ultramarine Blue). The presence of these codes indicates genuine, high-quality art paint rather than cheap craft paint.
Recommended Acrylic Set Configurations for Starters
While specific store stock and seasonal prices fluctuate, certain configurations and established student-grade paint lines consistently meet beginner needs. Brands such as Winsor & Newton Galeria, Liquitex Basics, and Daler-Rowney System 3 are reliable, widely distributed, and offer excellent performance for their price.
Primary-Only Sets (6 to 8 Colors)
This configuration is the ultimate choice for beginners who want to build serious color-mixing skills. These sets typically include a warm and cool version of each primary color, plus black and white.
- Ideal Use Case: Painters who want to master color theory from day one and avoid relying on pre-mixed convenience colors.
- Benefits: Extremely cost-effective, highly portable, and forces you to understand the relationship between warm and cool tones.
- Limitations: Requires more time and physical effort on the palette to mix specific shades like deep purples or vibrant foliage greens.
Standard Student-Grade Sets (10 to 12 Colors)
These sets offer a balanced middle ground, providing the core primaries alongside a few highly useful “convenience colors” that save mixing time.
- Ideal Use Case: Beginners who want a slightly broader starting range without the overwhelm of a massive kit.
- Extra Colors Included: Typically includes pre-mixed shades like Phthalo Green (a powerful, cool green), Yellow Ochre (a warm, muted earth yellow), and Dioxazine Purple (a highly saturated violet).
- Benefits: Saves significant mixing time, especially when painting natural landscapes or skin tones.
- Limitations: Slightly higher upfront cost, and you may find yourself neglecting one or two of the pre-mixed shades.
All-in-One Starter Kits with Accessories
These bundled kits package a selection of paints with basic tools, such as synthetic brushes, a plastic palette, and sometimes a small canvas pad or board.
- Ideal Use Case: Absolute beginners who own zero art supplies and want a complete, out-of-the-box solution to start painting immediately.
- Benefits: High convenience; you do not have to shop for brushes or palettes separately.
- Limitations: The included brushes and plastic palettes are often of lower quality and may need replacement within a few weeks. Always verify that the bundled paints are labeled as "artists' acrylics" rather than "craft paints," which lack the thickness and coverage required for fine art techniques.
Managing Acrylic Paint in a Tropical Climate
Painting with acrylics in Singapore presents unique environmental challenges due to the high ambient heat and humidity, contrasted with the dry, moisture-stripping air of air-conditioned rooms. Because acrylic paint dries through the evaporation of its water content, managing your working environment is crucial to keeping your paints usable.
In typical outdoor or non-air-conditioned spaces, the high ambient temperature can cause paint to skin over on your palette within minutes. Conversely, in a dry, air-conditioned room, the rapid air circulation accelerates evaporation, drying out your paint patches before you can blend them on the canvas. To combat this, you should adopt specific workflow adjustments.
First, use a wet palette. You can purchase a commercial wet palette or easily build one yourself using a shallow plastic container, a damp paper towel or thin sponge, and a sheet of baking parchment paper on top. The moisture from the damp layer slowly filters through the parchment paper, keeping your acrylic paints wet, workable, and fresh for hours—or even days if the container lid is closed between sessions.
Second, consider using a slow-drying medium or acrylic retarder. Adding a few drops of retarder to your paint on the palette slows down the chemical drying process, giving you more time for smooth blending and wet-on-wet techniques. However, always check the manufacturer’s instructions on the bottle; exceeding the recommended ratio (usually no more than 15% retarder to paint) can disrupt the acrylic polymer binder, preventing the paint from ever curing properly and leaving it sticky.
Finally, store your paint tubes correctly. Keep them in a cool, dark cupboard away from windows and direct sunlight. Extreme tropical heat can cause the acrylic emulsion binder to separate from the pigment inside the tube, resulting in a watery mess when you next squeeze it out.
When and How to Expand Your Color Collection
Once you have spent a few months mastering your basic starter set, you will reach a point where expanding your color collection is justified. You should only buy new colors when your current palette limits your efficiency or prevents you from achieving a specific artistic result.
One clear signal to expand is when you find yourself mixing the exact same color repeatedly during every painting session. For example, if you paint landscapes and spend ten minutes mixing a specific olive green or warm gold every single time, buying a tube of Sap Green or Raw Sienna is a smart choice. These are known as “convenience colors” because they save time and ensure color consistency across large canvases.
Another reason to buy a new tube is when a specific vibrant hue cannot be mixed using your current primaries. For instance, a brilliant, glowing turquoise or an ultra-saturated neon pink cannot be mixed cleanly using standard student-grade primaries. Adding a single specialty tube, like Cobalt Teal or Quinacridone Magenta, instantly expands your creative possibilities.
When you do decide to expand, consider upgrading strategically. You do not need to replace your entire kit with expensive professional-grade paints. Instead, buy professional-grade tubes only for high-impact colors where pigment quality makes a massive difference, such as your primaries and Titanium White. You can continue using affordable student-grade paints for earth tones, underpaintings, and large background areas.
Frequently Asked Questions (FAQ)
Do I need professional-grade acrylics to start painting?
No, you do not need professional-grade paints to begin. High-quality student-grade acrylics are perfectly adequate for learning brush control, color mixing, and basic techniques. They offer excellent performance at a fraction of the cost. Professional-grade paints are highly concentrated and use pure, expensive pigments, which are most beneficial once you have developed your style, understand paint behavior, and are creating work intended for long-term exhibition or sale.
Why do my mixed colors look muddy or dull?
Muddy mixtures usually occur when you accidentally mix three primary colors together, which neutralizes the vibrancy and creates brown or gray. This often happens because of color bias (undertones). For example, if you mix a warm blue (which has a red undertone) with a warm yellow (which has a red undertone), the presence of that red undertone introduces a third primary into your blue-yellow mix, resulting in a dull, olive green rather than a bright, clean green. To avoid this, always mix colors that share the same temperature bias.
How can I keep my acrylic paints from drying out in the tube?
To maximize the lifespan of your paint tubes, always wipe the threaded neck of the tube and the inside of the cap with a damp cloth before screwing the lid back on. Dried paint buildup on the threads prevents an airtight seal, allowing air to slowly enter the tube and solidify the paint inside. Additionally, store your tubes tightly capped, upright in a cool, shaded drawer or container, away from direct sunlight, air-conditioning vents, and heat sources.
Community discussion
Share your experience or ask a question. Comments are reviewed before publication.