
Selecting your first leather paint kit in Singapore requires looking beyond vibrant color palettes to focus on paint chemistry, kit completeness, and local environmental factors. Because Singapore’s tropical climate features consistently high relative humidity, water-based leather paints behave differently during the drying and curing phases compared to drier regions. A successful beginner project—whether customizing a pair of sneakers, restoring a worn wallet, or painting a leather bag—depends on choosing a kit that provides specialized flexible acrylics rather than standard craft paints. The ideal starter set must bundle the essential preparation and finishing solutions alongside the paints, ensuring the final design adheres permanently without cracking, peeling, or remaining tacky in the humid air.
Core Criteria for a Beginner-Friendly Leather Paint Kit
When evaluating leather paint kits, the chemical formulation of the paint is the most critical factor. Standard acrylic paints dry into a rigid, plastic-like layer that inevitably cracks when the underlying material bends. Dedicated leather paints are formulated with highly flexible acrylic polymers and polyurethane binders. These specialized binders allow the dried paint film to stretch, flex, and contract in tandem with the leather fibers, maintaining adhesion even on high-crease areas like shoe vamps or watch straps.
A complete beginner kit must provide more than just paint pots to ensure a successful application. Look for bundles that include a preparation agent, often labeled as a leather preparer or deglazer, which is essential for stripping away factory finishes and oils. The kit should also feature synthetic, soft-bristle brushes that minimize brush strokes, and an acrylic finisher to seal the painted surface. Without these supporting components, the paint cannot bond correctly to the leather, leading to premature peeling and wear.
Products mentioned in this guide
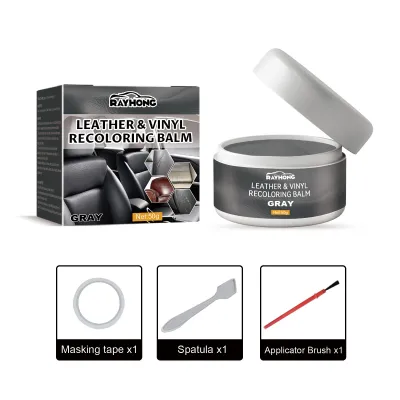
![[SG FREE ] Car Leather Repair Kit Paint Cleaner For Auto Seat Sofa Shoes Universal](https://img.lazcdn.com/g/p/1eec7321b7d56a3cac0da75422e8efac.jpg_400x400q80.jpg_.webp)
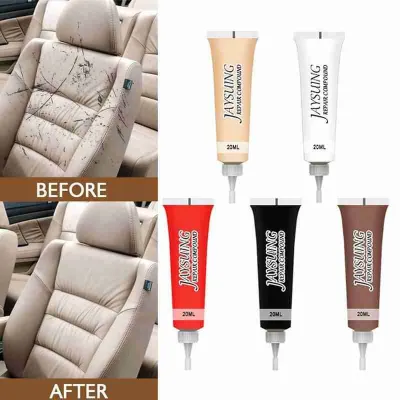
![[SG FREE ] 20ml Eidechse Car Care Liquid Leather Repair Kit Auto Complementary Color Paste Car Seat Sofa Bag Scratch Cr](https://img.lazcdn.com/g/p/03e0d6338a2223e3b166ebd5b2a6e6e7.jpg_400x400q80.jpg_.webp)
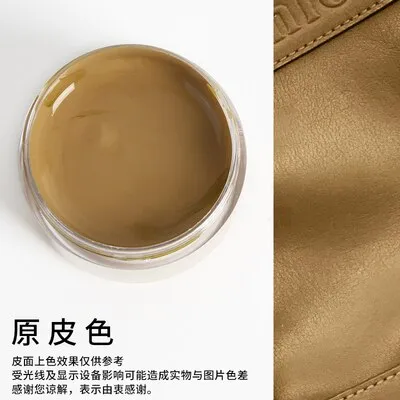
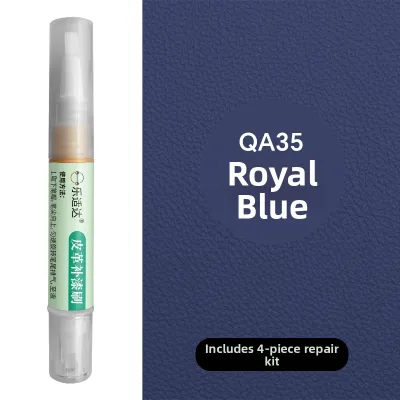
Prices are valid at publication and may change. Please refer to the product page for the latest price.
Surface compatibility is another vital check before purchasing any kit. Genuine top-grain and vegetable-tanned leathers are highly porous once deglazed, making them excellent surfaces for flexible acrylics. Synthetic leathers, such as polyurethane (PU) or polyvinyl chloride (PVC), are non-porous and require highly aggressive deglazing or specialized adhesion promoters to ensure a lasting bond. Suede and nubuck, characterized by their open nap, should never be painted with standard leather acrylics, as the paint will clog the delicate fibers and ruin the texture; these materials require liquid dyes instead.
Comparing Paint Types and Kit Configurations
Beginners must choose between airbrush-ready and brush-on paint kits, each presenting a distinct learning curve. Airbrushing offers incredibly smooth, gradient finishes without visible brush strokes, but it requires a significant investment in compressors, nozzles, and thinners, alongside a steep technical learning curve. For novices, brush-on kits are highly recommended. They allow direct control, require minimal setup, and can be easily thinned with water or specialized flow improvers to achieve a smooth, level finish.

Paint opacity and finish types also dictate the success of your project. Opaque paints contain high pigment concentrations designed to cover dark leather surfaces in fewer coats, making them highly beginner-friendly. Translucent, pearlescent, or metallic finishes rely on mica or specialized pigments that allow the underlying leather grain to show through, often requiring a solid white base coat to achieve their intended vibrancy. Beginners should prioritize kits that feature highly opaque primary colors to simplify color mixing and coverage.
For budget and storage considerations, multi-color sampler kits are generally superior to large single-color bulk kits for beginners. A sampler kit containing smaller bottles, typically 15ml to 30ml, provides a broad color spectrum for mixing without a significant upfront financial commitment. This keeps the initial investment within a reasonable range of S$30 to S$60 while preventing unused paint from drying out in storage. Bulk kits are best reserved for large-scale restoration projects, such as recoloring a leather sofa or car seats.
| Kit Configuration | Included Components | Ideal Use Case | Limitations | Required Prep Steps |
|---|---|---|---|---|
| Multi-Color Sampler Kit | 6–12 small paint pots (15ml), basic brush, mini finisher | Small customization projects, multi-color designs, sneaker art | Limited volume per color, may lack full-sized deglazer | Surface cleaning, light deglazing, thin-coat application |
| Single-Color Restoration Kit | 1 large paint bottle (118ml), deglazer, sponge applicator, finisher | Repairing scuffs on sofas, car seats, or large monochrome bags | No color mixing variety, unsuitable for detailed artwork | Deep deglazing, sanding (if cracked), multi-layer sponging |
| Professional Starter Bundle | 5–8 medium paints (30ml), full-sized deglazer, multiple brushes, matte & gloss finishers | Serious hobbyists wanting to learn proper multi-step techniques | Higher initial cost, requires dedicated workspace | Full deglazing, surface masking, multi-stage sealing |
Evaluating Brand Claims and Product Labels
When browsing online marketplaces or local art shops, look past generic marketing phrases like “leather-safe” or “universal craft paint.” Instead, inspect the product label or manufacturer specification sheet for explicit mentions of “high flexibility,” “crack-resistant,” and “waterproof once cured.” True leather paints will clearly state their polymer base and outline their performance characteristics under flexing tests, giving you confidence that the paint will endure daily wear.
Reliable brands do not promise “one-step” miracles on finished leather. If a product label claims no preparation or deglazing is required on finished leather, treat this with caution. Proper adhesion requires stripping the original factory topcoat. Look for kits where the instructions explicitly detail a multi-step process: cleaning, deglazing, painting in thin layers, and sealing. This transparency in instructions is a strong indicator of a professional-grade product.
Because leather preparation often involves mild solvents, and paints contain chemical binders, safety labels are critical. Ensure the kit carries standard safety certifications, such as the ASTM D-4236 designation for non-toxic art materials. This is especially important when working in typical Singapore residential spaces, such as HDB flats or condominiums, where painting is often done indoors under air conditioning or with limited cross-ventilation. Avoid unbranded or generic kits that lack clear safety data sheets or ingredient disclosures.
Sourcing and Verifying Kits in the Local Market
Singapore offers several avenues for sourcing authentic leather paint kits. Specialized art supply stores, particularly those located in cultural and retail hubs like Bras Basah Complex or around central arts districts, carry reputable international brands. Alternatively, local e-commerce platforms and dedicated leathercraft supply shops offer a wide selection of starter bundles with reliable local delivery options.
Acrylic paints have a finite shelf life, typically ranging from two to five years depending on storage conditions. In Singapore’s warm climate, poorly stored paints can undergo premature polymerization, leading to clumping, separation, or a foul odor. When purchasing online, verify that the seller is an authorized distributor or a highly rated specialty art dealer. Check customer reviews for mentions of paint consistency, and inspect the bottles upon delivery to ensure the safety seals are intact and the paint is smooth and fluid.
If ordering kits from overseas, consider the transit conditions. Liquid paints exposed to extreme heat in cargo holds or delivery vehicles can degrade. Opting for local sellers who store their inventory in temperature-controlled environments reduces the risk of receiving spoiled, clumpy, or separated paint that cannot be salvaged. If you must import, choose expedited shipping options to minimize the time the package spends in transit under harsh conditions.
Pre-Painting Checks and Safe Application Practices
Before applying paint to a prominent area of your leather item, always conduct a spot test on an inconspicuous zone, such as the inside of a strap, the inner tongue of a shoe, or an interior seam. Apply a small amount of the prep solvent and a thin layer of paint, allowing them to dry completely. Flex the test area repeatedly to observe if the paint cracks, peels, or changes color unexpectedly. This simple check prevents irreversible damage to your valuable leather goods.
Proper surface preparation is the single most important factor in paint longevity. Use a lint-free microfiber cloth or a wool dauber saturated with the kit’s deglazer or a high-purity isopropyl alcohol to gently rub the leather surface. This process removes the factory protective glaze, oils, and dirt, creating a slightly matte, receptive surface for the paint. Always wear protective gloves during this step, and ensure windows are open to maintain adequate airflow, especially when using solvent-based deglazers.
Be prepared to halt the project if you encounter warning signs during preparation. If the leather surface becomes excessively sticky, begins to dissolve, or bleeds color heavily onto your cleaning cloth, the material may be highly treated, synthetic, or poorly dyed. Similarly, if the paint beads up on the surface like water on a freshly waxed car, the factory finish has not been fully removed, and applying more paint will only lead to peeling. In these cases, consult the manufacturer’s technical support before proceeding.
Frequently Asked Questions (FAQ)
Can I use regular acrylic paint instead of a dedicated leather paint kit?
Regular acrylic paint lacks the specialized polyurethane binders found in dedicated leather paints, making it highly prone to cracking and peeling when the leather flexes. While you can technically mix regular acrylic paint with a specialized fabric or leather medium to increase its flexibility, this DIY approach requires precise ratios and rarely achieves the same level of durability, adhesion, and smooth finish as a pre-formulated leather paint kit.
How do I prevent leather paint from cracking after it dries?
To prevent cracking, always apply the paint in multiple paper-thin layers rather than one or two thick coats. Allow each layer to dry completely—typically 15 to 30 minutes, though Singapore’s high humidity may extend this time slightly—before applying the next. Additionally, ensure the leather is thoroughly deglazed before painting, and apply a flexible acrylic finisher once the final paint layer has fully cured to lock the design in place.
Do I need a finisher or sealer if my paint kit claims to be water-resistant?
Yes, applying a dedicated finisher or sealer is highly recommended even if the paint claims to be water-resistant. While the cured paint film itself may resist water, a topcoat finisher provides an essential barrier against physical friction, scuffs, dirt, and sweat. It also allows you to customize the final sheen of your project, offering options ranging from an ultra-matte finish to a high-gloss shine while extending the overall lifespan of your custom work.

Community discussion
Share your experience or ask a question. Comments are reviewed before publication.