
Selecting the right utility cutter for a student in Singapore depends on matching their developmental stage, motor skills, and school project demands with the tool’s safety mechanisms. While younger primary school students should rely on safety scissors or enclosed blades, older students in secondary school or pre-university programs can transition to standard snap-off utility cutters for complex design and technology projects. Balancing safety features like auto-retracting blades with the physical demands of schoolwork ensures students can complete their assignments without unnecessary risk.
Key Safety and Design Features to Evaluate
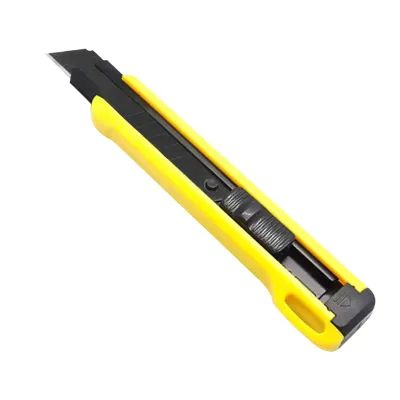
When choosing a utility cutter for school use, parents must look beyond basic aesthetics and evaluate the specific mechanical features that dictate how the tool operates. The locking mechanism is the most critical safety component. Manual slide locks require the user to actively push a button or turn a wheel to secure the blade, which can lead to slips if the user forgets to lock it. In contrast, auto-retract mechanisms use an internal spring that automatically pulls the blade back into the handle the moment the user releases the slider. Squeeze-retract designs offer another layer of safety, extending the blade only when the user squeezes the handle grip, which naturally retracts if the tool is dropped.
Handle ergonomics and materials directly influence how much control a student has over the cut. Lightweight plastic handles are easy to maneuver but can crack under heavy pressure, whereas zinc alloy or steel-reinforced bodies offer durability at the cost of added weight. For younger students or those with smaller hands, a compact handle with rubberized, non-slip grip zones is essential to prevent slipping, especially in Singapore’s humid climate where hands can easily become sweaty.
Products mentioned in this guide
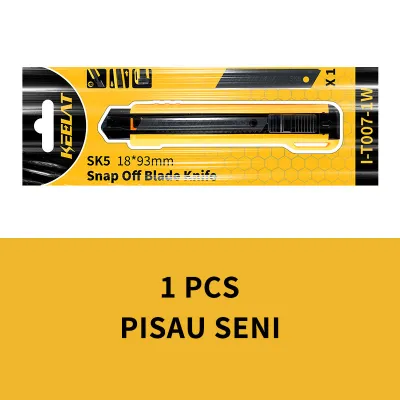
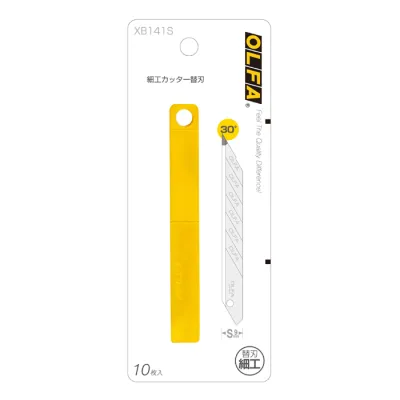
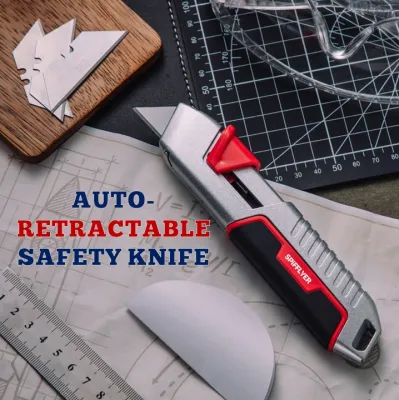
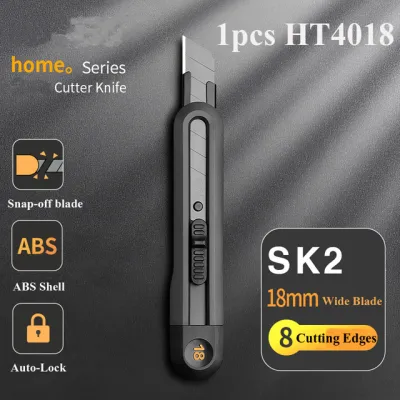
Prices are valid at publication and may change. Please refer to the product page for the latest price.
Blade tip designs also play a major role in preventing puncture injuries. Standard utility blades feature a sharp, pointed tip designed for piercing materials, but these pose a high risk of accidental stabs. Rounded or blunted safety tips are highly preferable for school environments, as they allow the blade to slice through paper and cardboard efficiently while significantly reducing the likelihood of deep puncture wounds.
Matching Utility Cutters to School Grade Levels
Selecting a cutting tool requires a careful assessment of a student’s physical maturity and the specific materials they will encounter in their curriculum. A tool that is safe for a teenager can be highly hazardous for a younger child who is still developing hand-eye coordination.

As students progress through the educational system, their project requirements shift from simple paper crafts to complex three-dimensional modeling. Matching the tool to both the student’s motor skills and the thickness of the project materials prevents tool misuse and reduces the physical strain of cutting.
Before upgrading a student to a more advanced utility cutter, parents should verify the following transition criteria:
- The student consistently demonstrates the ability to keep their non-dominant hand completely out of the cutting path.
- The student can follow multi-step safety instructions without constant adult reminders.
- The student understands how to properly lock, unlock, and retract the blade independently.
- The school curriculum explicitly requires cutting materials that cannot be safely managed with standard safety scissors.
Lower Primary: Safety-First Alternatives and Supervised Tools
For students in Primary 1 to Primary 3, standard exposed-blade utility cutters are entirely inappropriate. Children at this developmental stage are still refining their fine motor skills and may lack the grip strength required to control a sharp, sliding blade. The risk of severe lacerations from a slipping utility blade far outweighs any crafting convenience.
Instead of traditional utility knives, lower primary students should use safety scissors with rounded plastic-covered tips. For straight cuts on paper or thin cardstock, enclosed rotary trimmers—where the blade is completely shielded inside a plastic housing—provide a highly secure alternative. If a project requires a craft knife, parents should opt for specialized ceramic-blade tools that feature micro-blades, which slice paper but are designed to resist cutting skin.
If a specialized cutting tool must be introduced for a specific school project, it should only be used under strict, one-on-one adult supervision at home. The adult should guide the child’s hand, ensure the material is taped down securely to prevent shifting, and store the tool in a locked container immediately after use.
Upper Primary: Introduction to Compact, Locking Cutters
Students in Primary 4 to Primary 6 frequently encounter more demanding art and science projects that involve cutting thicker cardstock, thin foam sheets, or corrugated cardboard. At this stage, parents can introduce compact, lightweight utility cutters, provided they feature robust safety mechanisms.
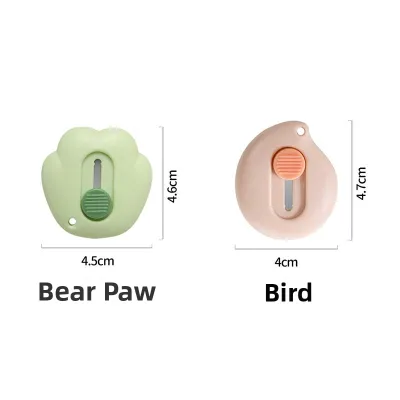
An ideal cutter for this age group is a small-format tool equipped with an auto-retract or squeeze-retract mechanism. These tools limit the maximum blade exposure to just a few millimeters, which is sufficient for cutting school materials but short enough to minimize the depth of any accidental cut. The handle should be small enough to fit comfortably within a pre-teen’s palm without forcing them to stretch their fingers to reach the slider.
While upper primary students can learn to use these tools independently, they must never attempt to snap off dull blade segments themselves. Snapping blades requires lateral force that can cause metal fragments to fly off unpredictably. Parents or teachers should always handle blade snapping and replacement. Additionally, these cutters must always be paired with a self-healing cutting mat to protect the table surface and a metal-edged ruler to guide the blade safely without shaving plastic fragments.
Secondary and Pre-University: Standard Cutters for Complex Projects
Upon entering secondary school, particularly during Design & Technology (D&T) or Art elective classes, students are expected to work with dense materials like balsa wood, thick mounting boards, and heavy plastics. These materials require standard 9mm or 18mm snap-off utility cutters that can withstand sustained downward and lateral pressure.
For these older students, a robust handle made of impact-resistant plastic or cast metal is necessary. A secure slide-lock or wheel-lock mechanism is vital here; it ensures the blade remains completely stationary under heavy loads, preventing the blade from slipping backward into the handle or jumping forward out of control.
As coursework becomes more specialized, students may also transition to specific blade profiles. For example, a 30-degree acute angle blade is excellent for intricate stencil cutting and model making, while a heavy-duty 18mm utility blade is better suited for slicing through thick corrugated cardboard and plastic sheets. Students should be taught to select the blade profile that matches their material to avoid exerting excessive force.
Verifying Blade Types and Material Compatibility
Using the wrong blade for a specific material is a primary cause of tool damage and physical injury. Standard snap-off blades are highly convenient because they allow the user to quickly refresh the cutting edge, but they are inherently thinner and more flexible than fixed-utility blades. This flexibility means snap-off blades can bend or shatter if twisted while cutting dense materials.
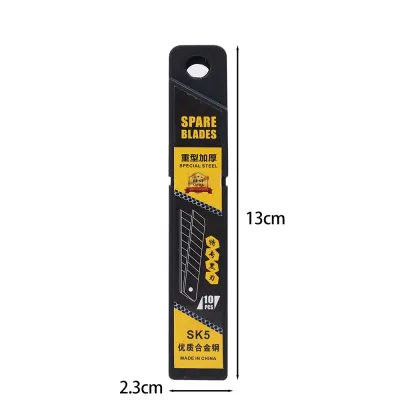
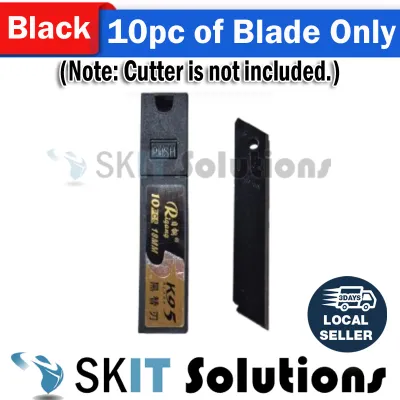
Before starting any school project, students should check the manufacturer’s packaging or product specifications to verify the blade’s material rating. A standard carbon steel blade is ideal for paper, cardboard, and thin vinyl, but it will dull rapidly when used on abrasive materials. For projects requiring extensive cutting, black utility blades—which undergo additional hardening processes—offer longer edge retention and smoother cuts.
Students must be warned never to use standard utility cutters on materials like thick acrylic sheets, metal plates, or glass. Attempting to force a utility blade through these materials will cause the blade to slip, bind, or shatter. Instead, these materials require specialized scoring tools, acrylic cutters, or saws, which should only be used in dedicated school workshops under the supervision of a trained instructor.
Safe Handling, Storage, and Disposal Rules for Students
Establishing clear safety habits is essential for any student using a utility cutter at home or in school. Proper cutting posture is the foundation of safe tool use. The student should always work on a stable, flat, and well-lit surface, preferably at a height where they can apply downward pressure using their body weight rather than relying solely on wrist strength. The non-cutting hand must always be positioned behind the path of the blade, and the cut should always be made in a direction moving away from the body.
Safe storage is equally important to prevent accidental cuts when reaching into school bags or desk drawers. The blade must be fully retracted and locked into the handle immediately after every single cut. Students should store their utility cutters in a dedicated, hard-sided pencil case or a protective sheath, rather than letting the tool roll loosely in a backpack where it could accidentally open.
Proper disposal of old blades is a critical final step that protects family members and waste disposal workers. Dull or broken blade segments should never be thrown directly into a household rubbish bin. Instead, students should use a dedicated blade disposal case or wrap the used segments securely in multiple layers of heavy-duty tape before disposal. Once wrapped, the blades should be placed in a puncture-proof container labeled clearly as sharps.
Frequently Asked Questions (FAQ)
Can my child bring a utility cutter to school in Singapore?
Whether a student can bring a utility cutter to school depends entirely on the individual school’s safety regulations and code of conduct. Parents must consult the school’s student handbook or contact the form teacher before allowing their child to pack any sharp tool. Many schools prohibit students from carrying utility cutters in their personal bags to prevent accidents, instead providing supervised cutting tools within the art or Design & Technology classrooms when needed.
How do I know when it is time to snap off or replace the blade?
A utility blade needs to be refreshed or replaced the moment it shows signs of dullness, which actually makes the tool more dangerous to use. Observable signs include frayed or torn paper edges along the cut line, the blade snagging or tearing rather than slicing smoothly, or the student needing to apply excessive downward pressure to make a cut. To refresh the edge, use the built-in snapper tool located at the back of the cutter handle or a pair of pliers to snap the blade along the pre-scored line; never attempt to snap the blade with bare hands.
What should I do if the slide lock on the utility cutter becomes loose?
If the slide lock or wheel lock on a utility cutter becomes loose, slips, or fails to hold the blade securely in place, you must stop using the tool immediately. A loose lock allows the blade to retract unexpectedly during a cut or, worse, slide forward, creating a severe slip hazard. Do not attempt to repair a broken locking mechanism with tape or glue; instead, safely dispose of the blade and replace the entire cutter handle to ensure student safety.

Community discussion
Share your experience or ask a question. Comments are reviewed before publication.