
Choosing the ideal magnet strip brand for your desk organization is not a matter of finding a single, universally superior manufacturer. Instead, the right choice depends entirely on your specific desk environment, the weight of the items you intend to organize, and the mounting surface.
To build an efficient, clutter-free workspace, you must evaluate magnet strips through a conditional decision framework. If you need to organize heavy office tools like staplers, metal hole punches, or heavy-duty scissors, you should look for brands that specialize in rigid neodymium (rare earth) strips, preferably with mechanical screw-mounting options. Conversely, if your goal is to display light stationery, paper documents, or lightweight metal rulers, brands offering slim, flexible rubber-magnet tapes or ferrite strips with high-quality self-adhesive backings are much more suitable.
Rather than relying on vague brand reputation or generic marketing claims, you should prioritize verifying the manufacturer’s stated pull force, magnetic material composition, and the specific type of adhesive backing provided. Taking the time to match these technical specifications to your actual desk setup will ensure your organizing system remains secure, functional, and safe over the long term.
Products mentioned in this guide
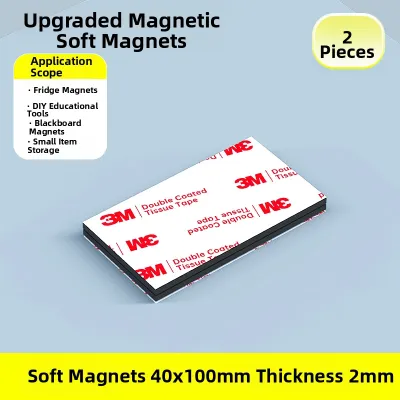
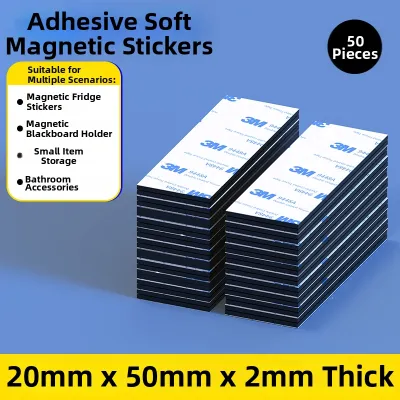
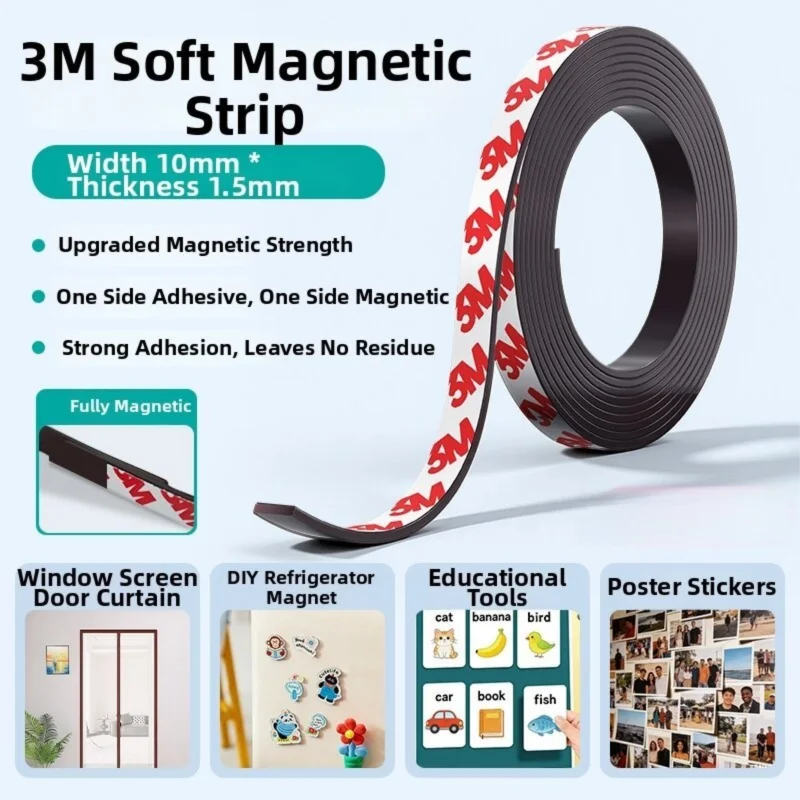
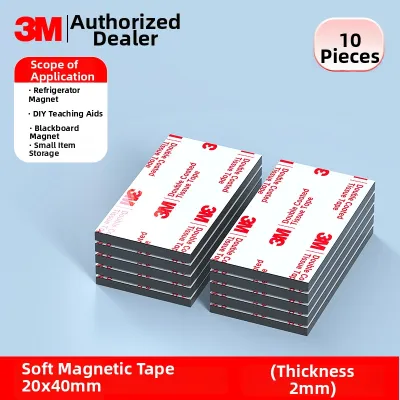
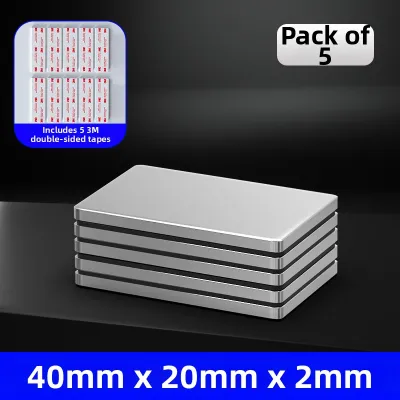
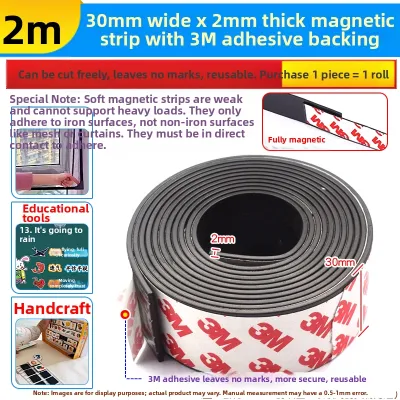
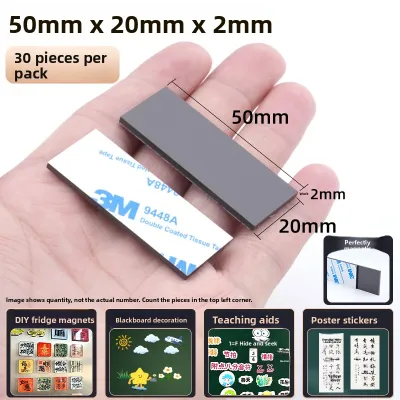
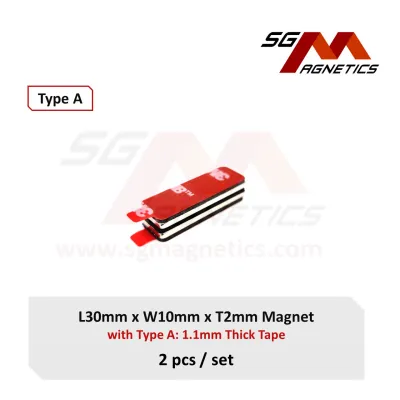
Prices are valid at publication and may change. Please refer to the product page for the latest price.
Core Dimensions for Comparing Magnet Strip Brands
When comparing different magnet strip brands on the market, relying on subjective product descriptions can lead to disappointing results. To make an objective comparison, you must evaluate three core dimensions: magnetic strength, mounting durability, and physical design.
Magnetic Strength and Load Capacity
Many brands use misleading marketing terms such as “ultra-strong,” “industrial grade,” or “super magnetic” to describe their products. To find a reliable magnet strip, you must look past these labels and focus on measurable engineering metrics, specifically the rated pull force. Pull force refers to the amount of perpendicular force required to pull a magnet away from a flat, high-quality steel plate.
The underlying magnetic material determines this load capacity, and brands generally use one of three main types:
- Neodymium (NdFeB): These rare-earth magnets offer the highest magnetic flux density available. A small, thin neodymium strip can hold significantly more weight than other materials of the exact same size, making them ideal for compact desk setups where space is limited.
- Ferrite (Ceramic): These magnets are highly resistant to corrosion and demagnetization. However, they are physically bulky and brittle, requiring a much larger footprint to achieve the same holding power as a small neodymium alternative.
- Flexible Rubber-Magnet Blends: Made by mixing magnetic powder with a flexible polymer matrix, these strips are highly customizable and easy to cut. However, they possess the lowest magnetic strength and are only suitable for very light items.
When comparing brands, look for manufacturers that explicitly publish their magnetic grade (such as N35, N42, or N52 for neodymium) and provide clear load-capacity ratings. Brands that invest in testing and publish these metrics are generally much more reliable than those that rely on vague superlatives.
Mounting Methods and Adhesive Durability
How a magnet strip attaches to your desk or wall is just as critical as its magnetic strength. Brands typically offer three mounting styles: self-adhesive backings, screw-mounted channels, or magnetic backings designed to cling directly to existing steel surfaces.
If you choose an adhesive-backed strip, you must consider your local environmental conditions. In tropical climates like Singapore, where indoor relative humidity regularly exceeds 70% to 80% and ambient temperatures remain warm, cheap adhesive backings fail quickly. Standard rubber-based foam tapes tend to dry out, lose their grip, or turn into a messy, sticky residue under these conditions, causing your organizing strip to slide down the wall.
To prevent this, look for brands that use high-quality, structural acrylic adhesives, such as 3M VHB (Very High Bond) or equivalent acrylic-based tapes. Acrylic adhesives utilize cross-linking polymers that actually strengthen their bond over time and resist moisture, heat, and humidity. Before purchasing, verify whether the brand explicitly names its adhesive supplier or specifies the use of an outdoor-rated acrylic adhesive.
Dimensions and Surface Protection
The physical dimensions of a magnet strip affect both the aesthetics of your workspace and its daily functionality. A strip that is too thick or protrudes excessively from the wall can easily catch on your clothing or hands as you reach across your desk.
Furthermore, you must consider how the strip interacts with your mounting surface and your stationery. Bare metal magnets can easily scratch powder-coated steel desks, painted drywall, whiteboards, or delicate wooden veneers when you slide items off them.
To protect your workspace, look for brands that incorporate protective surface barriers into their designs. Highly rated brands often encase their magnets in smooth plastic housings, apply soft silicone or rubberized coatings, or include felt adhesive backings. These protective layers serve a dual purpose: they prevent unsightly scratches on your desk and stationery, and they increase the coefficient of friction. This added friction dramatically improves the strip’s resistance to sliding (shear force), keeping your items securely in place.
Matching the Right Strip to Your Stationery and Documents
To choose the correct magnet strip, you must map the specific items you plan to store to the appropriate magnetic and physical specifications. Using a magnet that is too weak will cause your items to fall, while using one that is too strong can make daily tasks frustrating.

Light Stationery and Paper Documents
For organizing everyday office items like ballpoint pens, lightweight metal rulers, scissors, paperclips, receipts, and paper documents, a high-power industrial magnet is actually counterproductive. If the magnetic attraction is too intense, retrieving a simple pen becomes a two-handed struggle. You risk pulling the entire strip off the wall, bending your metal ruler, or tearing your paper documents.
For these lightweight applications, look for brands that offer slim, flexible magnetic tapes or low-profile ferrite strips. These products provide a gentle, consistent hold that allows you to slide items smoothly along the strip or peel them away with minimal effort.
When organizing paper documents, look for brands that offer flexible magnetic strips with a colored vinyl or dry-erase coating on the front. This allows you to write notes directly on the strip or color-code your filing system. Because these items have low weight requirements, you can safely prioritize minimalist aesthetics, clean profiles, and ease of cutting over raw weight capacity.
Heavy Office Tools and Equipment
If your desk organization involves heavier, bulkier metal items—such as heavy-duty staplers, tape dispensers, metal hole punches, utility knives, or small hand tools—you must use a rigid neodymium magnet strip.
When mounting heavy items vertically, you must account for gravity. Gravity acts parallel to the mounting surface, creating shear force. Because a magnet’s resistance to sliding (shear force) is typically only 15% to 20% of its perpendicular pull force, a heavy stapler weighing 500 grams actually requires a magnet rated for at least 2.5 to 3 kilograms of perpendicular pull force to prevent it from sliding downward.
To support these heavy loads, you should avoid adhesive-only mounting unless you are using a premium, structurally rated acrylic tape on a perfectly prepped surface. Instead, opt for brands that design their magnet strips with pre-drilled, countersunk screw holes. Screw-mounting provides a permanent, mechanical hold that completely eliminates the risk of the entire strip peeling away from the wall under a heavy load. If you must use an adhesive option for heavy items, ensure the brand specifies a rigid steel casing around the neodymium magnets, which helps focus and amplify the magnetic field toward the front of the strip.
How to Verify Brand Specifications Before You Buy
To avoid purchasing low-quality magnet strips that fail to hold your tools or peel off your walls, you should use a systematic verification checklist before making a purchase on any online marketplace or at a local stationery store.
- Verify the Magnet Material and Grade: Look closely at the product specifications. If a listing only says "strong magnet" without identifying the material, it is likely a low-grade ferrite or rubber blend. For neodymium, look for explicit grade ratings such as N35, N42, or N52. Higher numbers indicate stronger magnetic force, though N52 is more brittle and sensitive to high temperatures.
- Check for Explicit Dimensions: Ensure the brand lists the exact length, width, and thickness of the strip. Do not rely on photos, which are often digitally altered to make the product look larger or thicker than it actually is.
- Look for Named Adhesive Brands: High-quality manufacturers are proud to display their component partnerships. If a brand uses premium adhesives, they will explicitly state "Features genuine 3M adhesive" or "Equipped with Tesa acrylic backing." A lack of a specified adhesive brand usually indicates the use of cheap, generic double-sided foam tape.
- Analyze the Pull Force Rating: Look for a specific weight rating (e.g., "holds up to 1.5 kg per centimeter of length"). Be skeptical of listings that claim massive weight capacities without explaining the testing conditions or the thickness of the steel plate used in the test.
When reading user reviews on ecommerce platforms, do not rely solely on the overall star rating, as many initial reviews are written immediately after unboxing. Instead, filter the reviews using search terms like “humidity,” “glue,” “fell,” “rust,” or “peeled.” This will help you identify long-term performance trends and discover how the adhesive behaves in humid environments or whether the magnet’s protective coating chips easily over time.
Installation and Safe Removal on Metal Surfaces
Proper installation is essential for achieving the maximum rated strength of any adhesive-backed magnet strip. Similarly, knowing how to safely remove a strip prevents permanent damage to your desk or office walls.
Step-by-Step Installation Process
To ensure your magnet strip adheres permanently and holds its rated weight, follow these preparation and installation steps:
- Prepare the Surface: Clean the mounting area thoroughly. Use a clean microfiber cloth dampened with isopropyl alcohol (IPA) to remove all dust, skin oils, and manufacturing residues. Avoid using household glass cleaners or multi-purpose sprays, as they often leave behind a thin, slick film that prevents the adhesive from bonding properly.
- Dry Completely: Allow the surface to air-dry completely for a few minutes before applying the strip.
- Position and Apply: Peel away the protective backing from the adhesive, taking care not to touch the sticky surface with your fingers. Carefully align the strip, place it against the surface, and press firmly along its entire length. Apply heavy, even pressure for 30 to 60 seconds to activate the pressure-sensitive adhesive.
- Allow to Cure: Do not hang any weight on the magnet strip immediately. Pressure-sensitive acrylic adhesives require time to flow into the microscopic pores of the surface. Let the adhesive cure undisturbed for at least 24 hours (72 hours is ideal) to reach its maximum holding strength.
Safe Removal Techniques
If you need to relocate your desk setup or remove the magnet strip, taking a rushed approach can peel paint off your walls or scratch your metal desk. Follow this safe removal method:
- Heat the Adhesive: Use a handheld hairdryer on a low-to-medium heat setting to gently warm the magnet strip. The heat will soften the acrylic polymers in the adhesive, making it pliable.
- Slice Through the Bond: Take a piece of strong dental floss, heavy-duty sewing thread, or a thin, flexible plastic scraper. Gently slide it behind the magnet strip and use a sawing motion to cut through the softened adhesive pad. Do not pry or yank the strip, as this can bend metal surfaces or tear drywall.
- Clean the Residue: If any sticky residue remains on the surface, apply a small amount of isopropyl alcohol or a dedicated adhesive remover. Let it sit for a minute to dissolve the glue, then wipe it clean with a soft microfiber cloth.
Safety Boundary: Before installing any adhesive or mechanical magnet strip, always check your desk manufacturer’s care instructions. This is especially important if your desk features a specialized powder coating, delicate lacquer, or anodized finish that could be damaged by adhesives or solvents. If you are unsure about surface compatibility, perform a small test in an inconspicuous area first, or consult a professional installer.
Frequently Asked Questions (FAQ)
Can I use a magnetic strip on a non-metal desk?
Yes, you can use a magnetic strip on a non-metal desk made of wood, glass, laminate, or plastic. However, because the desk surface itself is not magnetic, the strip cannot cling to it naturally. You must mount the strip using a high-quality double-sided adhesive tape, mounting putty, or screws (if the desk material allows). Once secured, the magnetic side of the strip will face outward, allowing you to organize your metal stationery items normally.
Will the magnet strip damage my credit cards or electronic devices?
Strong neodymium magnet strips can potentially damage items that rely on magnetic data storage. You should keep magnetic stripe cards (such as credit cards, transit cards, and keycards), mechanical hard drives, and older computer monitors at a safe distance of at least 15 to 20 centimeters from powerful neodymium magnets. Modern smartphones, solid-state drives (SSDs), and USB flash drives are generally not affected by static magnetic fields, but keeping a safe distance is still recommended to prevent any interference with internal digital compasses or sensors.
Community discussion
Share your experience or ask a question. Comments are reviewed before publication.