
Choosing the right cutter for your child depends on their school grade, fine motor skills, and the specific materials they need to cut. For lower primary students, safety scissors and fully enclosed craft cutters are ideal. As students progress to upper primary and secondary school, they can transition to retractable utility knives and precision craft cutters, provided they use them alongside self-healing mats and safety rulers.
Quick Guide: Matching Cutters to Your Child's Development Stage
Selecting a cutting tool for school projects requires balancing safety with functional capability. A child’s fine motor skills, hand strength, and spatial awareness evolve significantly between primary and secondary school. Matching the tool to these developmental milestones ensures that schoolwork remains productive without compromising safety.
In the early primary years, the focus is entirely on injury prevention. Tools for this stage feature blunt tips, fully enclosed blades, and thick, ergonomic grips that accommodate developing hand muscles. These designs minimize the risk of accidental slips while allowing children to explore basic paper crafts safely.
Products mentioned in this guide
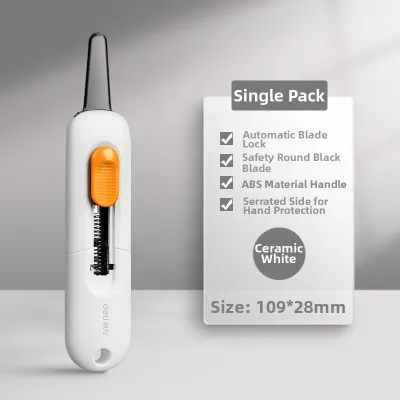
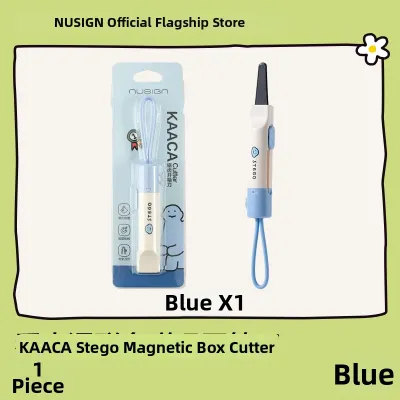
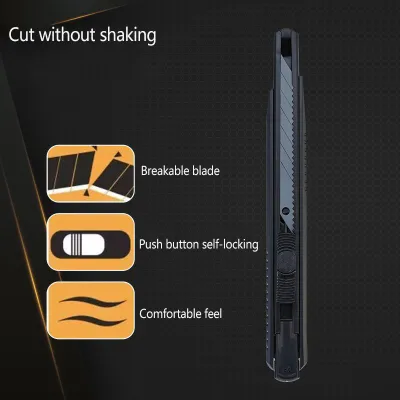
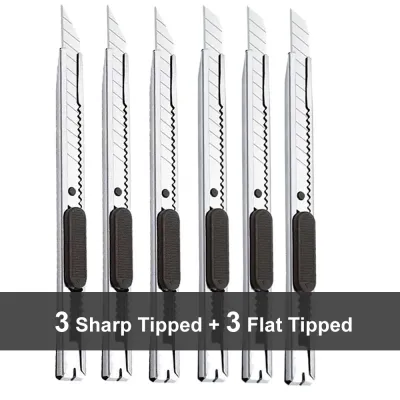
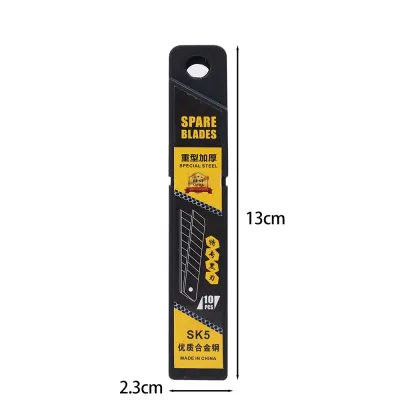
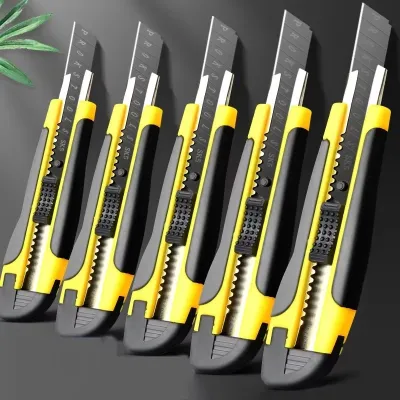
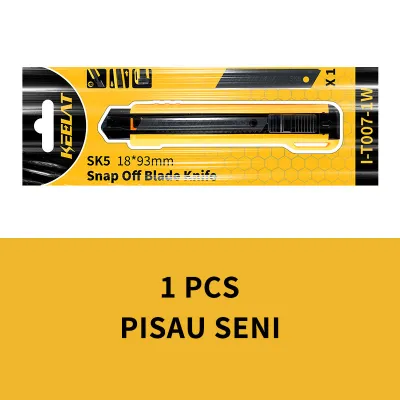
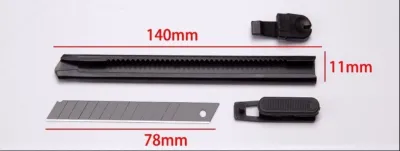
Prices are valid at publication and may change. Please refer to the product page for the latest price.
As students enter secondary school, their academic curriculum demands greater precision for subjects like design and technology, art, and geography. The tools must transition to retractable utility knives, precision craft cutters, and specialized straight edges. At this stage, safety relies less on physical barriers and more on proper handling techniques, secure blade-locking mechanisms, and the consistent use of protective accessories like self-healing cutting mats.
Understanding School Project Needs by Grade Level
School projects vary widely in complexity, and the materials students must cut dictate the type of tool required. Understanding these academic milestones helps parents anticipate what their child will need in the classroom.

Lower primary students (typically Primary 1 to Primary 3) focus on basic paper crafts, simple cardstock shapes, and guided collage activities. These tasks require minimal force and are designed to build basic coordination. The ideal tools for this stage are safety scissors and specialized squeeze-cutters that can easily slice through standard drawing paper without exposing sharp metal edges.
Upper primary students (Primary 4 to Primary 6) begin tackling more ambitious projects, such as building three-dimensional dioramas, cutting thicker corrugated cardboard, and working on introductory science or social studies displays. These materials require more cutting force than standard paper. Consequently, students need tools that offer better leverage and slightly sharper edges, though still with significant safety guardrails to prevent slips.
Secondary school students face highly technical assignments that require high precision. Whether they are cutting mounting boards for art portfolios, slicing balsa wood for design and technology models, or preparing intricate stencils, standard safety scissors are no longer sufficient. These advanced tasks demand sharp, stable blades that can follow straight edges and cut through dense materials cleanly.
Evaluating Cutter Types and Essential Safety Mechanisms
Before purchasing any cutting tool, parents should evaluate the specific design features that contribute to safe operation. Different categories of cutters offer distinct safety mechanisms that can be verified on the product packaging or through physical inspection.
Safety Scissors and Enclosed Craft Cutters For younger children, safety scissors and enclosed cutters are the primary choices. When inspecting these tools, look for rounded plastic-covered tips that prevent puncture injuries. The handles should feature a non-slip, rubberized grip to prevent the hand from sliding forward toward the cutting edge. Additionally, verify whether the tool is designed specifically for left-handed or right-handed use, as using the wrong orientation forces the child to apply awkward pressure, increasing the risk of a slip. Fully enclosed craft cutters, which house a tiny ceramic or metal blade inside a plastic guide, are excellent for straight paper cuts because the blade is physically inaccessible to small fingers.
Retractable Craft Knives and Utility Cutters For older students who require a traditional utility knife, the locking and retraction mechanisms are critical. Look for models featuring an auto-retract mechanism, where the blade automatically slides back into the handle the moment the user releases the slider. If a manual slider is used, ensure it has a robust, multi-position locking wheel or a positive-click lock that prevents the blade from slipping forward or backward under pressure. The barrel of the cutter should be ergonomically shaped, preferably with a textured or rubberized zone, to provide a secure hold even during prolonged use.
Paper Trimmers and Guillotines For home study areas where students frequently trim large sheets of paper or cardboard, desktop paper trimmers offer a highly stable alternative to hand-held knives. When choosing a rotary trimmer or a guillotine-style cutter, verify that it includes an integrated finger guard or a transparent safety barrier that physically separates the hand from the blade path. Guillotines should feature an automatic blade latch that locks the cutting arm in the down position when not in use. A heavy, non-slip base—either rubberized or weighted—is also essential to keep the entire unit stable on the desk during operation.
Building a Grade-Specific Stationery Checklist
To simplify the shopping process, parents can use a structured checklist tailored to their child’s current educational level. This ensures that the tools brought to school are both functional and compliant with safety expectations.
Lower Primary Checklist (Primary 1 to Primary 3)
- Primary Tool: Rounded-tip safety scissors with spring-assist handles to aid weak grip strength.
- Alternative Tool: Enclosed ceramic-blade paper cutters for simple straight-line cutting.
- Items to Avoid: Retractable utility knives, snap-off craft cutters, and any tool with an exposed, unprotected metal blade.
Upper Primary Checklist (Primary 4 to Primary 6)
- Primary Tool: Small, lightweight utility cutters with auto-retracting blades or secure manual locks.
- Mandatory Accessory: A small self-healing cutting mat (A4 size) to protect school desks and prevent the blade from slipping on smooth surfaces.
- Supervision Level: High; these tools should only be used under direct adult supervision at home or teacher guidance in the classroom.
Secondary School Checklist (Secondary 1 and Above)
- Primary Tool: Professional-grade retractable utility cutters or precision hobby knives with replaceable blades.
- Mandatory Accessories: A heavy-duty, self-healing cutting mat (A3 size) and a metal ruler with a non-slip backing to guide straight cuts safely.
- Key Feature: A secure blade-locking mechanism to handle denser materials like balsa wood or thick mounting board.
The Essential Verification Step Before finalizing any purchase, parents must cross-check the selected tools against two critical sources. First, review the school’s specific stationery list or student handbook, as many primary schools strictly prohibit students from bringing any form of utility knife or cutter to school grounds. Second, check the manufacturer’s packaging for age-rating labels and safety certifications to ensure the tool aligns with your child’s developmental stage.
Establishing Safe Usage and Storage Habits
Owning the correct tool is only half the battle; establishing safe habits is what ultimately prevents injuries. Parents should teach and reinforce basic safety protocols before allowing their children to use any cutting instrument independently.
When handling any cutter, the user must always cut away from their body and limbs. The material being cut should rest on a flat, stable surface—never in the user’s lap or held mid-air. The non-dominant hand, which holds the material or ruler in place, must always be positioned behind or well to the side of the blade’s path, never directly in front of it.
Proper storage is equally critical to classroom and home safety. For manual utility knives, the blade must be fully retracted and locked immediately after each cut. For precision hobby knives that do not retract, a protective blade cap must be placed securely over the tip. At home, all cutting tools should be stored in a designated, secure drawer or pencil case that is kept out of reach of younger siblings.
Regular maintenance checks are necessary to keep these tools operating safely. A dull blade is actually more dangerous than a sharp one, as it requires the user to apply excessive force, increasing the likelihood of the blade slipping out of control. Inspect blades regularly for signs of rust, pitting, or physical damage, and replace or snap off dull segments strictly according to the manufacturer’s instructions.
Frequently Asked Questions (FAQ)
Do left-handed students need specialized cutters?
Yes, left-handed students benefit significantly from tools designed specifically for their dominant hand. Standard scissors and cutters are often ground at an angle that optimizes visibility and leverage for right-handed users. When a left-handed student uses a right-handed tool, the blade can obscure their line of sight along the cutting mark, forcing them to lean over or apply uneven lateral pressure. This uneven pressure can cause the blade to twist, slip, or tear the paper. When shopping, look for packaging explicitly labeled as left-handed or ambidextrous, which features symmetrical grips and reversed blade alignments to ensure clear visibility and comfortable control.
How can I tell when a craft knife blade needs replacing?
You can identify a dull blade through several observable signs during use. If the cutter begins to tear, snag, or leave jagged edges on standard paper rather than slicing through it cleanly, the blade has lost its sharpness. Another clear indicator is the amount of physical effort required; if your child has to press down hard or make multiple passes to cut through a material that previously required only a single light stroke, the blade is dull. When these signs appear, replace the blade or snap off the dull segment using the built-in snapper tool on the back of the cutter, following the manufacturer’s safety instructions. Always wrap used blades in thick tape or place them in a dedicated disposal container before throwing them away.
Community discussion
Share your experience or ask a question. Comments are reviewed before publication.