
Selecting the ideal blank card and envelope set for your DIY greeting card projects depends entirely on matching the paper’s physical properties to your chosen crafting medium. Whether you are planning to apply wet watercolors, write elegant calligraphy with a fountain pen, or press intricate stamps into the surface, the weight, texture, and composition of the cardstock will dictate your project’s success. Choosing a set that balances structural integrity with a receptive surface ensures your handmade creations look professional and survive the journey through the mail.
In Singapore’s humid climate, paper behavior can change significantly. High humidity can soften paper fibers, making low-weight cardstock even more prone to warping or buckling when wet mediums are applied. By understanding how different paper specifications interact with inks, paints, and adhesives, you can confidently select a blank card set that preserves your artistic vision and fits perfectly inside its matching envelope.
Key Factors to Consider When Selecting Blank Cards
To find the right foundation for your designs, you must first evaluate the technical specifications of the cardstock. The most critical measurement to look for is the paper weight, which is measured in grams per square meter (GSM). Standard copy paper typically ranges from 70 to 80 GSM, which is far too thin for greeting cards. For a sturdy card that can stand upright on a shelf without sagging, look for cardstock that is at least 240 GSM, with 300 GSM or higher being the preferred standard for heavy embellishments or wet techniques.
Products mentioned in this guide
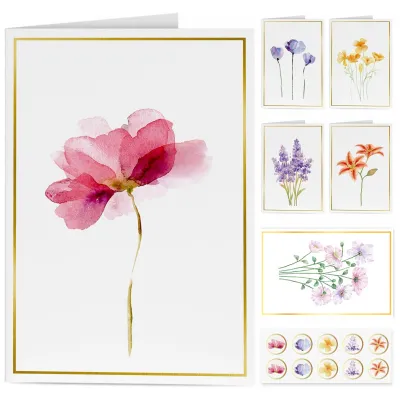
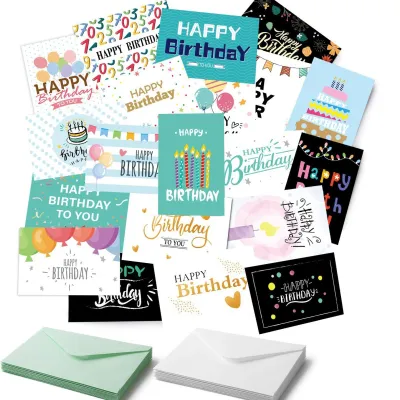
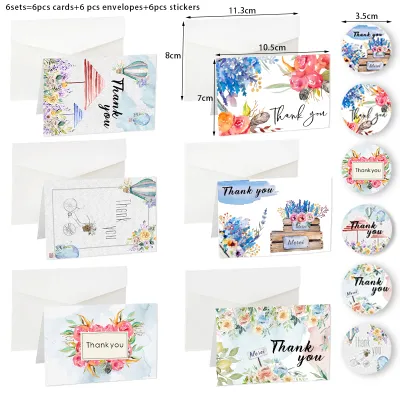
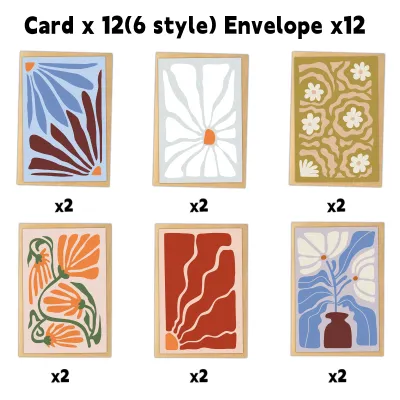
Prices are valid at publication and may change. Please refer to the product page for the latest price.
The grain direction of the paper is another subtle but vital factor. Paper fibers align in one direction during manufacturing. Folding paper against the grain can cause the fibers to break, resulting in a cracked, messy crease. When purchasing pre-folded blank cards, manufacturers have already accounted for this, but if you are buying flat cards to fold yourself, look for options that are pre-scored. A pre-scored line compresses the fibers, ensuring a clean, crisp fold every time.
The surface finish of the cardstock determines how your writing instruments and coloring mediums behave. Smooth finishes, often labeled as satin, silk, or hot-press, offer minimal resistance, allowing pens to glide effortlessly without catching. Textured finishes, such as cold-press, linen, or felt, provide a tactile quality that holds onto dry pigments and handles moisture beautifully. Coated papers, which have a thin layer of clay or polymer, can enhance color vibrancy but may resist water-based inks, leading to smudging. Uncoated papers absorb ink quickly but are more prone to feathering if the fibers are loose.
Size and fold orientation are equally vital for layout planning and envelope matching. Common standard sizes include A6 (approximately 105mm x 148mm) and A7 (approximately 127mm x 178mm), which are widely recognized by postal services and easy to source. You must also decide between a portrait fold (opening like a book) and a landscape fold (opening upward). This choice affects how you distribute the weight of your decorations; a top-heavy landscape card may tip over easily if the cardstock is too light.
Matching Paper Types to Your DIY Crafting Techniques
Different artistic methods place unique demands on paper. A cardstock that excels at holding crisp, stamped ink might warp instantly under a light wash of watercolor, while a highly textured paper designed for pastels could cause a fine calligraphy nib to snag and splatter. To achieve the best results, you must align the physical properties of the paper with the specific tools and techniques you plan to use.

This alignment involves balancing trade-offs. For instance, highly absorbent papers prevent ink pooling but can cause colors to look muted as the pigment sinks deep into the fibers. Conversely, non-porous surfaces keep colors bright on the surface but require exceptionally long drying times. Understanding these relationships allows you to choose a blank card set that supports your creative process rather than fighting against it.
Hand-Painting and Watercolor Projects
Wet mediums require specialized cardstock that can absorb water without losing its structural integrity. When applying watercolors, gouache, or heavy acrylic washes, standard cardstock will quickly buckle, warp, and pill as the wet fibers separate. To prevent this, look for blank cards made from heavyweight paper of at least 300 GSM.
The texture of the paper also plays a major role in how paint behaves. Cold-press watercolor paper has a distinct, bumpy texture that pools water in its valleys, creating beautiful, organic gradients and soft edges. Hot-press watercolor paper is smooth, making it better suited for detailed illustrative work where you want precise control over your brushstrokes.
Another technical aspect to consider is paper sizing. Sizing is a treatment applied to paper during manufacturing to control its absorbency. Internally sized papers have sizing mixed into the pulp, while externally sized papers have it applied to the surface. For watercolor projects, look for papers that are both internally and externally sized, as this prevents the water from sinking too quickly into the core, allowing you more time to blend and manipulate the paint on the surface.
Before purchasing, always check the manufacturer’s packaging or product descriptions for explicit mentions of watercolor or mixed-media compatibility. True watercolor cards are often made from 100% cotton fibers rather than wood pulp. Cotton fibers are longer and stronger, allowing the paper to expand and contract evenly as it wets and dries, ensuring your finished card remains flat and presentable.
Calligraphy and Fountain Pen Ink
Calligraphy and fountain pen work require a surface that promotes clean, sharp lines. If the paper fibers are too loose or absorbent, liquid ink will bleed outward along the fibers—a phenomenon known as feathering. To avoid this, select blank cards with a smooth, hard finish, often referred to as calendered or satin paper.
These smooth surfaces allow fine metal nibs and fountain pen tips to glide without catching or picking up loose paper fibers, which can clog your pen. However, highly smooth or coated papers can slow down drying times. In Singapore’s naturally humid environment, ink takes longer to dry, so you must verify the drying speed of your ink-and-paper combination to prevent accidental smudging during your writing process.
The type of ink you use also dictates the paper choice. Highly saturated fountain pen inks with sheen or shading properties perform best on smooth, non-porous papers, where the ink can pool slightly and dry on the surface to reveal its unique characteristics. If you are using dip pens with thicker calligraphy inks, such as acrylic or iron gall inks, a slightly more absorbent but still smooth cardstock will help the ink bond quickly without spreading.
Opacity is another critical factor to test. When writing a personal message inside a card, you want to ensure the ink does not show through to the back of the card. Hold a sample sheet up to the light after writing to check for ghosting. If you plan to write on both sides of the folded card, a heavier weight of at least 270 GSM with high opacity is essential.
Stamping, Embossing, and Dry Media
If your DIY projects involve rubber stamping, heat embossing, or dry media like colored pencils and pastels, your cardstock needs to withstand physical pressure and heat. For stamping, a paper with a very slight texture, or “tooth,” is ideal. This subtle roughness helps grab the ink from the stamp pad, ensuring a clean, solid transfer without slipping.
The choice of stamp ink is crucial here. Dye-based inks dry quickly by soaking into the paper, making them ideal for smooth, uncoated cardstock. Pigment-based inks sit on top of the paper and dry slowly, which is perfect for textured papers or when you want to apply embossing powder over the wet ink.
Heat embossing requires the paper to tolerate the intense, localized heat of an embossing gun without scorching or curling. Heavyweight cardstock of 250 GSM or higher is robust enough to handle this heat treatment. For dry embossing, where you use a stylus or folder to physically press a design into the paper, the cardstock must be pliable yet thick enough to hold the raised shape without tearing or flattening out over time.
When adding raised elements, such as embossed patterns, wax seals, or dimensional stickers, you must also consider the envelope. Standard, thin envelopes will stretch and potentially tear when forced over a bulky card. Ensure your envelopes are made from thick paper, typically 120 GSM or higher, to protect these delicate, raised designs during transit.
Evaluating Envelope Quality and Compatibility
An envelope is more than just a protective sleeve; it is the first impression of your handmade card. A flimsy, translucent envelope can cheapen the feel of a beautifully crafted card before it is even opened. When evaluating envelope quality, look for a paper weight of at least 100 GSM to 120 GSM. This thickness ensures the envelope remains opaque, keeping your design a surprise and protecting it from bending.
The flap style of the envelope also contributes to the overall presentation. Square flaps offer a modern, clean look, while deep V-flaps (often called Euro flaps) provide a classic, elegant aesthetic that pairs beautifully with formal designs or wax seals. Ensure the flap design matches the tone of your card.
The closure type of the envelope affects both convenience and aesthetic appeal. Gummed envelopes require moisture to seal, which is traditional but can sometimes struggle to hold if the card inside is slightly thick or uneven. Peel-and-seal envelopes feature an adhesive strip protected by a release liner, offering a strong, reliable bond that is highly convenient for bulk projects. If you plan to use wax seals, ribbons, or decorative stickers to close your envelopes, ensure the paper surface is uncoated so the wax or adhesive can grip the fibers securely.
Dimensional clearance is a frequently overlooked detail. A card that measures exactly A6 will not fit comfortably inside an envelope that is also exactly A6. The envelope must be slightly larger—usually by 3mm to 5mm on all sides—to accommodate the thickness of the folded cardstock. If your card features thick layers, pop-ups, or heavy embellishments, you will need even more clearance. Forcing a thick card into a tight envelope can crush your hard work, bend the corners, or cause the envelope seams to burst.
Building Your Shortlist: What to Check Before Buying
Before finalizing your purchase of blank cards and envelopes, compile a checklist to verify that the products meet your specific crafting standards. Start by reading the product specifications carefully. Look for terms like “acid-free” and “lignin-free.” Acid-free paper will not yellow, brittle, or degrade over time, ensuring your handmade keepsakes look just as vibrant years down the road.
If you are planning a large project, such as wedding invitations or holiday cards, avoid buying in bulk immediately. Instead, purchase a small sample pack or a single set to conduct a trial run. Test your specific pens, paints, stamps, and adhesives on a sample sheet. Observe how the paper handles the moisture, check the drying time, and look for any signs of warping, bleeding, or feathering. This hands-on test is the most reliable way to guarantee compatibility.
In Singapore’s humid climate, storing your blank cards properly before and after crafting is essential. Unused cardstock can absorb moisture from the air, which softens the fibers and makes them more prone to ink feathering or warping. Store your blank cards and envelopes in an airtight container with a few packets of silica gel to keep them dry and crisp until you are ready to use them.
Finally, double-check the physical dimensions of both the cards and the envelopes. Ensure the seller explicitly states that the envelopes are designed to fit the accompanying cards. If you are mixing and matching brands, compare the exact millimeter measurements rather than relying solely on generic size names like “medium” or “large,” as standards can vary slightly between manufacturers.
Frequently Asked Questions (FAQ)
Can I use standard printer paper for DIY greeting cards?
Standard printer paper, which typically weighs around 70 to 80 GSM, is not suitable for DIY greeting cards. It lacks the structural rigidity required to stand upright, causing the card to sag or fold under its own weight. Furthermore, printer paper is highly susceptible to warping and buckling when exposed to wet mediums like watercolors or heavy calligraphy inks. If you attempt to fold standard printer paper, the crease will often crack and look untidy. For a professional finish and durable structure, always opt for dedicated cardstock of at least 240 GSM.
How do I prevent ink from bleeding through the card to the envelope?
To prevent ink from bleeding through your card, start by selecting a high-opacity cardstock with a weight of 270 GSM or higher. If you are using heavy ink applications, such as alcohol markers or thick calligraphy inks, consider using pigment-based inks rather than dye-based inks, as pigments sit on top of the paper fibers rather than soaking through them. Always allow your ink to dry completely before placing the card inside the envelope. If you still experience minor show-through, you can insert a decorative paper liner inside the envelope to add an extra layer of protection and a touch of elegance.

Community discussion
Share your experience or ask a question. Comments are reviewed before publication.