
Starting a sewing journey is an exciting milestone, but stepping into a haberdashery shop or browsing online marketplaces can quickly become overwhelming. The sheer volume of tools, accessories, and pre-packaged kits often leads beginners to make hasty purchases that result in frayed fabrics, broken needles, and immense frustration. Building a reliable sewing toolkit—often referred to locally as an alat jahit—does not require a massive financial investment, but it does demand a selective approach focused on material quality, ergonomic design, and task-specific utility. By prioritizing a few high-quality, essential tools over cheap, multi-piece sets, you can ensure a smooth learning curve and protect your fabrics from unnecessary damage.
Core Sewing Tools Every Beginner Needs in Their First Kit
Fabric shears are the absolute cornerstone of any sewing toolkit. Unlike standard household or paper scissors, dedicated fabric shears are ground at a specific angle designed to slice cleanly through woven and knitted fibers without chewing or pushing the material. Using fabric shears on paper, cardboard, or plastic dulls the blade edge almost instantly, rendering them useless for clean fabric cuts. Investing in a dedicated pair of shears ensures clean, fray-free edges that make pattern alignment and seam construction significantly easier.
Accurate measurements are the foundation of successful garment construction and craft projects. A basic measuring kit should include three distinct tools: a flexible fiberglass tape measure, a clear acrylic ruler, and a sliding seam gauge. A fiberglass tape measure is essential for taking body measurements because it conforms to curves without stretching over time, unlike cheap plastic alternatives. A clear acrylic ruler, typically 15 by 60 centimeters, is indispensable for drafting straight lines, checking fabric grainlines, and cutting straight strips. For repetitive, small-scale measurements like hem allowances and buttonhole spacing, a metal sliding seam gauge provides a quick, physical reference that eliminates guesswork.
Products mentioned in this guide
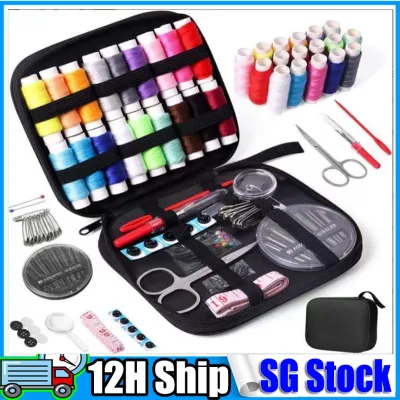
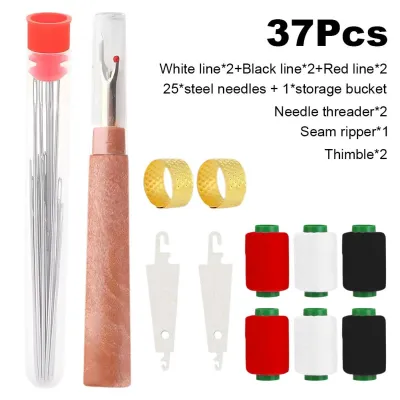
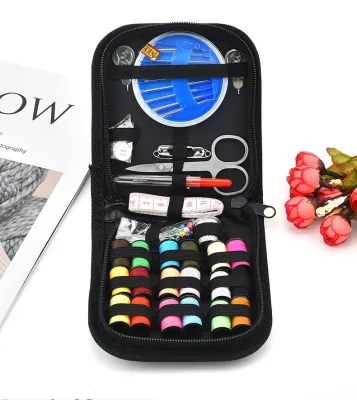
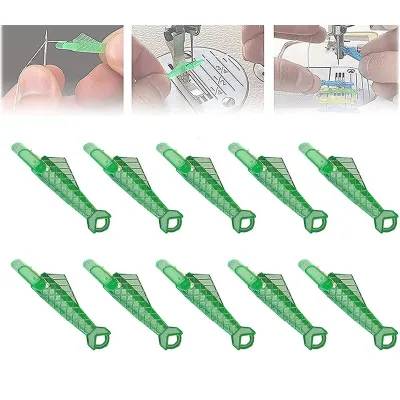
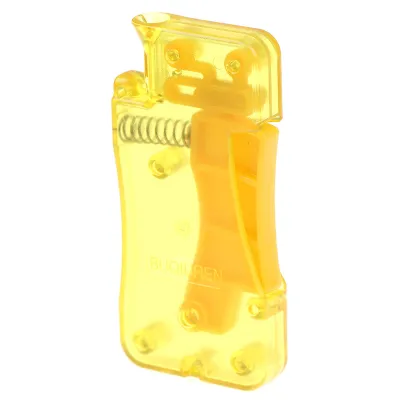
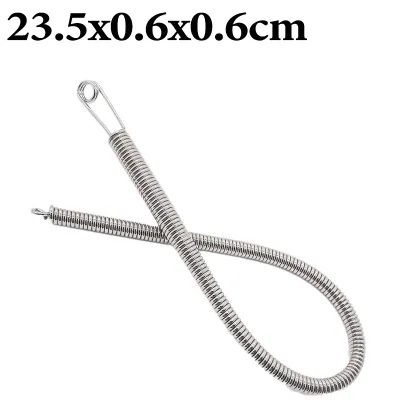
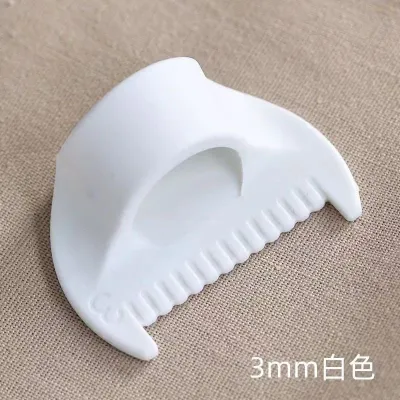
Prices are valid at publication and may change. Please refer to the product page for the latest price.
Securing and marking your fabric before cutting or stitching prevents shifting and ensures your finished piece matches your pattern. Glass-head pins are highly recommended for beginners because the heads will not melt if accidentally touched by a hot iron during pressing. For transferring pattern markings, traditional tailor’s chalk or water-soluble fabric pens are the most reliable options. Chalk brushes away easily and works well on textured or dark fabrics, while water-soluble pens allow for precise, fine lines on light-colored, smooth cottons.
The actual assembly of your projects requires a small but high-quality selection of hand-sewing basics. An assortment of hand-sewing needles in various sizes allows you to match the needle thickness to your fabric weight. All-purpose polyester thread is the most versatile choice for beginners, offering excellent strength and elasticity for both hand and machine sewing. Finally, a reliable pincushion—whether a classic fabric tomato or a magnetic holder—keeps your pins organized, accessible, and off the floor.
No beginner’s toolkit is complete without a reliable seam ripper. Mistakes are an inevitable part of the learning process, and a sharp seam ripper allows you to undo stitches quickly and cleanly without tearing the surrounding fabric. Look for a seam ripper with a small, sharp blade and a safety ball on the shorter point to protect your fabric from accidental punctures. Keeping this tool close at hand reduces the frustration of correcting errors and encourages a patient, precise approach to assembly.
How to Identify Reliable Haberdashery Brands Without Trial and Error
When shopping for sewing accessories, packaging specifications offer critical clues about the durability and performance of the tools inside. For cutting implements, look for labels indicating forged steel, high-carbon steel, or hot-drop forged manufacturing. These terms signify that the metal has been heated and hammered into shape, resulting in a denser, stronger blade that retains its sharp edge far longer than stamped metal alternatives. For pins and needles, look for specifications like nickel-plated steel or stainless steel, which indicate a smooth finish and high resistance to rust.

Recognizing specialized craft branding versus generic white-label packaging is another effective way to gauge quality. Established haberdashery brands typically specialize in specific product categories, such as needles, cutting tools, or marking accessories, rather than offering a massive, disconnected array of cheap plastic goods. These brands display clear, consistent labeling that details the exact dimensions, material composition, and intended use of the tool. Generic, white-label products often feature vague descriptions, lack material specifications, and rely on flimsy plastic packaging that offers little protection for the tools inside.
Manufacturing origin labels can also serve as a helpful indicator of craftsmanship and quality control. Countries with long-standing industrial traditions in metallurgy and textile tool manufacturing—such as Japan, Germany, and Brazil—often produce highly reliable sewing accessories. While these imported tools may carry a slightly higher price tag, their manufacturing tolerances are significantly tighter, resulting in smoother needle eyes, sharper scissor blades, and more accurate measuring scales.
Reliable brands also distinguish themselves by adhering to clear, international sizing standards on their packaging. For example, needle packages should display both European and American sizing systems (such as 70/10 for lightweight fabrics or 90/14 for medium-weight materials) rather than arbitrary labels like “small” or “large.” Clear labeling of thread weight and fiber composition is another hallmark of a reputable manufacturer. This transparency allows you to make precise matches between your tools and your fabric, preventing common issues like skipped stitches or puckered seams.
Finally, evaluate the manufacturer’s commitment to customer satisfaction through their warranty and replacement policies. Reputable haberdashery brands often stand behind their products with limited lifetime warranties or clear customer support channels. If a brand provides detailed contact information, care instructions, and a straightforward process for addressing manufacturing defects, it demonstrates confidence in the longevity of their tools. This level of support is rarely found with cheap, unbranded accessories, where a broken part simply means throwing the tool away and buying a replacement.
Category-by-Category Guide: What to Check Before Buying Key Tools
Scissors and Shears: When selecting fabric shears, physical handling is the best way to evaluate quality. Pay close attention to the weight and balance of the shears; they should feel substantial in your hand without causing immediate fatigue. Check the blade alignment by slowly closing the scissors; the blades should meet smoothly along their entire length without catching, grinding, or leaving visible gaps. Look for a pivot screw rather than a permanent rivet, as a screw allows you to adjust the tension over time and enables professional sharpening. Ergonomic handles with cushioned or slightly angled grips can also reduce hand strain during long cutting sessions.
Needles and Pins: Inspecting the physical characteristics of needles and pins is crucial for protecting your fabrics from snags and runs. Run your fingers along the shaft of a pin or needle to check for absolute smoothness and straightness. Examine the eye of the needle under good lighting; it should be perfectly smooth and free of metal burrs, which can shred or snap your thread during sewing. Choose pin and needle thicknesses that match your fabric weight—fine, sharp pins for delicate silks and cottons, and sturdier, thicker pins for heavy denim or canvas.
Measuring and Marking: To ensure accuracy, verify the stretch resistance of your tape measure by comparing it against a rigid metal ruler. Cheap plastic tape measures can stretch or warp over time, leading to inconsistent garment sizing. When selecting marking tools, always test them on a scrap piece of your project fabric before marking the actual pattern. Check how visible the mark is on both light and dark fabrics, and verify how easily the chalk brushes off or how cleanly the water-soluble ink disappears when dabbed with a damp cloth.
Thread and Bobbins: High-quality thread is essential for preventing machine jams and weak seams. Pull a short length of thread off the spool and hold it up to the light; it should have a consistent thickness without large slubs, knots, or excessive fuzz. Match the fiber content of your thread to your fabric—use all-purpose polyester thread for synthetic blends and general sewing, and cotton thread for pure cotton fabrics. If you are using a sewing machine, ensure the bobbins you purchase match the exact class and material (plastic or metal) specified in your machine’s manual, as even tiny dimensional differences can cause tension issues.
When evaluating bobbins, physical inspection is essential to prevent mechanical issues in your sewing machine. Cheap, generic bobbins often have tiny imperfections, such as rough plastic edges or slight warps, which disrupt the smooth flow of the lower thread. Run your finger along the edges of the bobbin to ensure there is no leftover plastic flashing from the molding process. Verifying that the bobbin sits perfectly flat on a level surface will help you avoid tension fluctuations and nesting threads under your fabric.
Smart Shopping in Singapore: Where to Find Quality Sewing Accessories
Navigating the local market in Singapore requires knowing where to look for authentic, high-quality haberdashery. While general stationery stores and large department retailers carry basic sewing kits, specialized local haberdashery shops—often found in historic textile hubs like Chinatown, People’s Park Food Centre, or specialized craft boutiques in central shopping districts—offer a far wider selection of professional-grade tools. These specialized retailers are staffed by knowledgeable staff who can guide you toward the correct needle sizes, thread types, and scissor styles for your specific projects.
If you prefer the convenience of online marketplaces, extra vigilance is required to avoid counterfeit or low-quality imitation tools. Verify the authenticity of the seller by checking for official brand flags, reading detailed user reviews, and examining photos uploaded by previous buyers. Look for sellers that offer clear return policies and responsive customer service. Avoid listings that bundle dozens of tools for an unbelievably low price, as these packages almost always contain low-grade, easily breakable components.
Whenever possible, visit a physical store to test the weight, balance, and ergonomics of major tools before making a purchase. Holding a pair of shears or feeling the texture of a marking chalk in person provides valuable feedback that online descriptions cannot replicate. Many local shops in Singapore allow customers to handle display models, giving you the opportunity to ensure the tool fits comfortably in your hand before you commit.
A smart budgeting strategy in Singapore involves allocating your funds where they matter most. Plan to invest a larger portion of your budget—perhaps S$30 to S$60—on a high-quality, durable pair of fabric shears that will last for decades with proper care. You can then save money by purchasing easily replaceable consumables, such as basic tailor’s chalk, simple glass-head pins, and standard polyester thread, which perform reliably without a premium price tag. This balanced approach ensures you have excellent tools where precision is critical, without overspending on your overall starter kit.
Frequently Asked Questions (FAQ)
How do I maintain my fabric scissors to keep them sharp?
To preserve the sharp edge of your fabric shears, establish a strict rule never to cut paper, cardboard, plastic, or metallic threads with them. These materials contain abrasive fibers and binders that dull the blade edge rapidly. After every sewing session, use a soft, dry microfiber cloth to wipe away fabric lint and dust from the blades and pivot area. Store your shears in a protective sheath or a dedicated padded pouch to prevent the blades from knocking against other metal tools in your sewing box. If you notice the blades folding the fabric edge rather than cutting cleanly, take them to a professional sharpening service rather than attempting to sharpen them at home with household tools.
Should I buy a pre-made sewing kit or build my own from scratch?
While pre-made sewing kits offer convenience and a low initial cost, they often contain low-quality tools that can frustrate beginners. The scissors in these kits are frequently made of stamped metal that dulls quickly, and the thread is often weak and prone to snapping. Building your own custom toolkit from scratch allows you to control the quality of each individual component. You can start by purchasing just the absolute essentials—a good pair of shears, a flexible tape measure, high-quality pins, and a spool of reliable thread—and then gradually add specialized tools as your skills and project requirements expand. This incremental approach ensures that every tool in your box is comfortable, durable, and suited to your specific sewing style.
Community discussion
Share your experience or ask a question. Comments are reviewed before publication.