
A beginner’s first sewing thread set should focus on high-quality, medium-weight polyester or cotton-wrapped polyester threads in a small selection of versatile neutral colors. Instead of buying massive, low-quality rainbow kits that lead to frequent thread breaks and machine tension issues, a starter set should prioritize reliable performance on common fabrics. By selecting a few essential colors—such as black, white, gray, and navy—and understanding how thread weight and material interact with your sewing machine, you can successfully complete almost any introductory project. This guide outlines how to build a practical, cost-effective thread collection that supports smooth stitching and prevents common beginner frustrations.
Choosing the Right Thread Material for Beginner Fabrics
Polyester thread is the workhorse of modern sewing. It offers excellent tensile strength, slight elasticity (which helps stitches stretch with knit fabrics without snapping), and high resistance to mildew and chemical degradation. Cotton thread, on the other hand, is made from natural fibers, offering virtually no stretch but exceptional heat resistance. This makes cotton well-suited for projects that require frequent high-heat pressing, such as quilting or cotton press-sewing, though it lacks the flexibility needed for synthetic or stretchy garments.
For those seeking a balanced combination of properties, cotton-wrapped polyester (often labeled as poly-wrapped cotton or corespun thread) features a strong polyester core wrapped in a soft cotton outer layer. This construction provides the high tensile strength and elasticity of polyester alongside the traditional matte finish and heat resistance of cotton. It is highly recommended for sewing woven fabrics, offering a natural look while maintaining durable seams that withstand wear and tear.
Products mentioned in this guide
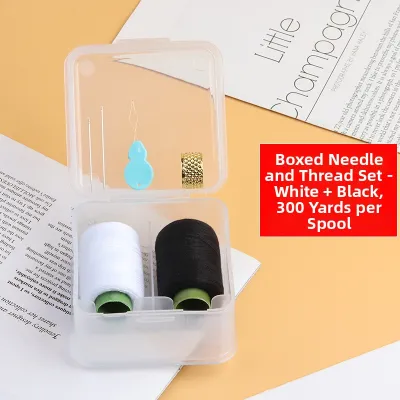
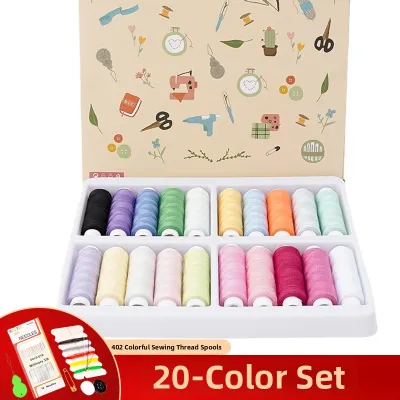
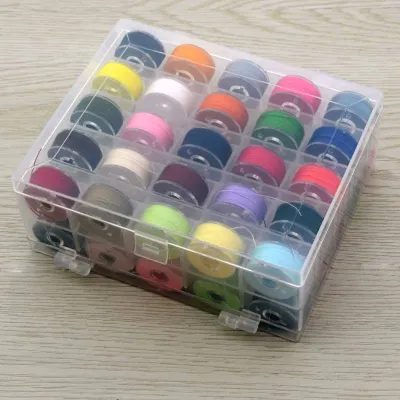
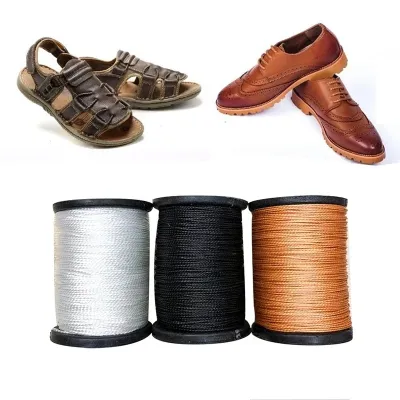
Prices are valid at publication and may change. Please refer to the product page for the latest price.
When assembling your first set, avoid specialty threads such as heavy-duty upholstery thread, metallic thread, clear nylon monofilament, and rayon embroidery thread. Heavy-duty threads can easily jam standard domestic sewing machines, strain the motor, and cause severe tension issues. Metallic and rayon threads are highly prone to shredding and require specialized needles and tension adjustments that can frustrate a beginner.
Always check the manufacturer’s spool label for fiber content and recommended fabric pairings before starting a project. A quick inspection of the label ensures you do not accidentally use a delicate embroidery thread for a structural seam or a stiff cotton thread on a highly elastic knit fabric. Matching the thread material to the fabric fiber type is a fundamental step in achieving professional, long-lasting results.
Understanding Thread Weights for Standard Sewing Tasks
Thread weight is commonly measured using the “Weight” (wt) system, where a higher number indicates a finer, thinner thread. For example, a 50 wt thread is significantly thinner than a 30 wt thread. Understanding this inverse relationship is crucial when reading spool labels, as using a thread that is too thick for your needle or fabric can lead to skipped stitches, jammed bobbins, and puckered seams.

For the vast majority of beginner apparel, home decor, and craft projects, a medium-weight thread—typically 40 wt or 50 wt—is a highly practical choice. This weight range is versatile enough to sew medium-weight woven fabrics like quilting cotton, linen, and light canvas, as well as stable knits. It flows smoothly through standard sewing machine tension discs and fits comfortably in standard needle eyes.
While medium-weight thread handles structural seams, certain tasks require a slightly heavier thread, such as a 30 wt or a dedicated topstitching thread. These thicker threads are designed to stand out visually on denim, canvas, or heavy wool, providing decorative accents on pockets and hems. However, they require larger machine needles to accommodate their thickness and prevent friction-induced shredding.
Before sewing your main project, always perform a test-sewing step on a scrap piece of the exact fabric you plan to use. Fold the scrap to replicate the number of layers in your final project, and sew a few straight and zigzag lines. This allows you to visually inspect the stitch quality, verify that the tension is balanced on both sides, and adjust the machine settings to prevent puckering or looping before working on your actual garment or craft.
Selecting a Versatile Color Palette Without Overbuying
A common beginner mistake is purchasing a massive thread set containing dozens of bright, highly specific colors. Instead, focus your initial budget on a small collection of core neutrals: pure white, off-white or cream, medium gray, black, and navy blue. Gray is particularly versatile, as a medium gray thread naturally blends into a surprisingly wide range of light-to-medium colored fabrics, making minor tension imperfections virtually invisible.
When you cannot find an exact color match for a patterned or multi-colored fabric, always select a thread that is one or two shades darker than the background fabric. Light thread tends to stand out starkly against darker fibers, highlighting any uneven stitches, whereas a slightly darker thread recedes into the fabric shadows, creating a much cleaner and more professional appearance.
Once your neutral foundation is established, you can selectively add one or two bright or contrasting colors to your set. These are highly useful for visible topstitching, decorative buttonholes, or temporary basting stitches that need to be easily seen and removed later. Purchasing these colors individually as projects arise prevents you from accumulating spools that sit unused for years.
Resist the temptation to buy cheap, oversized thread assortments from discount retailers or online marketplaces. These sets often contain low-quality, dusty threads that break easily and leave excessive lint inside your machine. Investing in a few high-quality spools of essential colors will save you hours of troubleshooting and protect your sewing machine’s internal mechanisms from premature wear.
Evaluating Pre-Made Sets vs. Building a Custom Collection
Cheap, pre-made thread kits are frequently filled with low-grade polyester that exhibits several visual red flags. Look closely at the thread on the spool: if you notice excessive fuzziness (lint), uneven thickness (slubs), or loose, messy winding, the thread is likely of poor quality. These imperfections cause friction as the thread passes through the machine, leading to frequent snapping, uneven tension, and a buildup of lint that can clog the bobbin area.
While a massive kit of 50 tiny spools might seem like a bargain, a cost-per-yard comparison often reveals a different story. Cheap kits typically provide very short yardage per spool—sometimes as little as 50 to 100 yards—meaning you will run out quickly even on small projects. Spending S$15 to S$25 on a small, reliable set of core neutrals from a reputable brand is often far more economical than buying a cheap, multi-colored kit that causes constant thread breaks.
When evaluating a pre-made set, use a simple inspection checklist to ensure quality. Check that the spool core is made of sturdy plastic or wood rather than flimsy cardboard, which can warp and disrupt the machine’s feeding mechanism. Ensure the thread is wound tightly and evenly across the spool, and verify that the packaging clearly states the fiber content (e.g., 100% polyester) and the thread weight.
For most beginners, a hybrid approach offers a balanced path forward. Start by purchasing a small, curated set of high-quality neutrals from a reputable manufacturer. This gives you a reliable foundation for your first few projects. As you take on new sewing tasks that require specific colors, purchase those individual spools separately, gradually building a custom collection tailored to your actual sewing habits.
Checking Spool Sizes and Machine Compatibility
Before purchasing any thread set, verify your sewing machine’s spool pin dimensions and orientation. Some machines feature vertical spool pins that accommodate traditional narrow spools, while others have horizontal pins designed for cross-wound spools. Extremely large cone spools, often used for sergers or heavy quilting, will not fit on standard domestic spool pins without a separate, standalone thread stand.
Mini spools, which are common in travel sewing kits and cheap novelty sets, often have narrow plastic cores that wobble on standard machine spool pins. This wobble introduces erratic tension as you sew. Standard yardage spools (typically 250 to 1,000 yards) are designed to sit securely on your machine’s spool pin, ensuring a smooth, continuous feed of thread to the needle.
Estimating how much thread you need is essential to avoid running out mid-project. A basic straight seam uses approximately three times the length of the seam in thread (combining top and bobbin threads). However, thread-heavy techniques like gathering, ruffling, tight zigzag stitching, or quilting consume significantly more. For a standard beginner garment or home decor project, a single 500-yard spool of matching thread is usually more than sufficient.
Proper storage is vital to preserve the strength and elasticity of your sewing thread set. Store your spools in a cool, dry place away from direct sunlight, which can fade colors and weaken synthetic fibers over time. Keep them in a closed container or drawer to prevent dust and humidity from settling on the thread, as dusty thread carries debris directly into your machine’s tension discs, leading to mechanical issues.
Frequently Asked Questions (FAQ)
Can I use the same thread for both the top spool and the bobbin?
Yes, the general rule for standard sewing is to use the exact same thread weight and fiber content for both the top spool and the bobbin. This symmetry ensures that the tension remains balanced, allowing the lockstitches to interlock evenly in the middle of your fabric layers. If you use a heavy cotton thread on top and a thin polyester thread in the bobbin, the machine will struggle to balance the tension, resulting in loops on one side of the fabric or puckered seams. There are minor exceptions, such as using a specialized, lightweight bobbin thread for dense machine embroidery or decorative topstitching to reduce bulk on the underside, but for standard garment construction and crafts, matching your threads is a highly reliable approach. Always consult your sewing machine manual for any specific bobbin thread weight recommendations.
Why does my thread keep breaking or shredding during sewing?
Thread breakage and shredding are common frustrations that usually stem from a mismatch in your setup or poor thread quality. Low-quality threads often have uneven thickness and weak fibers that snap easily under standard machine tension. If your thread is high-quality but still breaking, perform a systematic check: completely unthread and re-thread both the top path and the bobbin, ensuring the thread is seated correctly in the tension discs. Inspect your sewing machine needle; a dull, bent, or incorrect needle size can cause friction that shreds the thread. Ensure the needle size matches both the fabric weight and the thread thickness. Finally, check the needle plate and bobbin case for tiny burrs or scratches that might be catching the thread as it forms a stitch, smoothing them out or replacing the damaged parts as necessary.
Community discussion
Share your experience or ask a question. Comments are reviewed before publication.