
Identifying the correct components is the first step in maintaining a sewing machine and purchasing the right accessories. For beginners, understanding the basic anatomy of a Brother sewing machine prevents the frustration of ordering incompatible replacements. When a machine skips stitches, jams, or fails to feed fabric smoothly, the solution is often as simple as replacing a worn consumable part. By learning how these components interact, you can confidently troubleshoot minor issues and select the exact accessories needed for your projects.
Needle and Threading Components: The Most Common Consumables
The sewing needle is the most frequently replaced part on any machine. Over time, the needle tip becomes dull, or the shaft can bend slightly after hitting a pin or thick seam. You can visually inspect a needle by holding it up to a bright light to check for a bent shaft, or run your finger carefully near the tip to feel for rough burrs. A damaged needle can snag delicate fabrics, punch large holes in woven materials, or cause frustrating skipped stitches.
Threading components guide the upper thread from the spool pin down to the needle eye. This path includes tension discs, the take-up lever, and various small metal thread guides that keep the thread aligned. Many modern Brother machines also feature an automatic needle threader mechanism, which uses a tiny hook to pull the thread through the needle eye. If this delicate hook becomes bent or misaligned, the automatic threader will fail to function, requiring a replacement of the threader assembly or careful manual threading.
Products mentioned in this guide
![[SG Stock] Original Authentic Brother Brand Sewing Machine 3-Piece Needle Set](https://img.lazcdn.com/g/p/ab0dea7a9da028223a6a40c8155859bb.jpg_400x400q80.jpg_.webp)
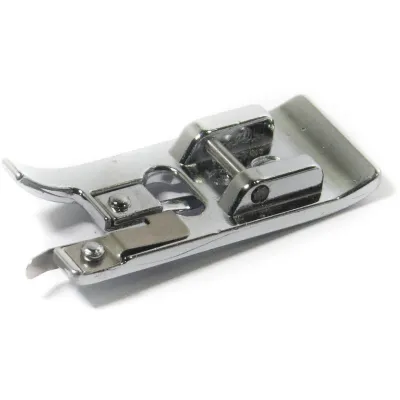
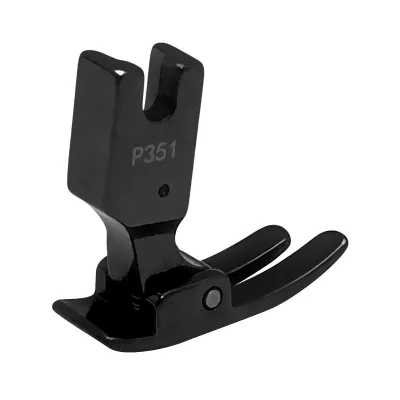
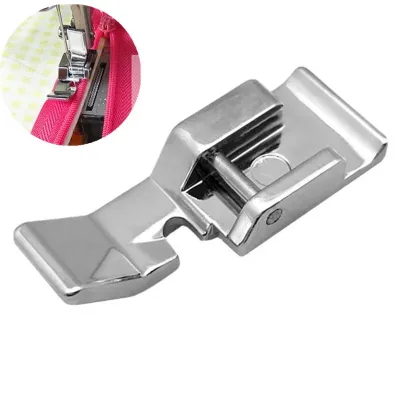
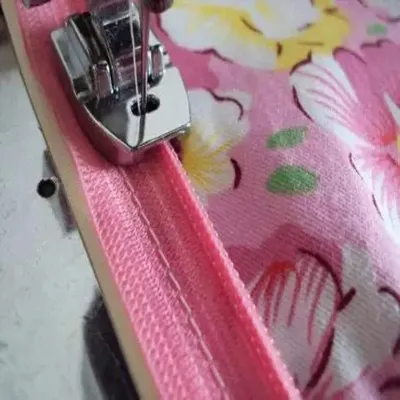
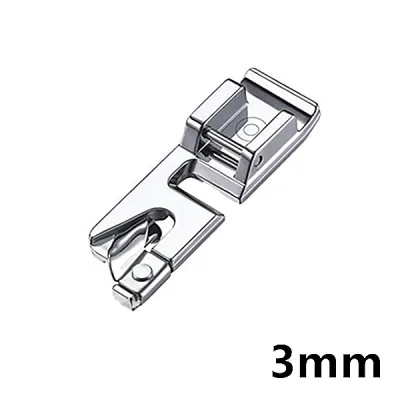
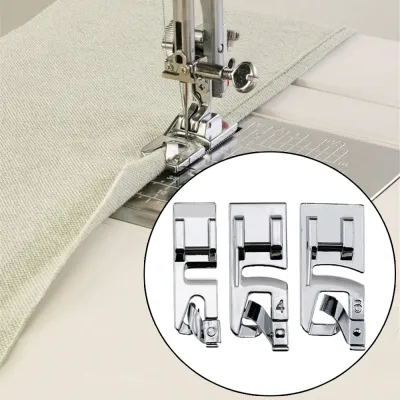
Prices are valid at publication and may change. Please refer to the product page for the latest price.
Recognizing when to replace a needle is essential for preventing internal machine damage. A severely bent needle can strike the metal throat plate or the bobbin case, causing deep scratches that will snag thread in the future. As a general rule, plan to replace your needle after every major project or after approximately eight hours of active sewing time.
Bobbin and Tension Systems: Managing the Lower Thread
The lower thread system consists of two distinct parts: the bobbin and the bobbin case. The bobbin is the small plastic or metal spool that holds the lower thread, while the bobbin case is the receptacle that houses the bobbin inside the machine. For top-loading drop-in systems common on many Brother models, the bobbin case is a removable black plastic pod. Both parts must be completely free of cracks, deep scratches, or chipped edges to ensure the thread unwinds smoothly.

Stitch quality relies on a delicate balance between the upper thread tension and the bobbin tension. The upper tension dial on the front of your machine adjusts the pressure on the upper thread discs, while the bobbin case has a tiny screw that regulates lower thread resistance. Beginners should rarely adjust the bobbin case screw, focusing instead on the upper tension dial to balance the stitches. If the upper thread is visible on the underside of the fabric, or if the bobbin thread loops on top, the tension balance is off.
Before assuming a mechanical part is broken and ordering a replacement, perform basic troubleshooting for thread jams. Remove the bobbin, clean out any accumulated lint from the bobbin area using a small brush, and rethread both the top and bottom paths. Quite often, what appears to be a broken tension mechanism is simply a stray thread caught in the tension discs or a bobbin wound with uneven tension.
Presser Feet and Feed Dogs: Controlling Fabric Movement
Fabric movement is controlled by the interaction between the presser foot on top and the feed dogs underneath. The standard zigzag foot is the default accessory used for most utility stitches, but specialized feet exist for tasks like sewing zippers, buttonholes, or blind hems. Using the correct foot ensures the fabric is held flat against the needle plate, preventing puckering and ensuring precise needle penetration.
The feed dogs are the metal, tooth-like ridges that rise through the needle plate to pull the fabric forward with each stitch. Over time, fabric lint and sheared fibers accumulate between these teeth, reducing their grip and causing uneven feeding. Regularly check the feed dogs for buildup and verify the position of the drop-feed lever, which lowers the feed dogs for free-motion quilting or button sewing. If the feed dogs are raised but fail to move the fabric, a thorough cleaning usually resolves the issue.
Before purchasing new presser feet accessories, you must verify your machine’s shank type and attachment mechanism. Most modern Brother sewing machines use a low-shank design with a snap-on ankle, allowing you to swap feet quickly by pressing a release lever. Older or highly specialized models might require screw-on feet. Checking this compatibility prevents purchasing feet that cannot attach securely to your machine’s presser bar.
Compatibility Checklist: Verifying Parts Before Purchase
To ensure your replacement parts fit perfectly, always locate the exact model number on your machine’s identification plate. This plate is typically a silver or white sticker located on the back or side of the machine. Do not rely on general series names printed on the front casing, as models within the same series can use entirely different bobbin styles, needle plates, or presser feet.
Once you have the model number, cross-reference part numbers with your official user manual or the manufacturer’s specifications. Many parts look identical online but have microscopic differences in height, diameter, or pin placement. Using the manufacturer’s specific part code is the most reliable way to search online marketplaces or local stationery and sewing shops.
It is also helpful to distinguish between universal consumables and proprietary components. Standard sewing machine needles are generally universal across brands, provided you select the correct system (usually 130/705H for domestic machines). However, items like bobbin cases, needle plates, and certain specialized presser feet are highly proprietary and must be designed specifically for your Brother model to prevent mechanical failure.
Frequently Asked Questions (FAQ)
Can I use generic bobbins instead of genuine Brother bobbins?
While generic bobbins are widely available, you must carefully verify their dimensions, weight, and material finish against your original Brother bobbins. Even a fraction of a millimeter difference in height or a slight variation in plastic weight can cause tension fluctuations or nesting under the fabric. Before starting a main project with a generic bobbin, test the stitch balance on a piece of scrap fabric. If you notice unusual noise, sudden tension shifts, or frequent thread jamming, stop sewing immediately and revert to a genuine manufacturer part to protect your machine’s tension system.
How do I know if the bobbin case needs replacement?
Inspect your bobbin case regularly for physical wear, looking closely for burrs, deep scratches, or needle strike marks on both the metal and plastic surfaces. A damaged bobbin case will catch the thread as it passes around, leading to shredded thread or skipped stitches. Additionally, check that the small tension spring on the side of the case provides consistent resistance and that the latch opens and closes smoothly. If you observe deep gouges or if basic cleaning does not resolve tension issues, stop making DIY adjustments and consult a qualified technician for a professional replacement or timing adjustment.
Community discussion
Share your experience or ask a question. Comments are reviewed before publication.