
Starting machine embroidery can feel overwhelming, especially when facing a wall of thread options. For beginners, the most suitable Brother embroidery thread depends on balancing durability, sheen, and ease of use, primarily by choosing between polyester and rayon in standard weights. This guide breaks down the core characteristics of these variants to help you select the right thread for your initial projects and build confidence at the machine.
When setting up a new embroidery machine, the sheer variety of thread materials, weights, and spool configurations can easily lead to confusion. Selecting the wrong thread can result in frequent thread breaks, puckered fabric, or poor stitch definition, which can be highly discouraging for a beginner. To establish a reliable baseline, starting with a high-quality 40-weight polyester thread is generally the most practical choice. This specific combination offers the tensile strength needed to withstand high-speed machine stitching while remaining forgiving during tension adjustments. By understanding how different thread characteristics interact with your machine, you can avoid common setup errors and achieve clean, professional results from your very first project.
Decoding Thread Weights and Spool Formats for Machine Compatibility
To achieve clean embroidery results, you must first understand how thread weight is measured and how it affects your machine’s operation. In the embroidery world, thread thickness is designated by a weight (WT) number, which operates on an inverse scale: the higher the number, the thinner the thread. A standard 40-weight thread is the universal baseline for the vast majority of commercial and consumer machine embroidery designs. Digitizers create patterns assuming a 40-weight thread will be used to fill the shapes.
Products mentioned in this guide
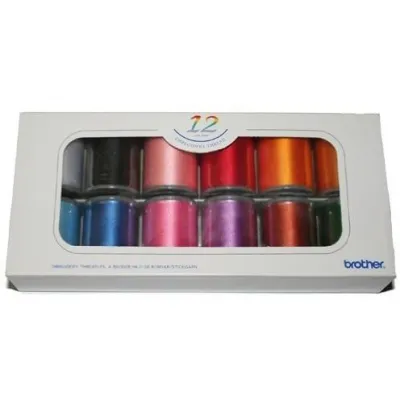
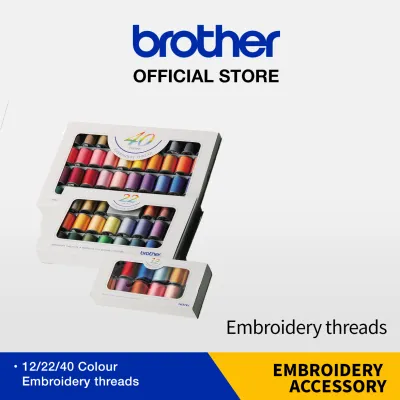
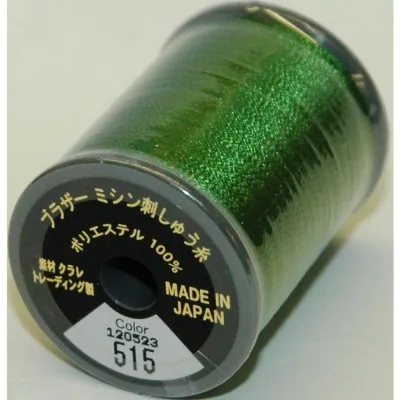
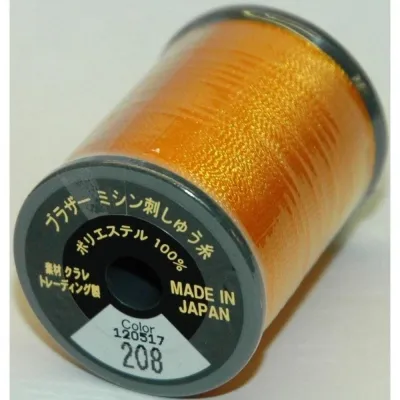
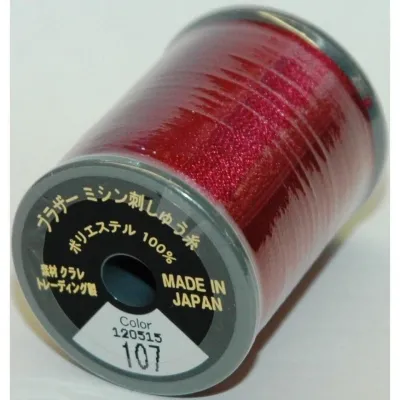
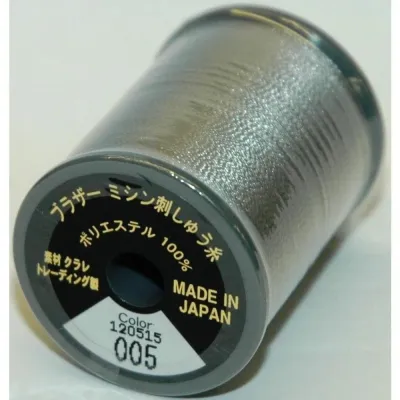
Prices are valid at publication and may change. Please refer to the product page for the latest price.
If you use a thread that is too thick, the stitches will crowd each other, causing the fabric to stiffen or the needle to strike previous stitches and break. Conversely, using a thread that is too thin will leave visible gaps in the design, exposing the underlying fabric. Understanding this standard helps you avoid density issues before you even begin stitching.
While 40-weight is the standard, you may occasionally encounter 60-weight threads, particularly in beginner kits or specialized project instructions. A 60-weight thread is significantly finer and is engineered for stitching intricate details, micro-lettering, or delicate lace designs where a standard thread would look bulky. Additionally, 60-weight thread is frequently used as bobbin thread. Because it is thinner, it allows you to wind more thread onto a single bobbin, reducing the frequency of bobbin changes during large projects and ensuring that the bobbin thread does not bulk up the underside of the embroidery.
Beyond the weight of the thread, the physical format of the spool plays a critical role in machine compatibility and tension delivery. Embroidery threads are typically sold in two formats: standard small spools and large, cone-shaped spools. Standard spools are designed to sit directly on your machine’s built-in spool pin, whether horizontal or vertical. These spools unwind from the side as the spool rotates.
Large cones, however, contain thousands of meters of thread and are too heavy to spin on a standard machine pin. They are designed to remain stationary, with the thread pulling straight up off the top of the cone. Attempting to feed a large cone directly from a horizontal machine pin will cause severe tension spikes, thread twisting, and immediate breakage. To use these economical large cones safely, you must employ an external thread stand. The stand sits behind or beside your machine, guiding the thread vertically upward through a tall guide loop before it enters the machine’s standard threading path. This vertical delivery ensures a smooth, tension-free flow, preventing the thread from catching on the spool’s plastic edges.
Polyester vs. Rayon: Matching Material to Your Project Goals
The two most common materials used in machine embroidery are polyester and rayon, and each serves a distinct purpose depending on the final application of your embroidered item. Polyester is a synthetic fiber known for its exceptional durability, high tensile strength, and resistance to environmental wear. It is highly colorfast, meaning it can withstand frequent laundering, exposure to household detergents, and even mild bleach without losing its color. Additionally, polyester fibers have a slight degree of elasticity, which allows the thread to stretch slightly under tension rather than snapping.

This resilience makes polyester the ideal choice for functional, high-wear items such as children’s clothing, uniforms, towels, tote bags, and outdoor gear. In humid climates like Singapore, polyester’s resistance to mildew and moisture ensures that embroidered items remain preserved over time without degrading. For beginners, this durability provides a safety net while learning to manage machine speeds and fabric hooping.
Rayon, on the other hand, is a semi-synthetic fiber made from natural wood pulp cellulose. It is highly prized in the embroidery community for its deep, brilliant luster and soft, flexible drape. Rayon reflects light in a way that gives designs a luxurious, liquid-like sheen that polyester struggles to replicate. It is also incredibly soft to the touch, making it comfortable against the skin.
However, rayon is physically weaker than polyester and has almost no elasticity. It can degrade when exposed to harsh chemicals or prolonged moisture, and its fibers weaken significantly when wet. Consequently, rayon requires gentle laundering, ideally hand-washing or dry-cleaning. This makes it best suited for decorative display pieces, framed textile art, heirloom garments, and delicate seasonal decorations that will not undergo heavy wear or frequent washing.
These material differences directly impact how your machine handles the thread and how you must adjust your settings. Because polyester is elastic, it can be pulled tight during the stitching process. If your upper tension is set too high, the polyester thread will stretch as it is laid down on the fabric. Once the embroidery is complete and the fabric is removed from the hoop, the thread will contract back to its original length, causing the surrounding fabric to pucker.
Rayon, lacking this elasticity, does not suffer from contraction puckering to the same degree, but its low tensile strength means it is highly sensitive to friction. Any rough spots on your needle, spool cap, or thread path can cause rayon to shred or snap instantly. When deciding between the two, establish a clear project-based framework. If you are embroidering a baby onesie, a kitchen towel, or a canvas backpack, polyester is the more appropriate choice due to its washability and strength. If you are stitching an intricate floral design onto a silk blouse, a decorative table runner, or a framed wall hanging, rayon will provide the elegant, high-gloss finish that elevates the project. As a beginner, starting with polyester allows you to practice hooping and tension calibration with a thread that is highly resistant to breaking, saving you from the frustration of constant machine stops.
Pairing Threads with Fabrics and Stabilizers for Smooth Stitching
Successful machine embroidery relies on a balanced relationship between three core elements: the thread, the fabric, and the stabilizer. If any one of these components is mismatched, the quality of the stitch out will suffer, resulting in puckering, shifting, or bird’s nesting. When working with a standard 40-weight embroidery thread, your baseline fabric choice should ideally be a stable, medium-weight woven material, such as cotton canvas, denim, or high-quality quilting cotton. These fabrics have a tight weave that can support the weight and density of embroidery stitches without distorting.
To support the fabric during the high-speed stitching process, you must pair it with the correct stabilizer. For stable woven fabrics, a medium-weight tear-away stabilizer is often sufficient, as it can be easily removed from around the design once stitching is complete. However, if you are embroidering on stretchy fabrics, knits, or lightweight materials, a cut-away stabilizer is essential. Cut-away stabilizers remain permanently attached to the fabric behind the design, preventing the fabric from stretching or distorting during both the embroidery process and subsequent wash cycles.
The needle you select is the critical link between your thread and fabric. For standard 40-weight embroidery thread, you should generally use an 11/75 or 14/90 embroidery needle. Embroidery needles are specifically engineered with a larger eye and a deeper scarf (the groove on the back of the needle) than standard sewing needles. This design allows the embroidery thread to pass through the eye with minimal friction at high speeds. If the needle eye is too small, the thread will rub against the metal, heating up and eventually shredding. Ensure you choose a sharp needle for woven fabrics to pierce the threads cleanly, or a ballpoint needle for knits to slide between the fibers without cutting them.
Finally, beginners must pay close attention to design density. Many digital embroidery designs contain thousands of stitches packed into a small area. High-density designs place an immense amount of stress on both the thread and the fabric. If you attempt to stitch a highly dense design on a lightweight fabric with a standard 40-weight thread, the needle will repeatedly strike the same area, leading to thread buildup, needle deflection, and eventual thread breakage. When starting out, select open, airy designs—such as line art, redwork, or light fill patterns—to observe how the thread behaves on the fabric before moving on to heavy, solid-fill designs.
Essential Setup and Tension Checks to Prevent Thread Breakage
Before pressing the start button on your embroidery machine, performing a series of systematic setup checks can prevent the vast majority of thread breaks and tension issues. Begin by examining your spool setup. If you are using a standard spool on a horizontal pin, you must select a spool cap that matches the diameter of the spool. The spool cap’s job is to hold the spool securely while allowing the thread to slip off the end smoothly. If the cap is too small, the thread can slip behind the spool and wrap around the metal pin, causing an immediate jam. If the cap is too large, the thread can catch on the edge of the cap, creating a sudden tension spike that snaps the thread.
Next, carefully route the thread through the machine’s path, ensuring that the presser foot is in the up position during the entire threading process. When the presser foot is raised, the machine’s internal tension discs open up, allowing the thread to seat deeply and correctly between them. If you thread the machine with the presser foot down, the tension discs remain closed, and the thread will simply sit on top of them. This results in zero upper tension during stitching, causing massive loops of thread to accumulate on the underside of the fabric—a frustrating phenomenon known as bird’s nesting.
Once threaded, always perform a visual tension test on a scrap fabric sandwich that matches your project’s fabric and stabilizer combination. Stitch a simple test pattern, such as a series of satin stitch columns or the letter ‘H’. Once the test is complete, remove the fabric and inspect the underside of the stitches. In a well-calibrated machine, you should see a clean three-part division: the outer one-third of the stitch width on both sides should consist of the upper embroidery thread, while the center one-third should consist of the bobbin thread. If you see only bobbin thread on the bottom, or if the bobbin thread is pulling through to the top of the fabric, your upper tension is too tight. If you see loose loops of upper thread on the bottom with no bobbin thread visible, your upper tension is too loose.
As a beginner, it is vital to establish clear stopping conditions. If your machine experiences persistent thread shredding, needle snapping, or unusual mechanical noises, do not attempt to force the machine to continue running. Stop the machine immediately, turn off the power, and inspect the bobbin area for accumulated lint, broken needle fragments, or tangled thread. Clean the bobbin case thoroughly using a soft brush. If the issue persists after rethreading both the top and bobbin threads and changing the needle, consult your manufacturer’s manual or contact a qualified technician to avoid causing permanent damage to your machine’s tension assembly or timing mechanism.
Frequently Asked Questions (FAQ)
Can I use regular sewing thread in my Brother embroidery machine?
Regular sewing thread is not suitable for machine embroidery. Sewing thread is typically thicker (usually 50-weight or heavier), has a different twist, and is engineered for seam strength rather than high-speed decorative stitching. Using it in an embroidery machine will result in poor stitch definition, excessive lint buildup in the tension discs and bobbin case, and frequent thread breaks due to the high-speed lateral movements of the embroidery process.
Do I need to use Brother-branded bobbin thread?
While you do not strictly need to use Brother-branded bobbin thread, you must use a bobbin thread that matches the exact weight and material specifications outlined in your machine’s manual. Most Brother embroidery machines are calibrated to use either 60-weight or 90-weight polyester bobbin thread. Using the incorrect weight will disrupt the delicate tension balance between the upper and lower threads, leading to poor stitch quality or bobbin thread showing on the top of your designs.
Community discussion
Share your experience or ask a question. Comments are reviewed before publication.