
Finding the right needle threader can transform your embroidery experience from a test of patience into a smooth, enjoyable craft. For beginners, the ideal choice is a sturdy wire loop threader with a reinforced handle, a mechanical hook threader, or a dedicated desk-standing model, depending on the thickness of your floss and the size of your needle eye. Understanding how these tools interact with different materials prevents thread damage and keeps your projects moving forward.
What Makes a Needle Threader Ideal for Embroidery Beginners?
Embroidery presents unique challenges that standard hand sewing does not. While regular sewing typically uses a single, thin strand of polyester or cotton thread, hand embroidery frequently relies on multi-strand cotton floss, pearl cotton, or delicate metallic threads. Standard embroidery floss consists of six individual strands wound together. Beginners must often split these strands or, conversely, thread multiple strands simultaneously to achieve the desired texture and line weight in their designs. Forcing several un-plied cotton strands through a narrow needle eye is a recipe for fraying, splitting, and immense frustration.
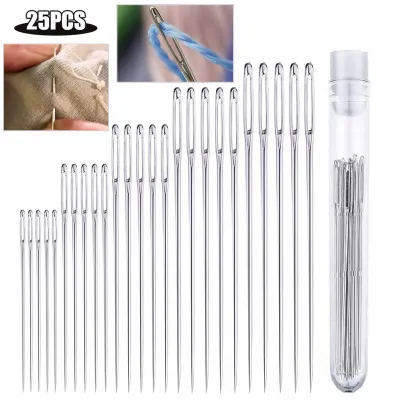
Furthermore, embroidery needles—often called crewel needles—possess long, narrow eyes designed to hold floss flat. While the eye is longer than that of a standard sewing sharp, it remains incredibly thin. This tight clearance requires high precision. Attempting to thread these needles manually under standard home lighting can quickly lead to eye strain and physical fatigue, particularly during long stitching sessions. In Singapore’s humid climate, moisture from your hands can also make handling fine threads more difficult, as the fibers tend to cling or soften.
Products mentioned in this guide
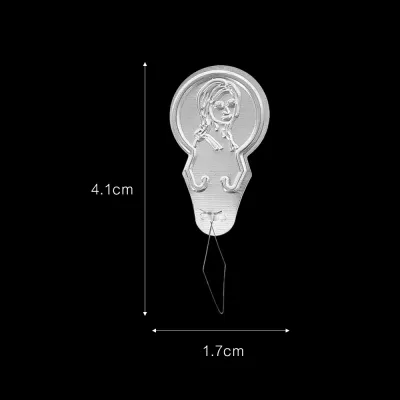
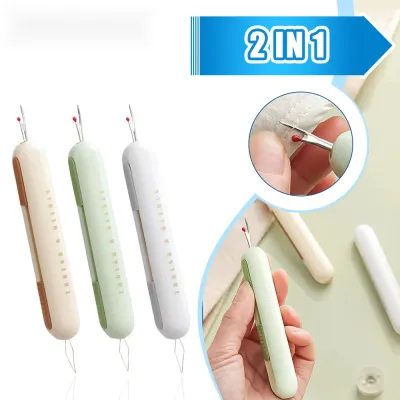
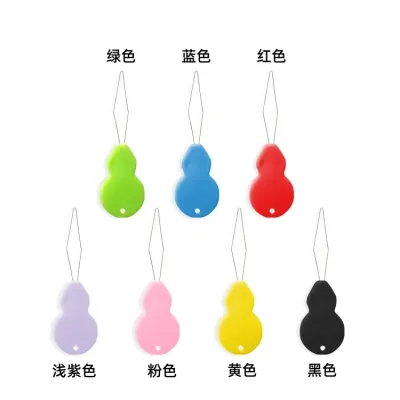
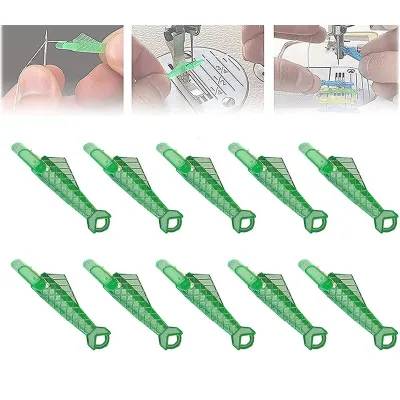
Prices are valid at publication and may change. Please refer to the product page for the latest price.
A reliable needle threader acts as a mechanical bridge, compressing the thread fibers and pulling them cleanly through the eye without friction. By eliminating the repetitive struggle of manual threading, beginners can focus entirely on mastering basic stitches like the backstitch, French knot, and satin stitch. This builds immediate confidence, reduces physical strain on the eyes and hands, and ensures that your materials remain pristine and free of unsightly frays.
Top Needle Threader Types for Embroidery: Pros, Cons, and Best Uses
Selecting the right tool requires understanding the structural differences between the main types of threaders available. Each design offers distinct mechanical advantages and trade-offs depending on your workspace, needle preferences, and physical comfort.

Classic Wire Loop Threaders
The classic wire loop threader is the most recognizable design in any sewing kit. It consists of a thin, flexible, diamond-shaped steel wire secured to a flat metal or plastic handle, which is often shaped like a coin or a small tab. To use it, you pass the flexible wire loop through the needle eye, insert your embroidery floss through the large wire loop, and then draw the wire back out of the needle eye, pulling the thread along with it.
Pros: These threaders are lightweight, highly portable, and very inexpensive. Because the wire loop is highly flexible, it can compress to fit through extremely small needle eyes, making it highly versatile for various needle sizes.
Cons: The primary drawback is durability. The point where the wire is soldered or glued to the handle is a common failure point. If you attempt to pull too many strands of floss through a small eye, the wire will easily bend, warp, or snap completely out of the handle.
Best for: Crafters working with single or double strands of embroidery floss, fine crewel needles, or those who need a compact tool for a travel sewing kit.
Automatic or One-Step Needle Threaders
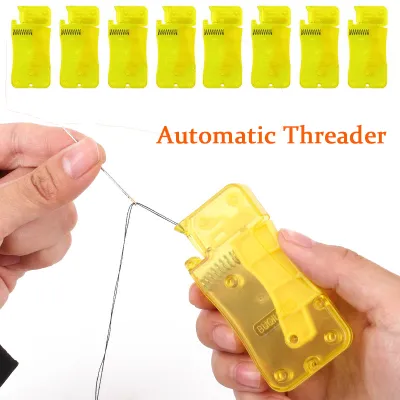
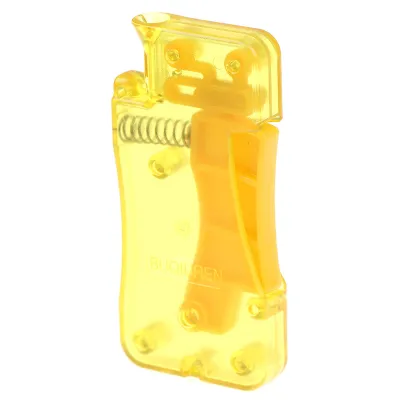
Automatic needle threaders utilize an enclosed plastic housing containing a small, spring-loaded lever or button mechanism. To operate, you drop your needle eye-down into a designated slot, lay your embroidery thread across a guide path, and press the lever. A tiny, precise metal hook emerges, grabs the thread, and pulls a loop of it directly through the needle eye as you release the mechanism.
Pros: The enclosed design completely protects the delicate metal hook from bending or breaking. It offers a highly reliable, one-handed operation that is ideal for individuals experiencing hand fatigue, tremors, or visual impairments.
Cons: These devices are bulkier than wire loops and are less portable. They also have strict compatibility limits; if your needle eye is too small, too large, or misaligned with the internal hook, the mechanism can jam or damage the needle.
Best for: Beginners who want a highly repeatable, frustration-free threading experience at home using standard-sized embroidery needles.
Desk-Standing or Lever Threaders
Desk-standing threaders are robust, stationary tools designed to sit permanently on your crafting table. They feature a weighted, non-slip base and often include dual slots to accommodate different needle sizes—one side for fine sewing needles and the other for larger embroidery or tapestry needles. You insert the needle into the funnel, lay the thread in the groove, and depress a sturdy lever to thread the needle.
Pros: These tools are exceptionally durable and built to withstand years of heavy use. The hands-free design allows you to stabilize the tool on your desk, making it incredibly easy to use. Because it sits upright on your workspace, it is highly unlikely to get lost under piles of fabric.
Cons: They lack portability and require a dedicated flat surface. You must bring your needle to the desk-standing unit rather than holding the threader up to your work, which can slightly disrupt your stitching rhythm.
Best for: Dedicated home craft spaces, high-volume embroidery projects, and crafters who frequently switch between different needle and thread sizes.
Threaders with Magnifiers or LED Lights
Vision-assisted threaders combine a traditional wire loop or metal hook with an integrated optical magnifier, a built-in LED light, or both. The handle of the tool is larger to accommodate a small battery compartment and a magnifying lens that folds out to sit directly over the needle eye during threading.
Pros: These threaders significantly reduce eye strain by illuminating the needle eye and magnifying it up to three or four times its actual size. This makes threading dark-colored threads or working in dimly lit rooms much easier.
Cons: They are heavier and more expensive than basic models. They also require periodic battery replacements, and the plastic lenses can scratch if stored carelessly.
Best for: Fine-detail embroidery, working with dark fabrics and threads, visually impaired crafters, or stitching in cozy, low-light environments.
How to Choose a Reliable Needle Threader Brand for Your Kit
When building your starter embroidery kit, investing in a reliable, branded needle threader is far more cost-effective than buying cheap, unbranded multipacks. High-quality craft tools are defined by superior manufacturing tolerances, durable materials, and thoughtful ergonomics.
To evaluate a needle threader, look for established heritage sewing brands or reputable modern craft tool manufacturers. Brands like Clover, Prym, Dritz, and DMC are widely recognized for their strict quality control. Their wire loops are typically made from high-tensile stainless steel that resists bending, and their plastic components are molded from durable ABS plastic rather than brittle, recycled plastics.
Always check the product packaging for clear specifications. A reliable brand will explicitly list the needle sizes the threader is compatible with (for example, “suitable for sizes 1 to 10”) and provide step-by-step visual instructions. This prevents you from accidentally using a fine threader on a heavy-duty needle, which could damage the tool.
Before purchasing, seek out user feedback on crafting forums or product pages, focusing specifically on long-term durability. Look for comments regarding whether the wire easily detaches from the handle, if the automatic mechanisms tend to jam, or if the manufacturer offers customer support.
Avoid unbranded, ultra-cheap bulk packs commonly found on online marketplaces. These items often feature poorly aligned hooks, brittle wires, and sharp metal edges that can snag and ruin delicate silk or cotton embroidery floss. Spending slightly more on a single, well-engineered tool will save you both material costs and frustration in the long run.
Quick Comparison: Matching Threaders to Embroidery Needles and Floss
To get the best results, you must match your threader type to the specific needle and thread combination you are using. Using an incompatible tool can damage your needle eye, fray your floss, or break the threader itself.
The following comparison matrix outlines the ideal pairings and limitations for each threader type:
| Threader Type | Best Needle Match | Thread Compatibility | Key Limitations |
|---|---|---|---|
| Wire Loop | Crewel, Sharps, Beading | 1 to 3 strands of cotton floss, fine silk | Wire snaps easily under tension; not for thick wool |
| Automatic | Standard Embroidery (Sizes 3–9) | 2 to 4 strands of cotton floss, smooth polyester | Fine needles may bend the internal hook; cannot use thick pearl cotton |
| Desk-Standing | Tapestry, Chenille, Large Crewel | 4 to 6 strands, pearl cotton, fine yarn | Not portable; requires specific needle eye alignment |
| Magnifier/LED | Fine Crewel, Miniature Embroidery | All standard embroidery threads, metallic threads | Bulky; requires batteries; wire replacement can be difficult |
When working with specialty threads, extra care is required. For example, metallic embroidery threads consist of a synthetic core wrapped in metallic foil. These threads are highly prone to shredding. Using an automatic threader with a sharp metal hook can easily strip the metallic foil, so a smooth, wide wire loop or a flat hook threader is highly recommended instead. Similarly, thick chenille or tapestry needles require a heavy-duty threader that can handle the volume of thick pearl cotton without bending.
How to Use, Maintain, and Troubleshoot Your Needle Threader
Proper technique and simple maintenance will significantly extend the lifespan of your needle threader and protect your embroidery supplies from damage.
Usage Tips
To thread your needle safely, always start by trimming the end of your embroidery floss at a sharp 45-degree angle using sharp embroidery scissors. This creates a clean point and prevents loose fibers from catching. Insert the threader’s wire or hook completely through the needle eye first. Once the loop or hook is fully exposed on the other side, place your floss through it, leaving a short tail. Gently and slowly pull the threader back out of the needle eye. Never force the tool; if you feel strong resistance, stop immediately. The thread may be too thick for the needle eye, or the threader may be misaligned.
Maintenance
In Singapore’s warm and humid climate, metal tools are highly susceptible to oxidation and rust. To prevent this, always wipe the metal parts of your threader with a dry microfiber cloth after use to remove moisture and oils from your fingers. Store your threaders in a rigid, airtight craft container, ideally with a small silica gel packet to absorb excess humidity. Keep automatic and desk-standing mechanisms free of lint and dust by brushing them out periodically with a clean, soft-bristled makeup brush or a small can of compressed air.
Troubleshooting
If your wire loop becomes slightly bent, you can attempt to gently reshape it using a pair of fine-nosed jewelry pliers. However, if the wire has a sharp crease or has begun to pull away from the handle, it has lost its structural integrity and should be replaced immediately. If thread becomes snagged inside an automatic threader, do not force the lever down. Gently wiggle the needle to release the tension, and use tweezers to carefully extract any trapped fibers. Finally, inspect your threader regularly for rough edges or burrs. If the tool begins to scratch the inside of your needle eyes or shred your floss, discard it to prevent ruining your embroidery fabric.
Frequently Asked Questions (FAQ)
Can I use a standard sewing needle threader for embroidery floss?
Yes, but with limitations. Standard sewing needle threaders are designed for fine, single-strand sewing threads. When used with multi-strand embroidery floss, the bulk of the cotton can easily snap the delicate wire loop or shred the fibers. If you must use a standard threader, limit your floss to one or two strands. For thicker projects, opt for a heavy-duty threader designed specifically for embroidery or tapestry work.
Why does my needle threader wire keep breaking?
The most common cause of wire breakage is forcing too much thread through a needle eye that is too small, which puts immense stress on the solder joint. Another frequent mistake is pulling the threader out at an upward or downward angle rather than straight back. Always ensure the wire is aligned perfectly with the eye, and use a larger needle if you experience persistent resistance.
Do I need a different threader for tapestry needles?
Yes, tapestry needles feature much larger, elongated eyes designed to accommodate thick tapestry wool or full six-strand embroidery floss. Standard fine-wire threaders are too small and flexible to handle these heavy materials efficiently. Instead, use a sturdy flat metal hook threader or a desk-standing lever threader, which are engineered to handle larger needle eyes and thicker threads without bending.
Community discussion
Share your experience or ask a question. Comments are reviewed before publication.