
Selecting the right kids drawing board can be a pivotal step in nurturing a child’s spatial intelligence and early design thinking. Standard drawing boards offer a blank canvas for freehand expression, but specialized boards designed for spatial and design skills incorporate structural guides, geometric templates, or dot grids. These tools help children transition from simple scribbles to early architectural thinking, 3D visualization, and geometric reasoning.
By introducing these concepts early, children learn how to translate mental models of physical spaces into two-dimensional drawings. This process builds spatial reasoning, which is foundational for future pursuits in design, engineering, and architecture. It allows young minds to experiment with proportion, scale, and perspective in a structured, engaging format.
Key Features to Look for in Spatial Design Boards
Standard drawing boards provide an open canvas for unstructured artistic expression, which is excellent for sensory play and creative freedom. In contrast, design-oriented boards are specifically engineered to scaffold technical drawing skills. They introduce structured constraints—such as grids, physical guidelines, and alignment tracks—that help children understand proportion, alignment, and perspective.
Products mentioned in this guide
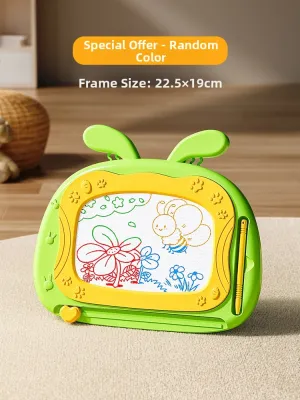
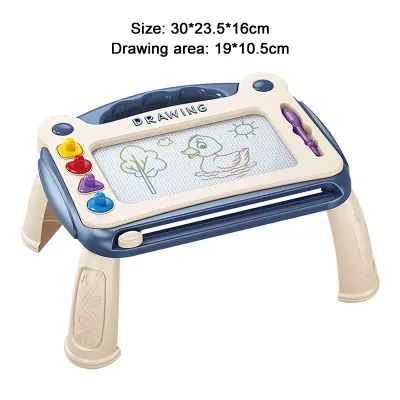

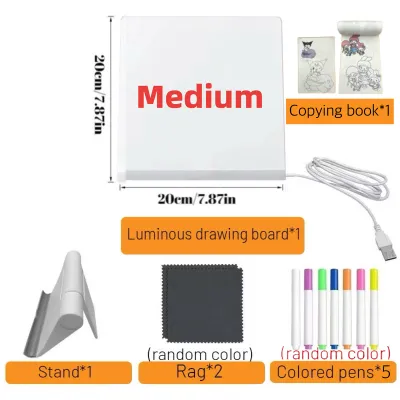
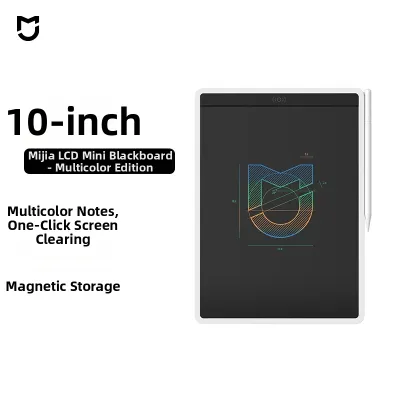
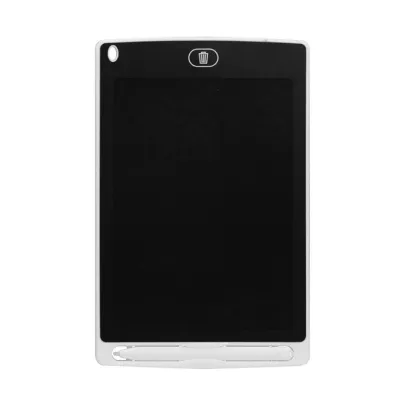
![[✅SG Ready Stock] 8.5 inch / 12 inch LCD Pad Writing Tablet For kidsKids Drawing Pad Portable Electronic Tablet Board](https://img.lazcdn.com/g/p/fee43f1d7f9017a12c1bc992432adbda.jpg_400x400q80.jpg_.webp)
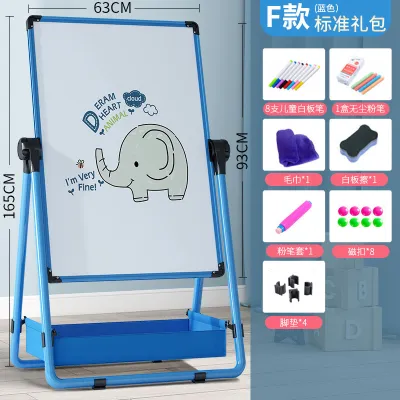
Prices are valid at publication and may change. Please refer to the product page for the latest price.
Integrated geometric templates and stencils are crucial features to evaluate. These tools allow children to trace precise circles, triangles, and hexagons, teaching them how complex structures are built from fundamental shapes. Using templates helps children understand the relationship between different geometric forms and how they fit together to create larger designs.
Isometric dot patterns and perspective guidelines are another key element. These subtle visual cues guide the pencil along specific angles, typically 30 degrees for isometric drawing, making it easier to render three-dimensional cubes and buildings without complex mathematical calculations. This visual scaffolding helps bridge the gap between flat drawings and realistic representations of depth.
Adjustable drafting angles are highly beneficial for ergonomics and precision. A board that can be tilted helps children maintain a natural wrist position, reducing fatigue during detailed work and mimicking professional drafting tables. This feature is particularly useful for older children who spend more time refining their sketches.
Board stability is paramount to prevent frustration; non-slip rubber feet or paper clamping mechanisms keep the drawing surface secure. When the paper or board slips, it can disrupt clean lines and discourage a child who is trying to master precise drafting techniques.
Finally, evaluate the surface texture, or “tooth.” A surface designed for technical drawing should have enough grip to prevent pencils or fineliners from slipping, yet remain smooth enough to allow clean, precise lines. If the board features a dry-erase surface, it must resist ghosting and staining to remain usable over time.
Recommended Drawing Board Types for Early Architectural Thinking
Isometric and Dot Grid Boards for 3D Visualization
Isometric dot grid boards use a series of evenly spaced dots arranged in diagonal rows rather than a standard square grid. These dots provide pre-calculated 30-degree and 60-degree angles, which are the standard guidelines used in isometric projection. By connecting these dots, children can easily draw three-dimensional cubes, rectangular prisms, and complex architectural structures without needing advanced perspective rules.

This type of board is ideal for older children, typically around ages 8 to 12, who have developed the fine motor control and spatial patience required for structured sketching. At this stage, children are ready to transition from flat drawings to representing physical structures they see in the real world.
The primary benefit of isometric boards is the rapid development of 3D visualization skills. Children learn how to represent height, width, and depth simultaneously, which builds a strong foundation for future computer-aided design (CAD) modeling and physical prototyping.
However, these boards do have limitations. The rigid, pre-determined grid can feel restrictive for children who want to engage in freeform, organic drawing. Additionally, they often require specialized isometric paper or direct drawing on a dry-erase surface that features the printed grid, meaning ongoing consumable costs or limited permanence for their sketches.
Stencil and Template Drafting Boards for Geometry
Stencil and template drafting boards incorporate physical guides, slide-and-lock rulers, and cutout shapes directly into the drawing surface. These boards function like miniature professional drafting machines, allowing children to align a ruler perfectly parallel to the edge and slide it smoothly up and down. Built-in stencils provide precise cutouts of geometric shapes, architectural symbols, and directional arrows.
Using these boards introduces children to the fundamental concepts of scale, symmetry, and systematic planning. For example, a child can use the parallel ruler and geometric stencils to design a detailed two-dimensional floor plan of their bedroom or plan a complex maze. This practice teaches them how physical spaces are represented from a bird’s-eye view, which is a core skill in architectural and urban planning.
Tracing along physical edges also refines fine motor skills, pencil control, and hand-eye coordination. It demands a level of physical precision that freehand drawing does not, teaching children the value of accuracy in technical design.
This setup is best suited for children aged 7 and up who show an interest in mechanical design, city planning, or complex geometric patterns. It provides a tactile way to explore mathematical concepts through physical drawing.
A key limitation is the physical demand of holding stencils in place while tracing, which can frustrate children who are still developing their grip strength. Furthermore, boards that include small, detachable stencil pieces or plastic rulers can present a choking hazard for younger siblings sharing the same play space.
Light-Up Tracing Boards for Perspective and Proportion
Light-up tracing boards use an LED backlit surface to project light through layers of paper. This illumination allows children to place a structured guide—such as a grid, a perspective template, or an architectural outline—underneath a blank sheet of paper and trace over it with high visibility.
The backlighting makes underlying structural lines clearly visible, helping children dissect complex architectural scenes into simpler geometric components. By tracing over professional templates, children learn how one-point and two-point perspective lines converge at vanishing points on the horizon. This repetitive tracing trains the hand and eye to recognize and replicate correct proportions and spatial depth naturally.
Additionally, light boards are excellent for practicing line weight and drafting accuracy. Children can experiment with different fineliners or pencils to see how varying line thicknesses define foreground structures versus background details.
The main limitation of light-up boards is their reliance on an external power source, such as a USB cable or batteries, which limits where they can be used. There is also a pedagogical trade-off: because the primary activity is tracing, these boards focus heavily on copying and refining existing designs rather than prompting children to generate original spatial layouts entirely from scratch.
Magnetic Geometric Design Boards for Shape Composition
Magnetic geometric design boards feature a metallic or magnetized surface paired with colorful geometric tiles, such as triangles, squares, trapezoids, and parallelograms. Instead of using a pencil, children manipulate these physical tiles to create patterns, abstract structures, or mosaic-like representations of real-world objects.
This hands-on manipulation builds a foundational understanding of area, angles, and spatial relationships. Children learn how two triangles combine to form a square, or how six triangles form a hexagon. This physical assembly is an essential precursor to formal geometry, helping children understand how larger structures are composed of smaller, interlocking parts.
For younger children, typically aged 3 to 6, this board serves as the ideal entry point into spatial reasoning. It bridges the gap between physical 3D building blocks and 2D paper drawing, translating physical volume into flat, structured compositions.
The primary limitation is that magnetic tile boards do not develop traditional pencil-and-paper drafting or line-work skills. They focus strictly on spatial logic and composition, meaning parents will eventually need to transition their children to other board types to develop fine motor writing skills.
Matching Board Types to Your Child's Age and Skill Level
To help you select the most appropriate tool for your child, it is helpful to look at how different boards target specific developmental milestones. The table below outlines the primary spatial skills, age recommendations, and motor skill requirements for each category.
| Board Type | Primary Spatial Skill Developed | Recommended Age Range | Required Motor Skills |
|---|---|---|---|
| Magnetic Geometric Boards | Shape composition, area, and spatial logic | 3 to 6 years | Basic grip and physical manipulation |
| Light-Up Tracing Boards | Perspective, proportion, and line weight | 6 years and up | Moderate pencil control and tracing accuracy |
| Stencil & Template Boards | Scale, symmetry, and geometric drafting | 7 years and up | High precision, steady hand-eye coordination |
| Isometric & Dot Grid Boards | 3D visualization and depth representation | 8 years and up | Advanced line control and spatial patience |
A child’s learning journey in design typically progresses from physical manipulation to structured drawing. Introducing a highly technical isometric board to a five-year-old can lead to frustration, as their fine motor skills and abstract reasoning are not yet fully developed. Instead, start with magnetic shape composition to build confidence in spatial relationships. As their grip strength and attention span increase around school age, transition them to light-up tracing boards to learn perspective, and then to stencil and isometric boards for precise drafting.
Keep in mind that these age ranges are general guidelines. A child’s readiness is determined by their individual fine motor control, interest in structured rules, and ability to focus on detailed tasks.
When your child shows mastery of basic board layouts, you can introduce supplementary tools to expand their capabilities. Consider adding a simple protractor for measuring angles, a compass for drawing clean curves, or a basic architectural scale ruler to teach them how real-world dimensions are scaled down to paper.
Practical Buying Checks for Singapore Homes and Schools
When choosing a drawing board for use in Singapore, several practical factors should guide your decision to ensure the tool fits seamlessly into your daily routine.
First, consider the physical size and paper format. Ensure the board is designed to accommodate standard paper sizes like A4 or A3. These sizes are the standard in Singapore schools and are readily available at local stationery shops. An A4 board is highly portable and fits easily on standard study desks, while an A3 board offers more canvas space for complex architectural layouts but requires a larger workspace.
Second, verify surface and media compatibility. If the board features a dry-erase surface, check if it resists ghosting and staining from whiteboard markers. For paper-based drafting, ensure the board’s surface can withstand the pressure of sharp graphite pencils or the wet ink of fineliners without warping or scratching.
Third, portability and storage are critical considerations for Singapore homes, particularly HDB flats where dedicated desk space may be limited. Look for lightweight boards that feature built-in carrying handles or integrated storage compartments. Having a designated slot to store templates, rulers, and paper keeps the workspace organized and allows the board to be easily tucked away in a drawer or shelf when not in use.
Lastly, prioritize safety and material quality. Ensure all plastic components are BPA-free and that the board has rounded edges to prevent accidental cuts or scrapes. If you are purchasing a light-up tracing board, verify that the electronic components meet basic electrical safety standards, and look for models with adjustable brightness levels to protect your child’s eyes during extended drawing sessions.
Frequently Asked Questions (FAQ)
At what age should a child start using a drafting board with templates?
While magnetic shape boards are suitable for children as young as 3 to 5 years, drafting boards with templates, rulers, and stencils are best introduced around age 7 and up. At this stage, children have developed the fine motor skills, grip strength, and hand-eye coordination required to trace precise lines and hold templates steady. Before purchasing, observe if your child shows an interest in drawing straight lines, connecting dots, or organizing toys into structured patterns, as these are clear indicators of readiness for technical drafting tools.
Can regular drawing paper be used on an isometric dot grid board?
If the isometric dot grid is printed directly onto the board’s surface, regular opaque drawing paper will cover the dots, making them unusable. In this scenario, you will need to use semi-transparent tracing paper placed over the board, or purchase specialized isometric paper pads designed to clip onto the surface. Alternatively, if the board features a backlit LED screen, you can place a printed isometric grid template underneath standard white copy paper, allowing the dots to shine through clearly.
Community discussion
Share your experience or ask a question. Comments are reviewed before publication.