
Replacing a lost or damaged button on your favorite pair of jeans does not require a trip to a professional tailor or investing in an expensive sewing machine. A complete jeans button replacement kit containing durable copper or brass tack buttons, a fabric awl, and a dedicated installation tool is the most reliable way to restore your denim at home. For those living in Singapore’s humid climate, choosing rust-resistant metal alloys over cheap iron backings is essential to prevent orange staining on your favorite denim. Whether you opt for a traditional hammer-on kit for a permanent factory finish or a tool-free screw-back kit for a quick adjustment, having the right tools makes the difference between a five-minute fix and a ruined waistband.
Selecting the right kit involves matching the hardware to your specific denim weight and ensuring you have the correct tools to install it safely. While basic kits only provide replacement buttons, comprehensive sets include specialized tools that protect the button face and help you prepare damaged fabric. By understanding the differences in button mechanisms, materials, and installation techniques, you can easily execute a durable repair that withstands daily wear and frequent machine washing.
Key Features to Check Before Buying a Replacement Kit
Button Mechanism and Material
Traditional jeans buttons rely on a two-part tack mechanism consisting of a hollow-core button cap and a sharp, nail-like metal tack. When the tack is driven into the cap, its tip bends and flares inside an internal chamber, creating a permanent mechanical lock. In contrast, screw-back buttons feature a threaded post that secures into the button cap with a tiny screw. While screw-backs offer convenience and reusability, they are more prone to loosening over time due to the vibrations of walking and washing.
Products mentioned in this guide
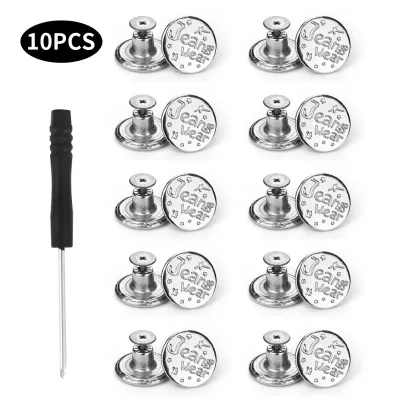
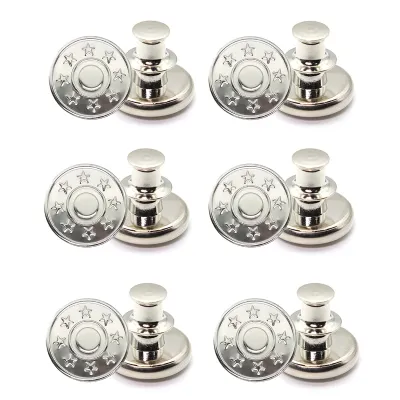
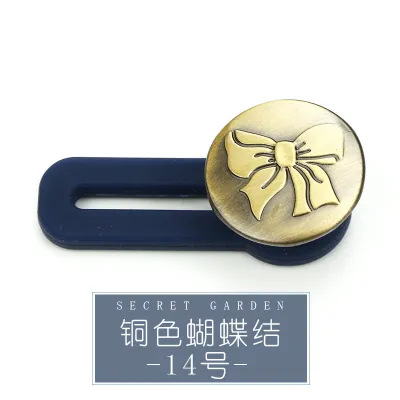
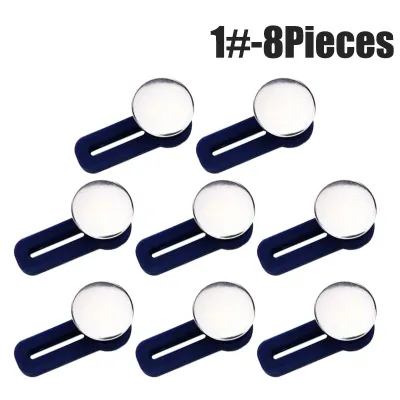
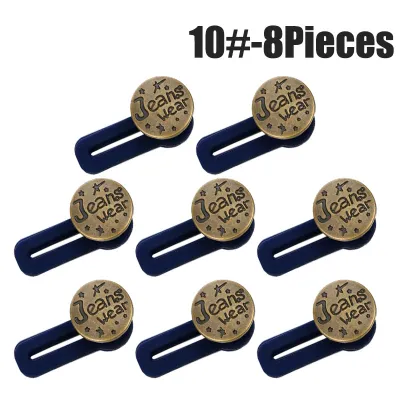
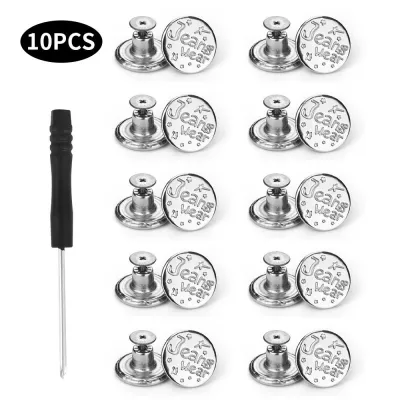
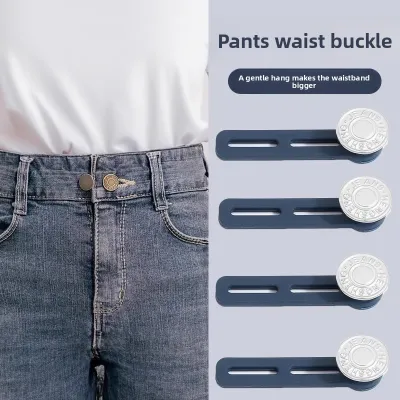
Prices are valid at publication and may change. Please refer to the product page for the latest price.
Material composition directly impacts both durability and appearance. Solid brass, copper, and stainless steel are the premier choices for heavy denim because they resist bending under high tension. Cheap kits often substitute zinc alloys or iron-plated steel, which can snap under pressure. Furthermore, Singapore’s high relative humidity, which frequently exceeds 80 percent, will rapidly corrode iron-based tacks. This corrosion leads to unsightly rust spots that bleed into the cotton fibers of your waistband, permanently staining the fabric.
Tool Completeness
A basic replacement kit typically contains only the buttons and tacks, leaving you to find your own tools. This often results in flattened button caps or bent tacks from improper hammering. A comprehensive, high-quality kit should include a steel or brass setter (a striking tool), a protective plastic holder to keep the button face aligned, and a sharp steel awl. The holder cradles the curved face of the button, preventing it from getting scratched or crushed against your work surface when you strike the tack from behind.
For more advanced repairs, look for kits that also include a fabric hole punch. When a button tears out, it often leaves behind a messy, uneven hole that cannot support a new tack. A dedicated hole punch allows you to cut away the frayed fibers cleanly, creating a precise opening for a reinforcing patch. Having these tools consolidated in a single storage case ensures you can complete the repair without damaging your household furniture or the button hardware.
Denim Weight Compatibility
Denim fabric is measured in ounces per square yard (oz), and this weight determines the thickness of your waistband. Lightweight fashion denim typically ranges from 8 to 10 oz, standard jeans range from 11 to 14 oz, and heavy raw denim can exceed 15 oz. The length of the tack pin in your kit must match this thickness. If the tack pin is too short, it will not penetrate deeply enough into the button cap’s internal clutch, causing the button to pop off under minimal tension.
Conversely, if the tack pin is too long for lightweight denim, the button cap will droop and wobble against the waistband. This excess movement causes the metal shank to rub against the fabric, eventually wearing a hole through the denim. High-quality kits address this by providing variable tack lengths, typically ranging from 6mm to 8mm, or by including small spacer washers to adjust the fit. Always measure the thickness of your compressed waistband before selecting which tack length to use.
Where to Source
Finding reliable jeans button replacement kits in Singapore is straightforward if you know where to look. Local haberdashery shops in Chinatown, specialized craft stores in Plaza Singapura, and traditional sewing supply vendors offer high-quality metal hardware. If you prefer shopping online, popular e-commerce platforms hosting regional sewing suppliers provide a vast selection of multi-piece kits. When browsing these listings, prioritize sellers that explicitly state the metal composition of their buttons and tacks.
Reading user reviews is crucial for verifying the real-world durability of the included tools and hardware. Look for feedback regarding whether the tack pins bend easily during installation or if the button caps scratch when struck. Additionally, search for comments from buyers who have run the repaired garments through multiple laundry cycles. This helps confirm whether the metal is truly rust-resistant and if the buttons remain securely fastened after exposure to water and detergent.
Best Types of Jeans Button Kits for DIY Repair
Heavy-Duty Hammer-On Tack Button Kits
- Best For: Permanent, factory-standard repairs on mid-to-heavyweight denim (12 oz and above), making them ideal for classic raw denim jeans and denim jackets.
- Pros: Once hammered correctly, the tack flares inside the button's internal chamber, creating a mechanical lock that is virtually impossible to pull apart without heavy tools. It looks identical to the original hardware.
- Cons: It requires a hammer and a steady hand. If you hit the tack at an angle, the pin will bend inside the button cap, rendering both pieces useless. It is also noisy to install, which might be a consideration if you live in a quiet HDB flat late at night.
- Buying Advice: Select kits that include a plastic positioning template or a grooved metal base. This base cradles the curved face of the button, preventing it from getting flattened or scratched against your work surface when you strike the tack from behind.
Hammer-on kits are the industry standard for a reason: they offer unmatched longevity. The physical deformation of the metal pin inside the button cap ensures that the fastener cannot back out, even under extreme physical stress. This makes them the preferred choice for workwear, riding jeans, and any garments subjected to heavy tension. Because they mimic original manufacturing methods, they also preserve the classic aesthetic of high-quality denim.

When purchasing a hammer-on kit, pay close attention to the design of the tack pin. Some tacks feature a threaded or ridged shank, which provides additional mechanical grip inside the button cap before the final strike. Others use a smooth, solid copper pin that is easier to flare but requires a more precise blow. Choosing a kit with a variety of button designs, such as classic brass, antique bronze, and gunmetal finishes, allows you to match the replacement hardware to the existing rivets on your jeans.
Screw-Back Adjustable Button Kits
- Best For: Quick fixes without a hammer, temporary repairs, or adjusting the waistline (using specialized adjustable screw buttons).
- Pros: No heavy tools required; easily removable and reusable; lower risk of damaging the fabric during installation.
- Cons: The screw mechanism can loosen over time with frequent washing and heavy wear; the backing plate may feel bulky against the skin.
- Buying Advice: Ensure the kit specifies "heavy-duty screws" and includes a small screwdriver or requires only a standard coin for tightening.
Screw-back kits are highly popular for their accessibility and ease of use. Because they do not require a hammer, they can be installed quietly at a desk or while traveling. They are particularly useful for individuals who experience fluctuations in waist size, as the buttons can be unscrewed and relocated along the waistband to cinch or loosen the fit. This flexibility makes them a versatile addition to any home sewing kit.
However, the convenience of a threaded fastener comes with a trade-off in long-term security. The constant movement of the waistband against your body can gradually back the screw out of the button cap. To mitigate this, some manufacturers include rubber washers or micro-textured screw heads that increase friction. If you opt for a screw-back kit, plan to check the tightness of the screw periodically, especially after running the jeans through a washing machine’s spin cycle.
Comprehensive Multi-Tool Repair Sets
- Best For: Severely damaged buttonholes where simply attaching a new button will result in it tearing through the weakened fabric.
- Included Tools: Detail the necessity of a leather/fabric hole punch to create clean edges, and an awl to remove rusted remnants of the old tack.
- Pros: Offers a complete restoration workflow; allows for reinforcing the area with a fabric patch before installing the new button.
- Cons: Higher price point; requires more DIY skill and patience to execute a clean repair.
When a jeans button pops off, it rarely leaves the fabric intact. Often, the original tack tears a gaping hole through the waistband, leaving no structural support for a standard replacement button. A comprehensive multi-tool repair set addresses this issue by providing the tools necessary to rebuild the damaged area. These kits bridge the gap between simple hardware replacement and structural garment repair.
By including specialized tools like hollow punches and heavy-duty awls, these sets allow you to clear away frayed threads and prepare the fabric for reinforcement. Once a patch is applied, the tools ensure that the new button is installed through clean, stable layers of fabric. While these kits require a larger initial investment, they are highly cost-effective for restoring expensive designer denim or sentimental garments that would otherwise be discarded.
Step-by-Step Guide to Installing Your New Button
Preparation and Removal
Before you can install a new button, you must completely remove any remnants of the old hardware. If the original tack is bent but still attached, use a pair of heavy-duty wire cutters or end-cutting pliers to snip the metal shank behind the waistband. Avoid pulling or twisting the old button forcefully with standard pliers, as this will stretch the denim fibers and enlarge the hole, making the subsequent repair much more difficult. Work slowly, keeping the blades of your cutters parallel to the fabric to avoid accidentally snipping the waistband itself.
Once the old metal is removed, inspect the surrounding fabric for cleanliness and structural integrity. Use a stiff-bristled brush to clear away any rusted metal dust or loose thread debris from the area. If the original hole is clean and small (less than 2mm in diameter), you can proceed directly to installation. If the hole is enlarged or frayed, you must reinforce the fabric first to ensure the new button has a secure anchor.
Reinforcing the Hole
Installing a new metal tack directly into a frayed or oversized hole is a temporary fix that will quickly fail. To reinforce the area, cut a small square of iron-on denim interfacing or a scrap piece of sturdy cotton canvas, measuring roughly 2cm by 2cm. Place this patch on the inside of the waistband, directly behind the damaged hole. If using fusible interfacing, apply a hot household iron set to the cotton setting (no steam) and press firmly for 10 to 15 seconds to bond the adhesive to the denim fibers.
For severely damaged waistbands, consider adding a second patch to the front of the waistband as well. Once the patches are fused, use a sewing machine or a hand needle to sew a tight zigzag stitch across the damaged area, anchoring the patch securely to the original denim. This process creates a dense, multi-layered sandwich of fabric that can easily support the tension of a new button. Trim away any excess threads cleanly before moving to the next step.
Alignment and Striking Technique
Use a sharp fabric awl to poke a small, clean pilot hole directly through the center of your reinforced waistband. Push the tack pin from the inside of the jeans through to the outside, so the sharp tip emerges on the front of the waistband. Place your replacement button cap face down on a solid, completely flat surface. A steel anvil, a heavy cast-iron skillet, or a thick wooden cutting block placed on a concrete floor works best. Avoid soft wooden tables, plastic countertops, or glass surfaces, which absorb the impact and can crack under the force of a hammer.
Align the emerging tack pin with the entry hole on the back of the button cap. Hold the waistband and the tack perfectly vertical to prevent the pin from entering at an angle. Using a standard household claw hammer, deliver a series of firm, light, controlled taps directly to the head of the tack. Do not attempt to drive the tack home with one massive swing, as this will bend the pin. Continue tapping until you feel the tack seat fully inside the button cap, indicating that the mechanical lock has engaged.
Post-Installation Check
Once the hammering is complete, lift the jeans and inspect your work. Perform an initial pull-test by grasping the button cap with your fingers and applying moderate outward pressure. The button should feel completely stable, with no side-to-side wobble or loose play against the fabric. If the button spins too freely or sags away from the waistband, the tack pin may not be driven deep enough, or the pin itself may be too long for your fabric thickness.
Next, run your fingers over the head of the tack on the inside of the waistband. The metal should sit flush against the fabric, with no sharp edges, burrs, or protruding points that could scratch your skin or snag your underwear. If you feel any sharp metal, use a file to smooth the edge, or remove the button and start over with a fresh tack. Finally, test the button’s compatibility by sliding it through the corresponding buttonhole on your jeans to ensure a smooth, secure fit.
How to Fix Loose Buttons and Frayed Holes
Why Buttons Pop Off
If your newly installed button pops off during your first few wears, the failure is almost always caused by an incorrect tack length or insufficient striking force. When a tack is too short for a thick, multi-layered waistband, it cannot reach the internal locking clutch inside the button cap. Under the tension of sitting down, the tack simply slides out of the cap. Conversely, if you do not strike the tack with enough force to deform the metal pin inside the chamber, the mechanical lock will never fully engage.
To prevent this, always verify that the tack pin extends at least 1.5mm to 2mm beyond the front of the waistband before you place the button cap on top. This ensures there is enough metal entering the chamber to create a secure flare. If you find that your waistband is exceptionally thick, you can use a pair of pliers to gently compress the denim layers around the hole before inserting the tack, making it easier for the pin to penetrate fully.
Fixing a Stripped Screw-Back
Screw-back buttons are highly prone to loosening due to the constant friction of the waistband rubbing against your body. If you notice a screw-back button beginning to wobble, do not wait for it to fall off and get lost. Unscrew the backing completely and inspect the threads on both the screw and the button cap. If the threads are stripped or flattened, the hardware must be replaced. If the threads are intact, you can secure the connection using a simple thread-locking compound.
Apply a single, tiny drop of medium-strength blue thread-locking fluid to the threads of the screw before reassembling. This anaerobic adhesive cures in the absence of air, preventing the screw from vibrating loose during wear and washing while still allowing you to remove it later with hand tools if necessary. If you do not have thread-locking fluid, a small dab of clear nail polish or polyurethane fabric glue applied to the threads before tightening will provide a similar level of friction.
Managing Frayed Edges
When a button tears out of a waistband, it often leaves behind a messy, frayed crater of loose cotton threads. If left untreated, these threads will continue to unravel, eventually ruining the entire corner of the waistband. Begin by using sharp embroidery scissors to trim away the loose, fuzzy fibers cleanly. Apply a small amount of liquid fabric sealant or fray-check to the freshly cut edges of the hole. This liquid binds the cotton fibers together, stopping the unraveling process immediately.
Once the sealant is completely dry, you must rebuild the lost fabric structure. If you do not have a sewing machine, you can darn the hole by hand. Use a strong polyester or heavy-duty denim thread to sew a series of tight, parallel running stitches across the gap, anchoring them into the strong fabric surrounding the hole. Next, weave your needle perpendicular to these stitches, creating a dense, woven grid that fills the void. This hand-darned patch provides a solid, reinforced foundation that can easily support a new replacement tack.
Frequently Asked Questions (FAQ)
Can I replace a jeans button without a hammer?
Yes, you can easily replace a jeans button without a hammer by opting for a screw-back replacement kit. These buttons use a threaded post and a tiny screw that can be tightened using a small screwdriver or a coin, making them ideal for quick, quiet repairs. Alternatively, some tack-style buttons can be pressed together using heavy-duty parallel-joint pliers, though this requires significant grip strength and carries a risk of crushing the button cap if misaligned.
Do I need to sew the replacement button?
No, standard jeans button replacement kits are completely no-sew. They rely on mechanical fasteners—either a hammer-on metal tack or a screw-back post—to secure the button to the denim waistband. Sewing is only necessary if you are reinforcing a severely frayed hole with a fabric patch before installing the mechanical button, or if you choose to use a traditional flat four-hole button, which is generally not recommended for the high-tension waistband of jeans.
How do I choose the right button size for my jeans?
To choose the correct size, measure the diameter of your old button or the length of the waistband buttonhole. The standard size for most adult jeans buttons is 17mm (approximately 11/16 inch), which fits almost all standard denim brands. Smaller garments, jackets, or pocket flaps may use 15mm buttons, while oversized workwear or heavy-duty utility pants sometimes require 20mm buttons. Avoid buying a button that is too large for your existing buttonhole, as forcing it through will stretch and eventually tear the fabric.
Community discussion
Share your experience or ask a question. Comments are reviewed before publication.