
Finding the perfect pair of jeans is a challenge, but maintaining them shouldn’t be. When a fly button pops off or a waistband becomes uncomfortably tight, you do not need to discard your favorite denim or spend money on professional tailoring. A high-quality jeans clip—a term that encompasses both no-sew replacement buttons and adjustable waist extenders—offers a fast, reliable, and cost-effective way to execute DIY denim repairs at home.
Choosing the right type of clip depends on whether you are replacing a structurally damaged button or adjusting the fit of your waistband. By understanding the mechanical differences, material properties, and installation techniques of these haberdashery tools, you can restore your garments to active service with minimal effort. This guide details how to evaluate these clips, select the best variety for your specific needs, and install them securely for long-lasting wear.
Diagnosing Your Denim Issue: Do You Need Replacements or Extenders?
Before purchasing a jeans clip, you must identify the exact nature of your denim issue. While online listings often group all denim-related clips together, replacement buttons and waistband extenders serve entirely different structural purposes. Using the wrong tool can lead to further fabric damage or an insecure fit.
Products mentioned in this guide
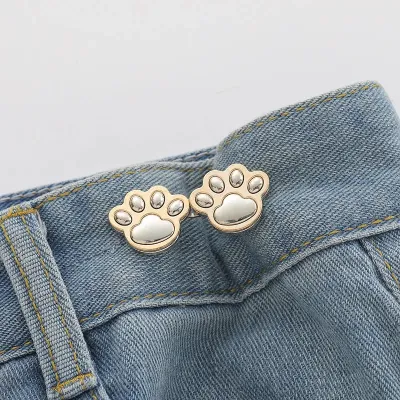
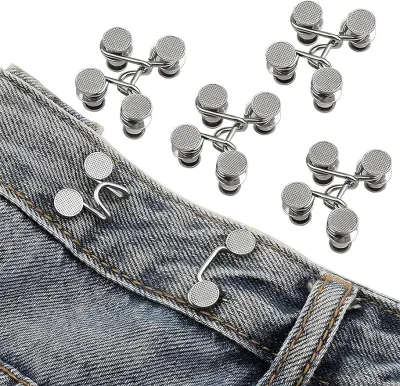
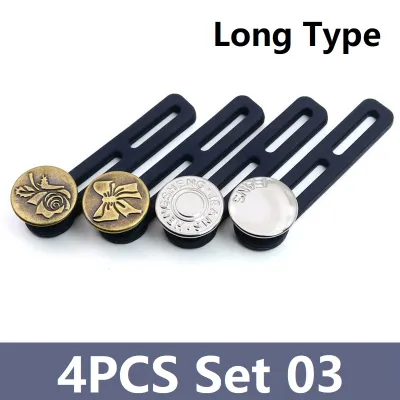
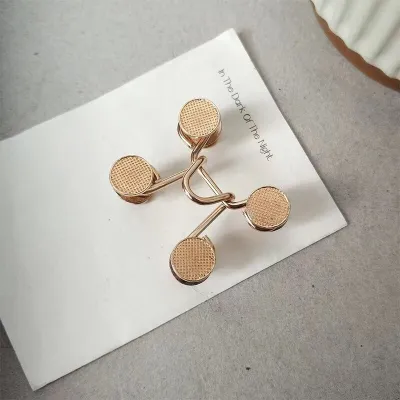
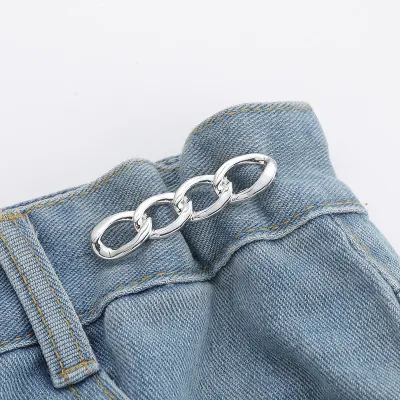
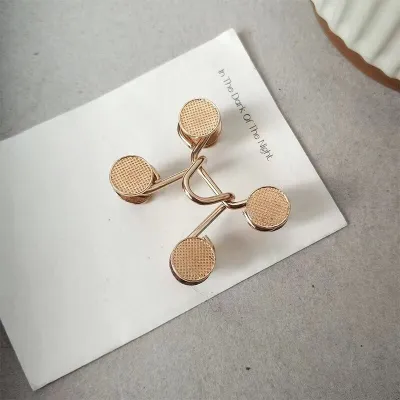
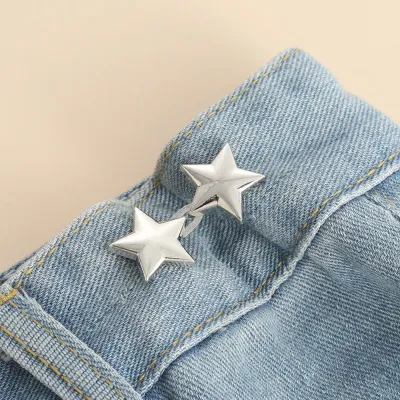
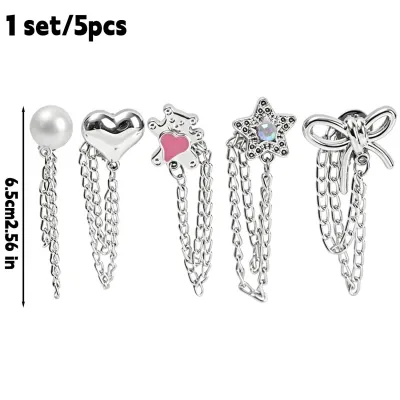
Prices are valid at publication and may change. Please refer to the product page for the latest price.
No-sew replacement buttons, also known as tack buttons, are designed for permanent structural repairs. These buttons physically pierce the denim fabric to replace a missing, loose, or broken factory button. They consist of a button head and a sharp metal tack or screw that locks the assembly securely onto the waistband. Once installed, they function exactly like a standard riveted button, resisting high lateral tension when the jeans are buttoned.
In contrast, clip-on button extenders are non-destructive waist adjusters designed to alter the fit of intact garments. They do not pierce the fabric. Instead, they feature a flexible loop made of silicone, elastic, or spring metal attached to a secondary button head. You simply loop the extender over your existing, secure waistband button, then pass the extender’s button through the buttonhole. This temporarily increases the waistband circumference without altering the original structure of the jeans.
To determine which solution you require, use this quick diagnostic check:
- Missing or Broken Button: If the original factory button has detached, or if the metal tack has sheared off leaving a hole, you require a no-sew replacement button.
- Tight Waistband, Intact Button: If your jeans are structurally perfect but feel too tight due to fabric shrinkage, pregnancy, or natural weight fluctuations, you require a clip-on button extender.
- Damaged Fabric Around Button: If the original button is missing and the surrounding denim is severely torn or frayed, you will need a replacement button paired with an iron-on reinforcing patch to stabilize the fabric before installation.
Key Features to Evaluate When Choosing Jeans Button Clips
Not all jeans clips are manufactured to the same standard. Because denim is a heavy, rigid utility fabric subjected to significant tension and frequent laundering, selecting a clip based on robust technical specifications is essential for a lasting repair.

Material and Rust Resistance
In warm, humid climates like Singapore, metal components are highly susceptible to oxidation from atmospheric moisture and perspiration. Frequent washing machine cycles accelerate this process. Cheap iron-based buttons will rust rapidly, leaving orange stains on light-wash denim and eventually weakening the structural integrity of the clip.
When shopping, prioritize buttons made of solid brass, stainless steel, or high-grade zinc alloys. Ensure the product specifications explicitly state that the metal has a rust-resistant electroplated finish. Solid brass and stainless steel are naturally rustproof and offer the highest durability under wet conditions.
Installation Mechanism
No-sew replacement buttons generally utilize one of two installation mechanisms: hammer-on tacks or screw-in posts.
- Hammer-On (Tack) Mechanisms: These feature a ribbed metal tack that is driven into a hollow chamber in the button head. The impact of the hammer flares the tip of the tack inside the chamber, locking it permanently. This provides maximum security and tensile strength, making it highly resistant to popping off under pressure. However, it requires tools and cannot be easily removed or reused.
- Screw-In (Tool-Free) Mechanisms: These use a tiny threaded post that screws directly into the back of the button head, often tightened with a small screwdriver or by hand. This design is highly adjustable, reusable, and requires no heavy tools. The trade-off is that micro-vibrations from daily movement can cause the screw to loosen over time, requiring periodic tightening.
Base Plate Design
The base plate is the flat metal disc that sits on the inside of the waistband, resting directly against your skin or undergarments. A flat, smooth base plate minimizes friction and prevents skin irritation, which is particularly important for tight-fitting jeans. Convex or nail-like base plates can offer a slightly stronger grip on exceptionally thick denim, but they may press uncomfortably into the abdomen. Additionally, ensure the diameter of the base plate is wide enough to prevent it from pulling through the denim weave under tension.
Button Head Size and Style
The standard button head size for adult jeans is 17mm (approximately 11/16 inch). This size fits almost all standard denim buttonholes smoothly. Smaller garments, denim skirts, or lightweight jackets may use 15mm buttons, while heavy-duty workwear or oversized styles sometimes require 20mm variants. Always measure the width of your existing buttonhole before purchasing. A button that is too large will stretch and fray the buttonhole, while a button that is too small will slip out of the hole constantly during wear.
Best Types of Jeans Button Clips for Home Repairs
To help you choose the right product for your repair kit, here is an analysis of the primary categories of jeans clips available, detailing how they work, their ideal use cases, and their practical limitations.
Hammer-On Tack Buttons (Traditional Replacements)
Hammer-on tack buttons are the industry standard for permanent denim restoration. They mimic the exact construction method used by garment manufacturers, providing a clean, professional finish that blends seamlessly with the original hardware of your jeans.
- How it Works: The system consists of a hollow-backed metal button head and a sharp, ribbed tack. The tack is pushed through the fabric from the inside of the waistband, and the button head is placed over the protruding tip. A firm blow from a hammer drives the tack into the head, deforming the metal tip inside the button chamber to create an inseparable bond.
- Best For: Permanent repairs on high-tension garments, heavy-duty work pants, denim jackets, and everyday jeans where maximum durability and a factory-original look are desired.
- Limitations: Installation requires a hammer and a completely solid, unyielding surface. If the hammer strike is misaligned or delivered at an angle, the metal tack will bend, ruining the set. Once compressed, these buttons cannot be adjusted, removed, or reused without destroying the tack.
Screw-In No-Sew Buttons (Tool-Free Replacements)
Screw-in buttons offer a modern, user-friendly alternative to traditional hammer-on hardware. They provide excellent adjustability and do not require heavy tools, making them a popular choice for quick repairs and travel kits.
- How it Works: These buttons feature a threaded tack or a small screw that passes through the denim from the inside and threads directly into a tapped hole in the back of the button head. Some variations use a spring-loaded locking pin (similar to an earring backing) that clips onto a notched post.
- Best For: Quick emergency repairs, travelers, individuals who do not own a hammer, or those who want to adjust their waistband size semi-permanently by shifting the button placement.
- Limitations: The threaded connection is susceptible to loosening over time due to the constant friction and flexing of the waistband. Additionally, the screw-back or locking-pin mechanism is physically thicker than a flat hammer-on tack, which can cause mild discomfort or chafing if it presses directly against the skin.
Clip-On Button Extenders (Waist Adjustments)
Button extenders are specialized, non-destructive accessories designed to resolve fit issues rather than structural damage. They allow you to modify your garments temporarily without performing any permanent alterations.
- How it Works: The extender consists of a flexible loop—typically made of durable silicone, elastic cord, or a tightly coiled metal spring—attached to a standard metal button head. You slip the flexible loop over the existing, secure button on your jeans, and then use the extender's metal button to secure the buttonhole.
- Best For: Managing temporary waistline changes, postpartum wear, post-meal comfort, or breaking in stiff, unwashed raw denim. They are also useful for extending the life of children's clothing as they grow.
- Limitations: Extenders require the original waistband button to be fully intact and secure; they cannot be used to repair a missing button. Because they push the waistband edges apart, they leave a small gap at the top of the zipper fly, which must be concealed with a belt or an untucked shirt.
Step-by-Step Installation and Safe Removal Guide
To ensure a professional finish and prevent damage to your garments, follow these step-by-step instructions for installing and removing jeans clips. Always check the manufacturer’s packaging for product-specific instructions before beginning your repair.
Preparation
Before starting, select a solid, completely flat working surface. A wooden workbench, a solid cutting block, or a small anvil is ideal. Avoid using soft tables, plastic mats, or carpeted floors, as these surfaces absorb the impact of the hammer, causing the tack to bend rather than lock. If you need to mark the placement of the button, use a water-soluble or heat-erasable fabric marker to ensure the guidelines wash out completely and do not bleed into the denim fibers.
Installing Hammer-On Buttons
- Mark the Position: Zip up your jeans and align the waistband naturally. Use your fabric marker to mark the exact center of the buttonhole's resting position on the opposite side of the waistband.
- Pierce the Denim: Push the sharp point of the tack through the fabric from the inside of the waistband to the outside. If your denim is exceptionally thick or tightly woven, you can pre-pierce a tiny pilot hole using a sewing awl or a thick hand-sewing needle.
- Protect the Button Face: Place the decorative button head face down on your hard working surface. Cover the surface with a small piece of scrap cotton cloth to prevent the metal face from scratching or denting during installation.
- Align and Strike: Guide the protruding point of the tack into the hole on the back of the button head. Holding the tack straight and perpendicular to the surface, strike the back of the tack base firmly with a hammer. One or two solid, square blows are usually sufficient to lock the mechanism. Check that the button is secure and does not wobble or spin.
Installing Screw-In Buttons
- Mark and Pierce: Mark your desired button position. Gently push the threaded screw post through the denim from the inside of the waistband.
- Thread the Button Head: Align the button head with the protruding screw thread.
- Tighten Securely: Use your fingers or the miniature screwdriver provided in your repair kit to turn the screw clockwise until snug. Avoid over-tightening, as excessive force can strip the delicate threads of the small screw or pinch and tear the surrounding denim fibers.
Safe Removal
- Screw-In Buttons: Use the appropriate screwdriver to turn the backing screw counter-clockwise until it detaches. Store the components together in a dry container for future use.
- Hammer-On Buttons: Because these are designed for permanent installation, they must be cut off. Carefully slide the flat jaws of wire cutters or end-cutting pliers between the back of the button head and the denim fabric. Apply gentle, steady pressure to snip the internal tack pin. Avoid prying or pulling forcefully, as this will tear a large, irreparable hole in your waistband. Note that removing a hammer-on button will leave a small permanent hole in the fabric where the pin originally pierced it.
Common DIY Installation Mistakes and How to Prevent Them
While installing a jeans clip is a straightforward process, avoiding these common pitfalls will ensure your repair is clean, comfortable, and long-lasting.
Installing on Thick Seams
The waistband of a pair of jeans contains multiple overlapping layers of heavy fabric, especially near the front edges, belt loops, and zipper fly seams. Attempting to drive a standard-length tack directly through these multi-layered seams will prevent the pin from reaching deep enough into the button head to lock securely. Under tension, the button will quickly pop off. To prevent this, position your replacement button slightly away from the thickest part of the seam, ensuring it still aligns correctly with the buttonhole.
Misaligned Holes
Placing your replacement button even a few millimeters off-center can cause the zipper fly to pucker, warp, or sit unevenly. It can also place uneven tension on the buttonhole, causing the fabric to stretch, fray, and eventually tear. Always zip the jeans fully, align the waistband naturally, and use a measuring tape to verify the alignment before piercing the fabric.
Ignoring Fabric Thickness
Denim weights vary drastically, from lightweight summer denim (8oz to 10oz) to heavy raw denim (14oz to 21oz). If your tack is too short for heavy fabric, it will not lock into the button head. Conversely, if the tack is too long for lightweight denim, the button will droop and wobble. Always check the tack length against your fabric thickness before striking. If the tack is slightly too long for thin fabric, insert a small, sturdy fabric washer or a piece of thin leather on the inside of the waistband to act as a spacer and reinforce the connection.
Frequently Asked Questions (FAQ)
Can I reuse a hammer-on tack button after removing it?
Generally, no. The installation process physically deforms the metal tack inside the button head’s locking chamber to create a permanent hold. When you remove the button using pliers or wire cutters, the tack pin is cut or bent beyond repair. However, if the hollow chamber inside the button head remains undamaged and free of debris, you may be able to reuse the button head by purchasing a pack of separate, compatible replacement tacks.
Will no-sew buttons rust after washing my jeans?
Rusting depends entirely on the metal composition of the button and its protective coating. In humid climates like Singapore, cheap iron-based buttons will oxidize quickly when exposed to laundry water and air drying. To prevent rust, always select buttons made of solid brass, stainless steel, or high-grade zinc alloys with rust-resistant electroplating. For added protection, button up your jeans and turn them inside out before washing to minimize mechanical friction and impact against the washing machine drum, which can chip away protective coatings.
How do I fix the hole left behind after removing a jeans button?
If the hole is small and the denim fibers are merely pushed aside, you can often restore the weave. Dampen the area with a small amount of water, place a pressing cloth over it, and apply a hot steam iron while gently massaging the fibers together with your fingers. For larger holes or torn fabric left by a forced removal, reinforce the area before installing a new button. Apply a small drop of clear, washable fabric glue to the frayed edges to stop further unraveling, or fuse a small piece of iron-on denim repair patch to the inside of the waistband to create a strong, stable foundation for the replacement button.
Community discussion
Share your experience or ask a question. Comments are reviewed before publication.