
Choosing between an automatic needle threader and a manual threading system depends entirely on your physical comfort, budget, and sewing habits. Automatic threading is highly recommended for beginners with limited vision or reduced fine motor skills, as it removes the most frustrating barrier to starting a project. Manual threading is better suited for buyers on a strict budget or those who prefer a mechanically simpler machine with fewer delicate moving parts. Ultimately, the right choice balances the convenience of quick setup against the cost and maintenance requirements of the mechanism.
For many beginners, the process of threading needle eyes is the most tedious part of the preparation process. A single project might require multiple thread color changes, needle replacements, or troubleshooting steps that force you to repeat this task. Understanding how these two mechanisms differ in daily operation will help you select a machine that keeps your creative process smooth and frustration-free.
How Automatic and Manual Needle Threading Work
To make an informed decision, it is essential to understand the mechanical differences between these two systems. An automatic needle threader is not fully robotic; rather, it is a semi-automatic mechanical assist. When you lower the threading lever, a tiny, microscopic wire hook rotates and passes directly through the eye of the needle from back to front. You then guide the thread across a guide bar and hook it into this tiny wire. Releasing the lever pulls the hook back through the needle eye, drawing a loop of thread with it, which you then pull through completely by hand.
Products mentioned in this guide
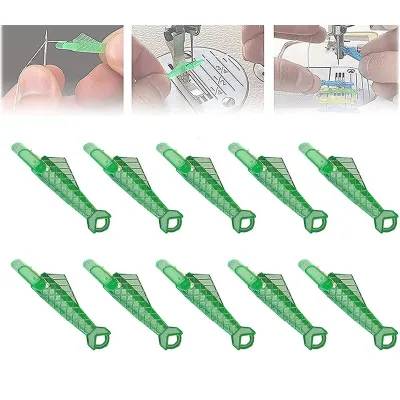
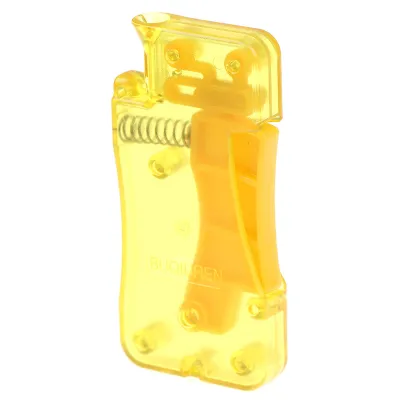
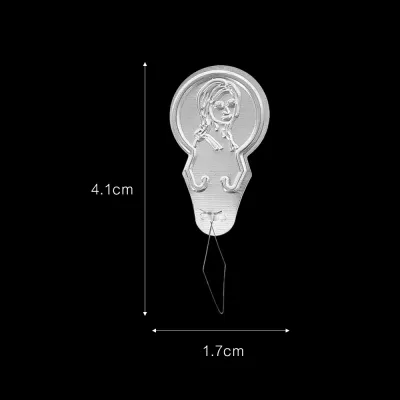
Prices are valid at publication and may change. Please refer to the product page for the latest price.
In contrast, manual threading relies entirely on your visual alignment, lighting, and hand-eye coordination when threading needle setups. You must manually guide the cut end of the thread directly through the needle eye from front to back. This process requires a steady hand, adequate ambient lighting, and a clean cut on the thread end to prevent fraying. Many manual machines feature a white background plate behind the needle eye to improve contrast, but the physical action remains entirely manual.
Before operating either system, you must check the manufacturer’s specifications for needle size and thread weight compatibility. The microscopic hook on an automatic threader is engineered to fit through specific needle eye sizes, typically ranging from size 70/10 to 110/18. If you attempt to use an automatic threader with a needle that is too small, the hook can bend or break because it cannot physically pass through the tiny eye. Similarly, using a thread that is too thick for the needle eye will jam the mechanism, highlighting the importance of matching your consumables to your machine’s specifications.
Key Factors to Compare When Choosing a Threading Mechanism
Evaluating the practical trade-offs of each system across usability, maintenance, and budget allocation will help you determine which mechanism fits your sewing space.

Accessibility and Workflow
The primary advantage of an automatic system is the significant time saved during frequent color changes. If you are working on embroidery, quilting, or multi-colored applique, you may need to change threads dozens of times. An automatic threader reduces this task to a five-second motion, preserving your energy and focus. However, there is an initial learning curve to operating the automatic lever correctly. Applying too much force or failing to align the needle at its highest position can lead to missed threads or damaged components. Manual threading, while slower, offers a predictable workflow that does not change regardless of the needle type or thread texture you choose.
Maintenance Requirements
Mechanical simplicity is the hallmark of manual threading systems. With no moving parts dedicated to threading, there is virtually nothing to break, align, or replace in that area of the machine. Automatic threaders, on the other hand, feature delicate components that require careful handling. Over time, the tiny hook can become misaligned due to accidental contact with the needle or excessive force. You must regularly check the alignment of the threading hook and consult the user manual for clearing thread jams safely. If a jam occurs, pulling the thread forcefully can bend the mechanism, requiring professional repair or replacement parts.
Cost and Machine Tiers
The inclusion of an automatic needle threader directly influences the overall price category of a sewing machine. Basic mechanical models, often priced under S$200, typically feature manual threading to keep manufacturing costs low. As you move into mid-range and computerized models, automatic or semi-automatic threaders become a standard feature. If you are on a strict budget, opting for a manual machine allows you to allocate your funds toward better motor power or a wider variety of utility stitches. Conversely, if you view threading as a major physical barrier, investing in a mid-tier machine with an integrated threader is highly practical.
Decision Framework: Which Mechanism Matches Your Profile?
Selecting the right sewing machine requires matching the threading mechanism to your physical needs, project types, and long-term sewing goals.
Choose Automatic Threading if:
- You experience limited vision, eye strain, or reduced fine motor skills that make handling fine threads difficult.
- Your projects involve intricate designs, quilting, or embroidery that require frequent thread color changes.
- You prefer a modern, computerized workflow and are willing to pay a premium for convenience and speed.
- You are comfortable following precise mechanical steps, such as ensuring the needle is fully raised before engaging the threader.
Choose Manual Threading if:
- You are working with a strict budget and want to maximize the mechanical quality of the machine's motor and internal frame.
- You prefer a simpler, heavy-duty machine with fewer delicate external parts that could break during transport or heavy use.
- You want to master the fundamental skills of sewing from the ground up, including manual machine setup and maintenance.
- You plan to use a wide variety of non-standard needles and specialty threads that are incompatible with automatic hooks.
Verify First if:
- You plan to use specialty threads, such as metallic, clear monofilament, or heavy topstitching threads.
- You intend to use wing needles, twin needles, or very fine microtex needles, which often require manual threading due to physical clearance limits.
- You are purchasing a machine for a young child or a classroom setting, where delicate automatic levers may be prone to accidental damage from rough handling.
Pre-Purchase Verification Checklist for Sewing Machines
Before finalizing your purchase, taking actionable steps to verify the threading mechanism will ensure the machine meets your expectations in practice.
First, inspect the physical condition of the threading lever and hook. If you are shopping in a local retail store, ask to see the mechanism up close. If you are purchasing online, review detailed product documentation, high-resolution images, and official video demonstrations. Ensure the lever feels sturdy and does not wobble excessively when touched.
Second, review the manufacturer’s manual or specification sheet for supported needle sizes. Verify if the automatic threader is rated for heavy-duty needles or if it is restricted to standard universal needles. Knowing these boundaries beforehand prevents accidental damage during your first project.
Third, observe the threading action during a live demonstration or in a detailed instructional video. Pay close attention to the amount of force required to lower the lever and how smoothly the hook engages with the needle eye. If the mechanism requires excessive force, or if the thread frequently snags or slips off the hook, it may indicate an alignment issue or a design that is difficult to operate.
Frequently Asked Questions (FAQ)
Can I use an automatic needle threader with any type of thread?
No, automatic needle threaders have specific limitations regarding thread thickness and material. You must check your machine’s specifications for the maximum thread weight and thickness limits, as very thick threads cannot fit alongside the hook inside the needle eye. Specialty threads, such as metallic, clear nylon, or highly textured decorative threads, should be threaded manually to prevent the delicate hook from catching, bending, or breaking.
What should I do if the automatic needle threader stops working?
If your automatic threader stops working, first verify the needle height and alignment according to the user manual. The needle must be at its absolute highest position, which is usually achieved by turning the handwheel until the take-up lever is fully raised or by pressing the needle up/down button. Next, clean any accumulated lint from the hook mechanism using a soft brush. If the hook appears bent, misaligned, or fails to enter the needle eye smoothly, stop using the lever immediately and consult a professional technician to avoid damaging your needle bar.

Community discussion
Share your experience or ask a question. Comments are reviewed before publication.