
When starting a leather bag restoration or customization project, selecting the right paint set is critical for achieving a durable and professional-looking finish. A beginner-friendly kit should do more than just provide color; it must include or clearly specify the necessary surface preparers, flexible paint formulations, and protective finishers. Because leather is a flexible, organic material that bends, stretches, and encounters friction during daily use, standard paints will quickly crack and peel.
A beginner-friendly kit must feature highly flexible, water-based acrylic-polyurethane paints formulated specifically to bond with leather fibers. By choosing a set that bundles these three core phases—preparation, color application, and sealing—you ensure that your first customization or restoration project remains durable, vibrant, and resistant to daily wear.
Unlike flat canvases or rigid wooden surfaces, a leather bag is a dynamic object. It experiences constant movement along its seams, handles, and corners, and it is frequently exposed to environmental factors such as humidity, rain, and direct sunlight. Consequently, the paint you apply must become an integral part of the leather’s surface rather than a stiff layer sitting on top of it.
Products mentioned in this guide
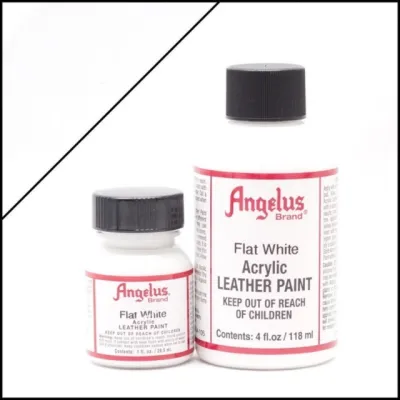
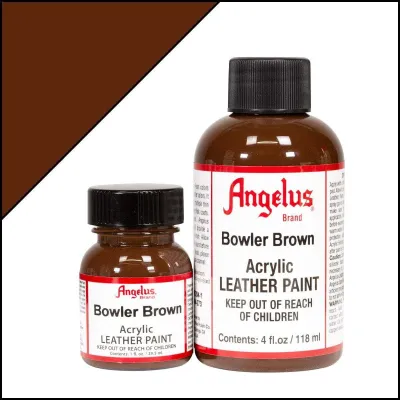
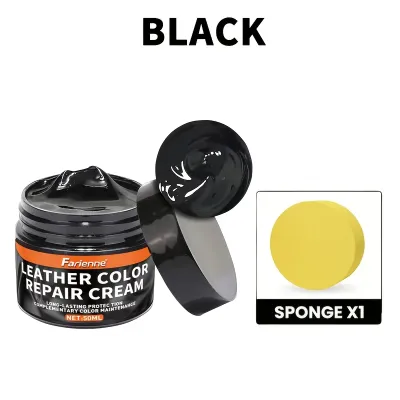
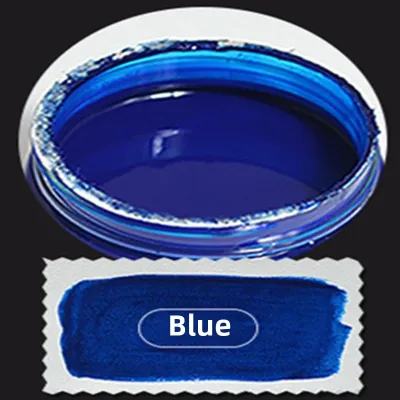
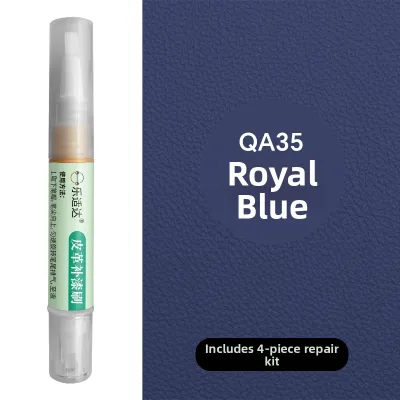
Prices are valid at publication and may change. Please refer to the product page for the latest price.
For beginners, navigating the vast array of art supplies can be overwhelming, especially when trying to determine which products are compatible with specific types of leather. Understanding the fundamental characteristics of leather paint systems allows you to make an informed decision, saving time and protecting your valuable bags from irreversible damage.
What to Look for in a Beginner Leather Paint Set
When evaluating starter kits, the chemical composition of the paint is your primary consideration. Water-based acrylic-polyurethane formulas are highly recommended for beginners because they offer a balanced combination of flexibility, ease of use, and simple cleanup. These paints contain specialized polymer binders that remain elastic when dry, allowing the painted surface to bend and flex naturally with the leather without cracking or flaking.
Solvent-based alternatives, while highly durable, are generally more difficult for beginners to manage. They require harsh chemical thinners for cleanup and emit strong fumes that necessitate specialized ventilation. For home projects, water-based systems provide a much safer and more forgiving learning environment.
Leather compatibility is another critical factor to verify before purchasing a set. Most standard leather paint kits are formulated specifically for smooth, finished leather, which is the most common material used in structured handbags, totes, and backpacks.
If your bag is made of porous leather, such as suede or nubuck, standard acrylic-polyurethane paints will clog the natural nap and ruin the soft texture of the material. For these porous surfaces, specialized leather dyes or highly fluid dye-based paints are required. Always check the product specifications to ensure the paint is compatible with the exact texture and finish of your bag.
Adhesion is the foundation of any successful leather painting project, and it depends heavily on how well the paint can grip the leather fibers. Raw leather naturally contains oils, and manufactured bags are treated with protective topcoats, waxes, and silicones to repel moisture and dirt.
If you apply paint directly to an unprepared bag, these protective layers will prevent the paint from adhering, leading to immediate peeling. A high-quality starter set should either include a dedicated surface preparer (often called a deglazer) or explicitly state which preparation solvents are required to strip away these factory finishes safely.
Finally, consider the drying and curing times of the paint formulation, as these directly affect your working pace. Beginner-friendly paints should dry to the touch relatively quickly—typically within twenty to thirty minutes—allowing you to apply multiple thin coats without long delays.
However, there is a distinct difference between drying and curing. While the paint may feel dry to the touch quickly, the chemical curing process, where the polymers fully cross-link and bond with the leather, usually takes between twenty-four and seventy-two hours. Choosing a formulation with a predictable curing window ensures you do not accidentally damage your work by handling or sealing the bag too early.
Common Configurations of Beginner Leather Paint Kits
As you browse online marketplaces or local art supply stores, you will encounter several common configurations of leather paint kits. Understanding these structures helps you select a package that aligns with your specific project goals, whether you want to touch up a worn corner, completely change the color of a bag, or paint an intricate artistic design.

Paint-only sets are the most basic configuration available. These kits typically feature a selection of primary colors, along with black and white, allowing you to mix almost any shade you require.
While these sets offer excellent value for artists who already own preparation and finishing chemicals, they can be a trap for true beginners. If you purchase a paint-only set, you must remember to buy the necessary deglazers, brushes, and topcoats separately, which often ends up costing more than buying a bundled kit. These sets are best suited for simple color touch-ups on small, pre-prepared areas.
Comprehensive restoration kits are designed specifically for renewing worn, faded, or discolored leather items. These packages are highly structured and usually contain a surface preparer, a selection of neutral base colors (such as black, dark brown, tan, and white), application sponges, and a protective topcoat.
The focus of a restoration kit is to provide a seamless, uniform finish over large areas of the bag. If your goal is to make an old leather handbag look brand new again, a restoration kit provides the most straightforward, step-by-step workflow with minimal guesswork.
Customization kits are tailored for detailed artistic painting, such as adding illustrations, patterns, or monogram designs to a bag. These kits often include a wider variety of vibrant, pre-mixed colors, fine-tip synthetic detail brushes, mixing palettes, and specialized mediums.
Some customization kits also include a thinning medium, which is essential if you plan to use an airbrush or require highly fluid paint for delicate linework. When choosing a customization kit, verify whether surface preparers and finishers are included, as detailed artwork is highly susceptible to peeling if the underlying surface is not prepped correctly.
Essential Supplies to Verify in Your Starter Set
To ensure a smooth workflow from start to finish, you should verify that your chosen starter set contains several essential supplies, or prepare to purchase them individually. Having these tools on hand before you begin prevents interruptions that can lead to uneven paint drying or accidental smudging.
The first essential component is a surface preparer or deglazer. This chemical solvent is formulated to strip away the factory finish, grease, and dirt from the leather surface without damaging the underlying collagen fibers.
Many professional preparers are acetone-based, while milder versions utilize isopropyl alcohol blends. Because these solvents are volatile and can dry out your skin, it is important to work in a well-ventilated space and wear protective gloves during this step. If your kit does not include a preparer, a high-purity isopropyl alcohol or a dedicated leather deglazer must be sourced separately.
A protective topcoat, or finisher, is the final layer of defense for your painted bag. The finisher seals the acrylic paint, providing water resistance, UV protection, and resistance to physical scuffs and scratches.
Finishers are available in several sheen levels, including matte, satin, and gloss. A matte finisher preserves the natural, non-reflective look of the leather, while a satin finisher provides a subtle, low-key sheen that matches most classic designer handbags. A gloss finisher delivers a high-shine, patent-leather appearance. Ensure your kit includes the specific sheen that matches your desired aesthetic.
The quality of your application tools directly influences the smoothness and durability of the paint layers. Synthetic brushes are highly recommended for leather painting because they maintain their shape and springiness when used with water-based acrylics, whereas natural hair brushes can become waterlogged and leave visible brush strokes.
Sponges are incredibly useful for applying base coats or blending large areas smoothly without lines. If your kit does not include brushes or sponges, look for high-quality synthetic flat and detail brushes at your local art supply store.
Additionally, verify if the kit provides mixing accessories and thinning mediums. A plastic mixing palette is essential for blending custom colors and controlling the amount of paint on your brush.
Thinning mediums, often referred to as flow improvers or paint thinners, are used to reduce the viscosity of the paint without weakening its adhesive properties. While water can be used to thin water-based leather paints in small amounts, over-thinning with water can dilute the acrylic binders, causing the paint to lose its grip on the leather and peel later.
Safe Preparation and Testing Steps for Your Bag
Before applying any paint or chemical solvent to your leather bag, you must perform systematic preparation and testing steps. Because leather is a natural material with varying tanning processes, finishes, and age-related wear, skipping these steps can result in permanent discoloration or poor paint adhesion.
The first step is always a spot test. Select an inconspicuous area of the bag, such as the underside of a strap, the bottom panel, or the inside of a seam. Apply a small amount of the surface preparer to a cotton pad and gently wipe the test area.
Observe the leather for any adverse reactions, such as severe color bleeding, structural softening, or cracking. Once the preparer dries, apply a thin layer of paint and let it cure completely. Flex the test area several times to verify that the paint adheres smoothly and does not crack or peel. This trial ensures that the specific chemical combination of your kit is fully compatible with your bag’s leather.
Once the spot test is successful, you can proceed to clean and deglaze the entire painting surface. Begin by wiping down the bag with a damp, lint-free microfiber cloth to remove surface dust and dirt.
If the bag has oily spots from handling, use a mild leather cleaner according to the manufacturer’s instructions and let it dry completely. Next, apply the deglazer to a clean cotton pad and rub the leather surface in gentle, circular motions. You will notice the factory shine dulling, and the surface may feel slightly tacky. This tackiness is normal and indicates that the protective factory finish has been removed, exposing the raw leather fibers for optimal paint adhesion.
It is crucial to recognize when a bag is not suitable for DIY painting and when you should consult a professional leather restorer. If the leather exhibits severe structural damage, such as deep dry-rotting, crumbling edges, or mold infestations, painting over these areas will not restore their strength and may trap moisture, worsening the decay.
Furthermore, highly sensitive materials like untreated vachetta leather, genuine exotic skins (such as python or lizard), and delicate metallic finishes require specialized professional techniques. Attempting to paint these materials with a standard beginner kit can ruin the unique texture and value of the item.
Purchasing Checklist for Online and In-Store Shopping
When shopping for leather paint sets, whether at a local craft store in Singapore or through an online marketplace, keeping a strict checklist ensures you receive high-quality, authentic products that are safe and effective for your project.
First, read the product labels with extreme care. Verify that the paint is explicitly formulated for leather, vinyl, or highly flexible synthetic materials. Avoid generic multi-surface acrylics or standard fabric paints, as they lack the specific polymer density required to withstand the constant flexing of a bag’s handles and corners. Additionally, check for safety warnings regarding ventilation, skin contact, and flammability, especially on the surface preparer and finisher bottles.
Second, check the manufacturing dates or batch codes whenever possible. Acrylic-polyurethane paints have a finite shelf life, typically ranging from two to five years depending on storage conditions.
If paint is exposed to freezing temperatures or extreme heat during transit or storage, the emulsion can break, resulting in a clumpy, separated, or chalky texture that cannot be restored by shaking. When buying in-store, shake the bottles gently; you should hear a smooth, fluid movement rather than a solid clump. When buying online, choose sellers with high turnover rates to ensure you receive fresh stock.
Finally, verify the authenticity of the seller and the distributor. Counterfeit art supplies are increasingly common on major online marketplaces. To protect your investment, purchase directly from authorized distributors, official brand stores, or established local art supply retailers. Check the retailer’s return and exchange policies so that you can easily return any products that arrive dried out, leaked, or damaged.
Frequently Asked Questions (FAQ)
Can I use standard acrylic paint instead of specialized leather paint?
Standard craft acrylic paint is not a suitable substitute for specialized leather paint on items that flex, such as bags, shoes, or jackets. Standard acrylics are formulated to dry into a relatively hard, rigid plastic film. When applied to a flexible leather surface, this rigid film cannot stretch or bend with the material, leading to immediate cracking, flaking, and peeling as soon as the bag is carried or handled.
Specialized leather paints, by contrast, are formulated with highly elastic acrylic-polyurethane binders. These binders allow the paint to remain flexible and resilient even after curing, maintaining a strong bond with the leather fibers during movement.
While some crafters attempt to mix standard acrylic paint with a fabric or textile medium to increase flexibility, the resulting mixture is generally less durable, more prone to tackiness, and less resistant to water and abrasion than a dedicated leather paint formulation. For long-lasting results on a valuable bag, always use paint specifically labeled for leather.
Is it necessary to apply a topcoat finisher after painting?
Yes, applying a protective topcoat finisher is highly recommended to ensure the longevity and durability of your painted leather bag. While the leather paint itself is flexible and water-resistant once cured, it remains vulnerable to physical scuffs, scratches, dirt, and chemical exposure from daily handling, hand sanitizers, and environmental moisture. A finisher acts as a sacrificial barrier, absorbing the friction of daily wear and protecting the underlying paint layer from peeling or fading.
Furthermore, finishers allow you to control the final aesthetic of your project by adjusting the sheen level. You can choose a matte finisher to maintain a natural, non-reflective look, a satin finisher for a classic semi-gloss appearance, or a high-gloss finisher for a patent-leather shine.
Before applying the finisher, it is essential to let the paint cure completely according to the manufacturer’s instructions—typically for at least twenty-four hours. Applying the topcoat too early can trap moisture or reactivate the wet paint, leading to a cloudy, sticky, or smeared finish.
Community discussion
Share your experience or ask a question. Comments are reviewed before publication.